Author: Joey Ciaramitaro
The creator of goodmorninggloucester.org Lover of all things Gloucester and Cape Ann. GMG where we bring you the very best our town has to offer because we love to share all the great news and believe that by promoting others in our community everyone wins.

Check Out “Hangin With My Shorties” From Grill Therapy On YouTube
Check it out and subscribe to his channel. He’s got some unique and creative cooks for inspiration
A Question For Fans Of The Weber Charcoal Go-Anywhere In Regards To The Grate Modification
I have a question for those of you that have modified the cooking grate to cut it in half so you can remove a portion of it to add coals without removing the food. Also they cut it so it can be packed flat in the bottom of the grill so they can transport a mini- chimney and other cooking tools. Where do you cut it?
In videos I’ve watched, most people cut it right down the center. I was thinking about cutting it 1/3- 2/3 and using the 2/3 section for the cooking area and 1/3 area for the section over where I’d add the coals.
Here’s a video demo by Mike Reyher describing how he modified and packs his Weber Charcoal Go-Anywhere-
I purchased this stainless replacement grate to do the mod with. It gets reviewed as being a nice heavy true stainless grate (as opposed to a chrome plated steel one) but many customers said it was a touch too long to fit. My guess is that’s why it’s such a cheap price, but seeing as I plan to cut mine to modify it anyway that’s not an issue.
Stainless Steel Go Anywhere Replacement Cooking Grate
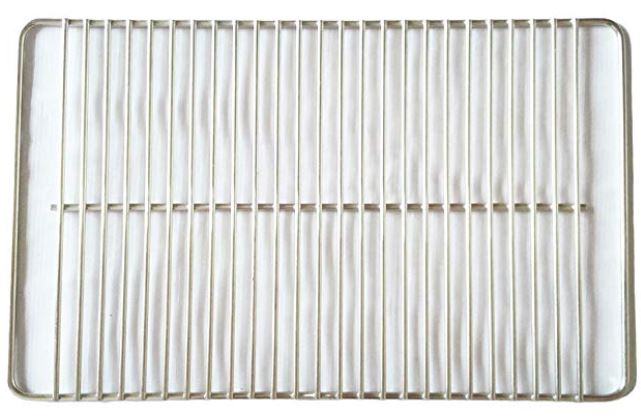
Price: $16.99 & FREE Returns
Stainless steel Go Anywhere Replacement Chrome Plated Cooking Grate, Listing is for a single cooking grid
Fits Both Charcoal and Gas Go Anywhere Grills
Weber 121020 Go-Anywhere Charcoal Grill, Weber 1141001 Go-Anywhere Gas Grill
Dimensions: 16″ x 10″, Material: Stainless Steel
Pork Belly Smoked and Braised On the @Webergrills Charcoal Go-Anywhere
Football Saturday: Carando Spiral Ham
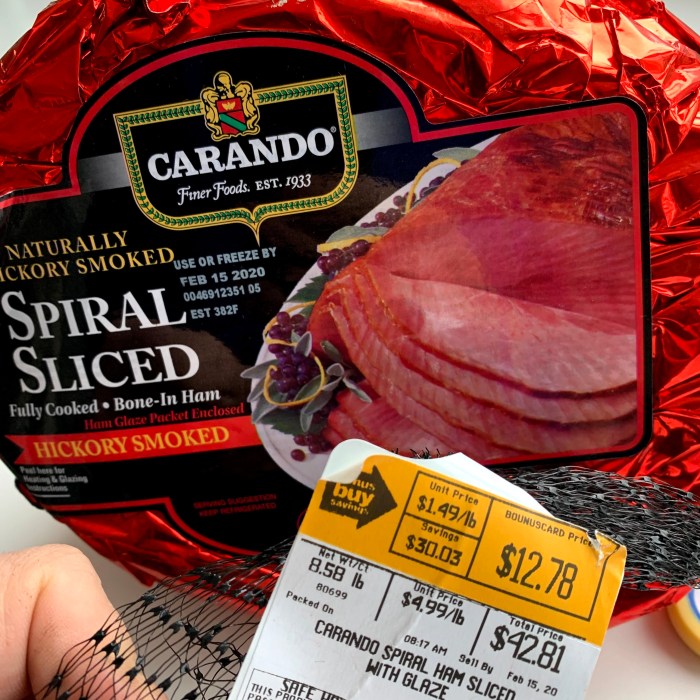


It’s so easy and feeds so many people I almost feel guilty…almost
You take it out of the package, wash and dry it while you’re getting your coals ready for a minion or snake style offset cook with a foil pan underneath to catch the drippings.
The rub: a cup of brown sugar, two tablespoons black pepper, a tablespoon of paprika, a quarter cup of BBQ rub (I used McCormick Grill Mates Mesquite Barbecue Seasoning).
Coat the ham in the rub by packing it on and pressing it to the sides. the ham is pretty greasy to start so the sticky brown sugar based rub adheres pretty good.
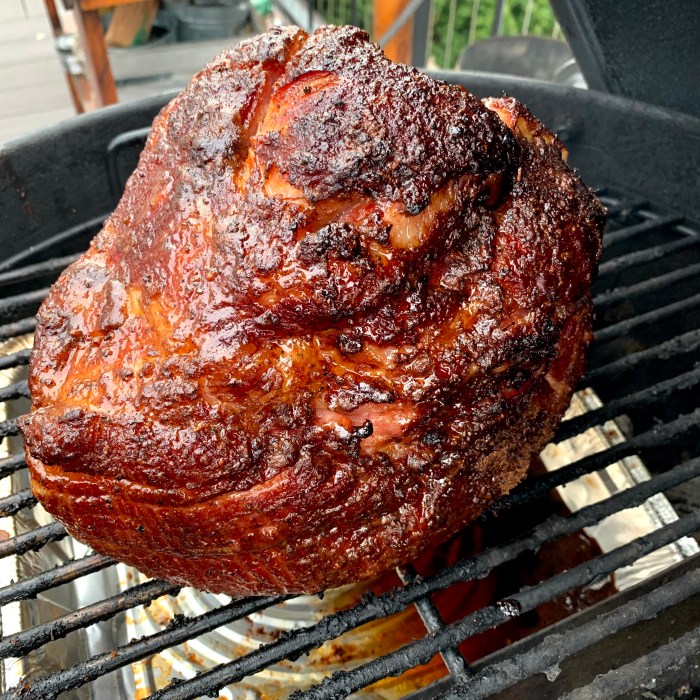
Get the pit temp to 275, add a chunk of apple or cherry wood for smoke, place the ham flat side down offset the coals and over the foil pan and don’t open the cover for an hour and a half.
At an hour and a half you apply a glaze- one cup of apple juice and a cup of orange juice mixed with some of your brown sugar rub to keep it glistening. At this point you can rotate the ham 180 degrees so the side that was facing away from the coals will now be facing the side of the grill where your bank of coals is.
Every half spritz or mop more glaze on and it is done when the internal temp reads 135.
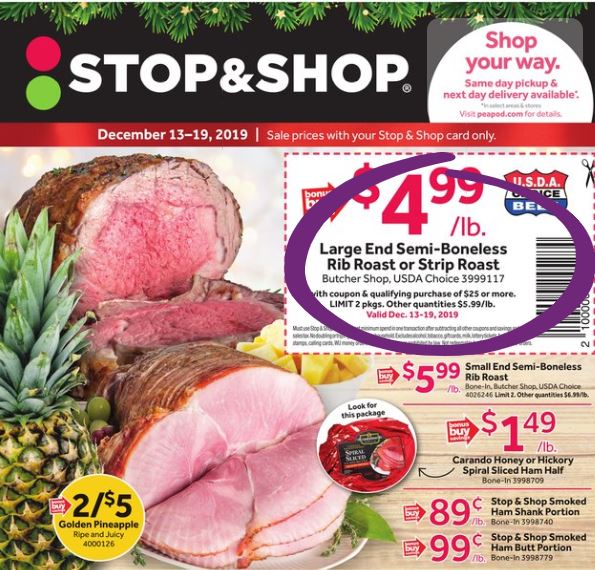
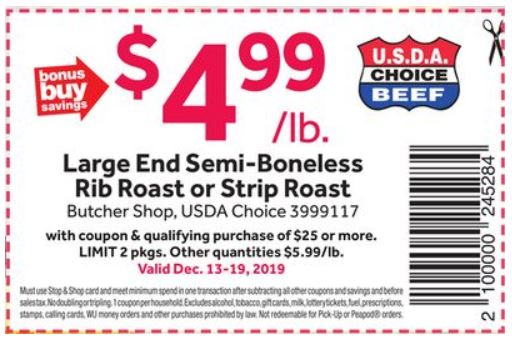
Get Ready! Starting Tomorrow Dec 13 At Stop and Shop- BONELESS RIB ROAST OR STRIP ROAST $4.99 With Coupon From The Flyer!
Mini #Hibachi Collection
Honey Dijon Salmon On The Weber Go-Anywhere

Smoking A Turkey On a Weber Kettle May Be The Biggest Wow Factor/Easy To Do Cook You’ll Ever Do. Here’s The Recipe
My Sister Felicia prepped it by slathering the entire turkey over and under the skin with butter and seasonings. She stuffed the cavity with an orange and more seasoning.
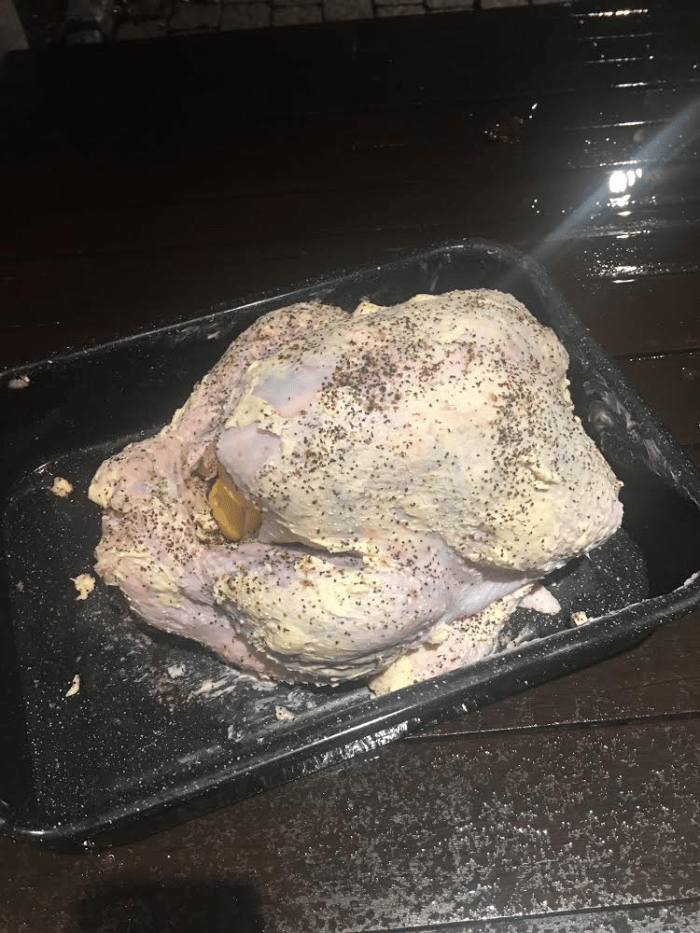
You can prep your turkey whichever way you’d normally do it in the oven.
But the cook part is so simple.
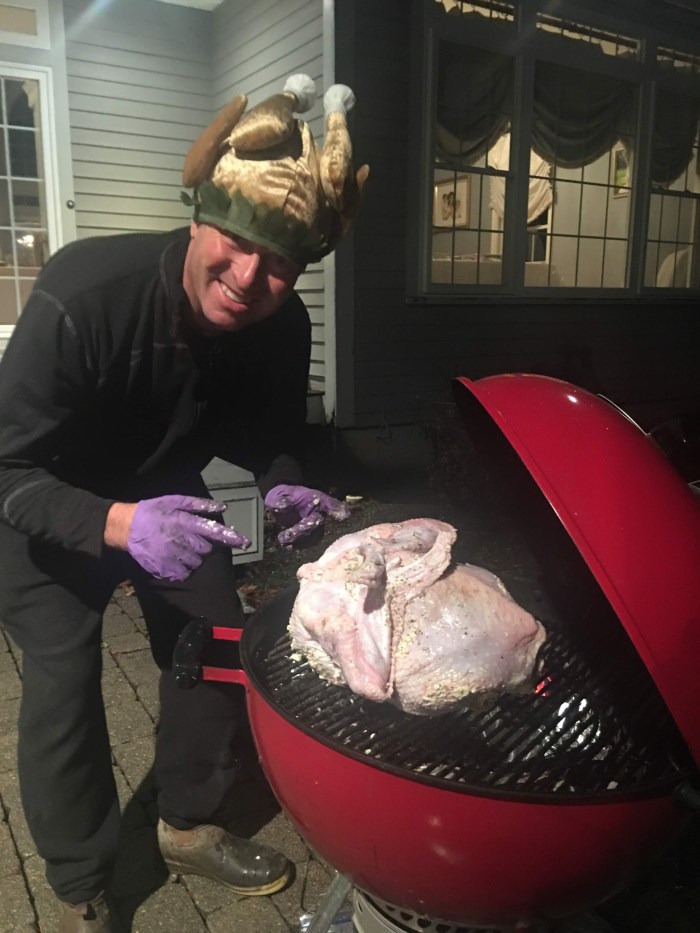
Two charcoal baskets pushed to the back of the kettle.
A 12 lb bird fits perfect.
A layer of tin foil on the charcoal grate under where the bird will sit and then a drip pan on top of that.
A half of a chimney of lit coals split into the two charcoal baskets.
Close the lid, when the pit temp gets to 275 you place the bird on the grate breast side down legs facing the coals for one hour. Add one good sized chunk of pecan , cherry or apple.
My temps were running around 280. if they were running a little higher, anything up to 3-50 and i wouldn’t have bothered adjusting the vents. it would have been just fine.
After the first hour flip the turkey over and add 7 coals to each charcoal basket and stick a temp probe in the thickest part of the breast or thigh. I temped both.
At the second hour I poured 2/3 a stick of melted butter over the bird (with some help from my awesome daughter Madeline) and the color was amazing.


When it hits 265, pull that sucker off and let it rest for an hour or so.
Then dig in. The drippings that are collected in the drip pan underneath make excellent gravy!

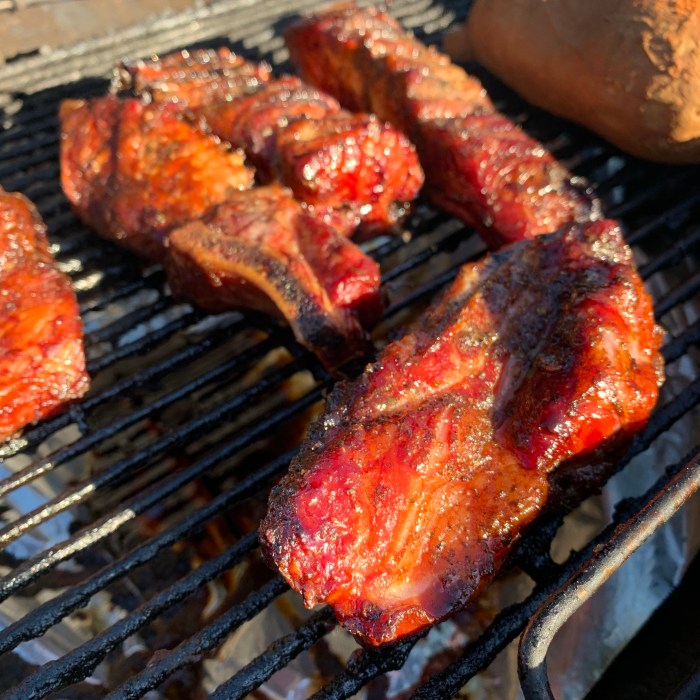
Country Style Ribs On The Kettle