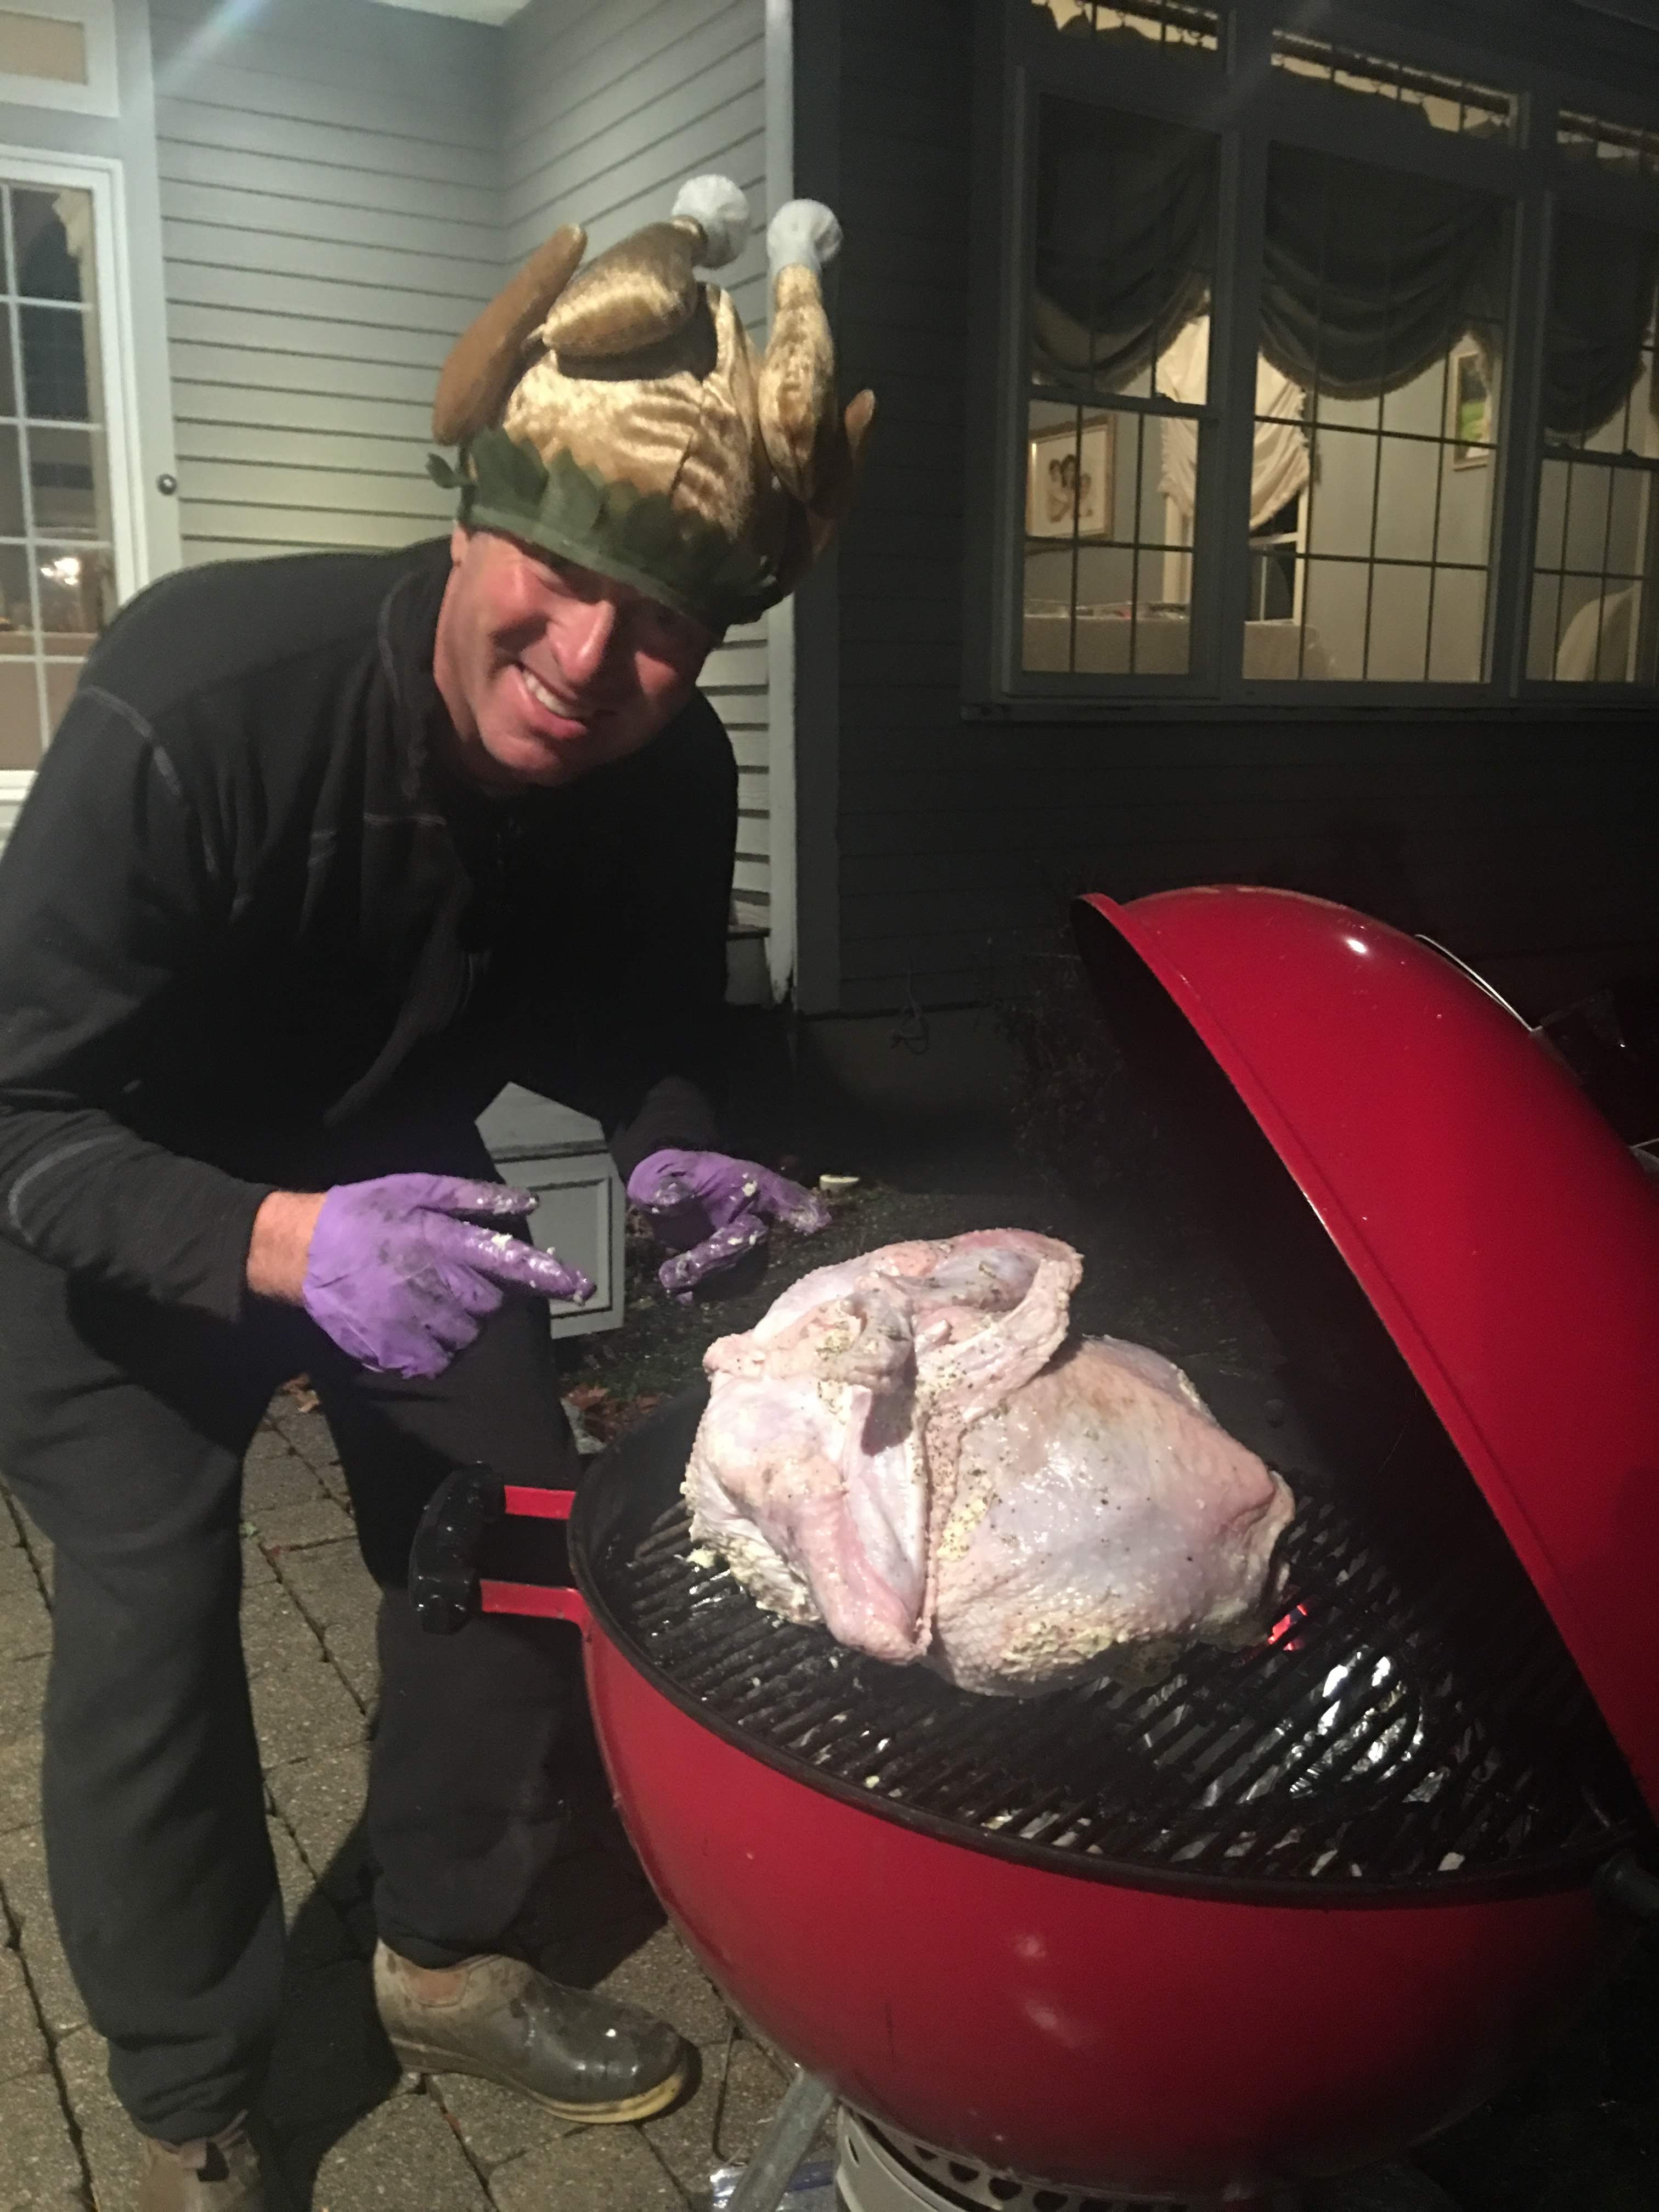
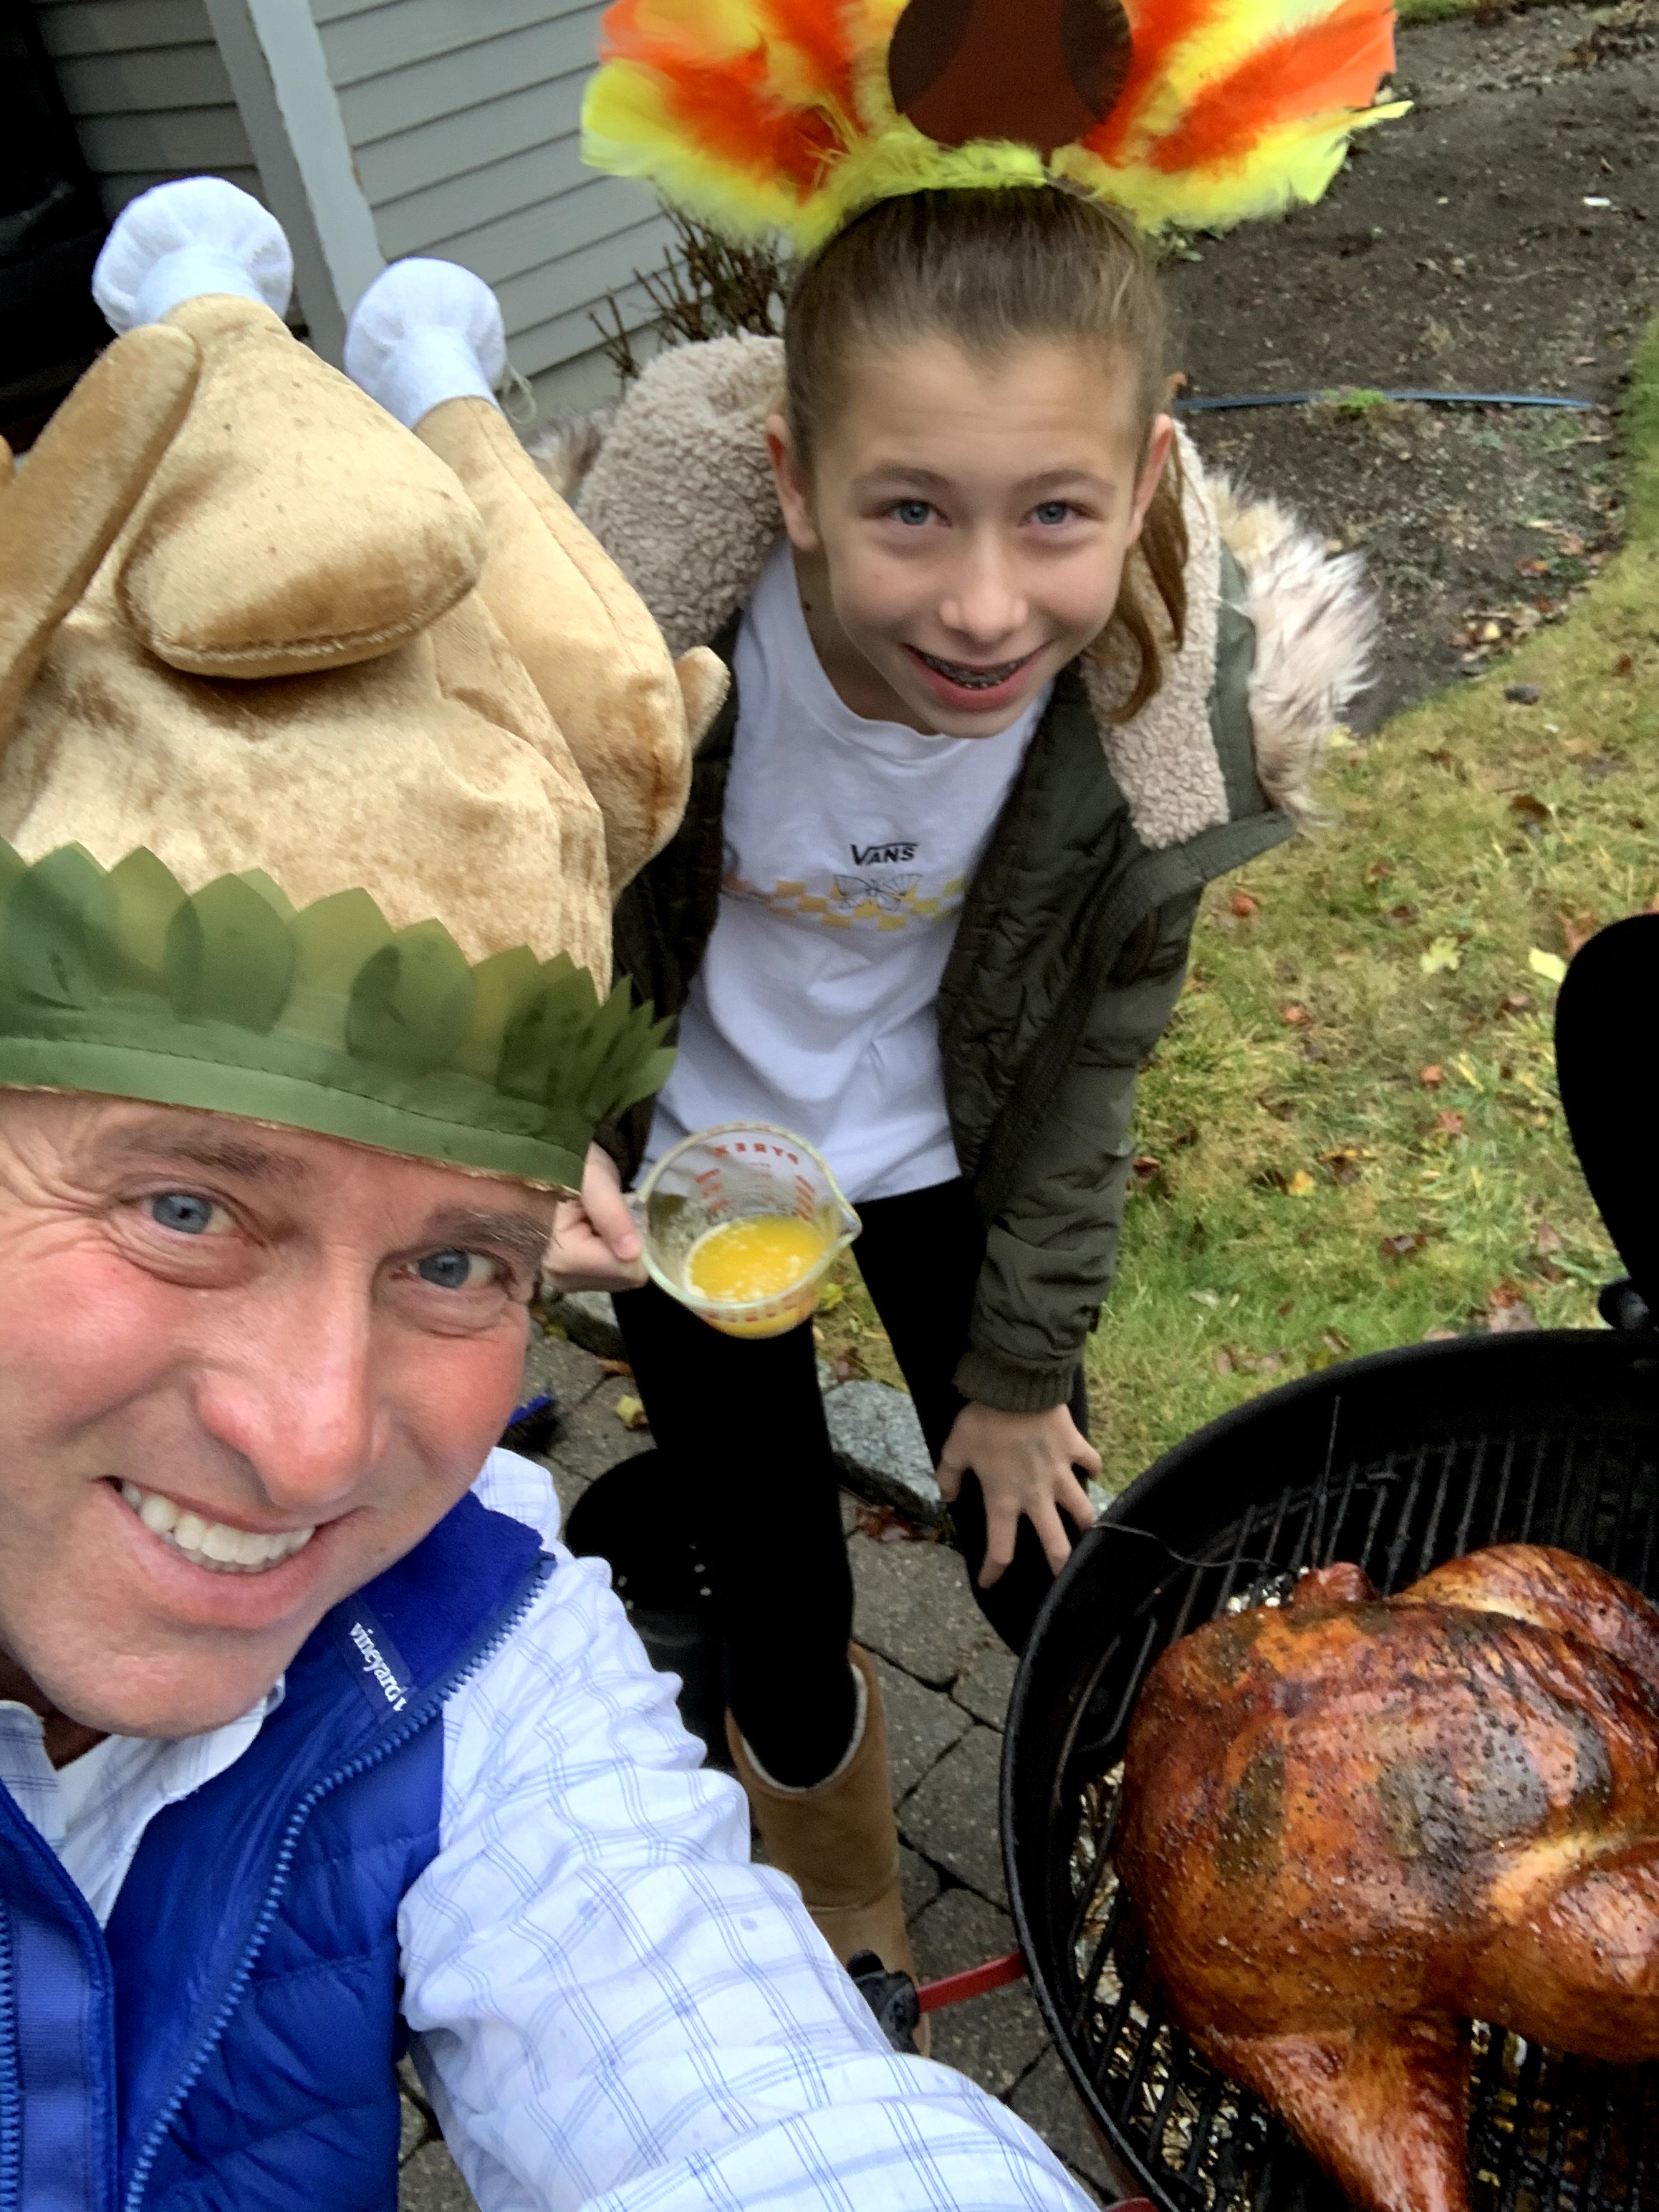
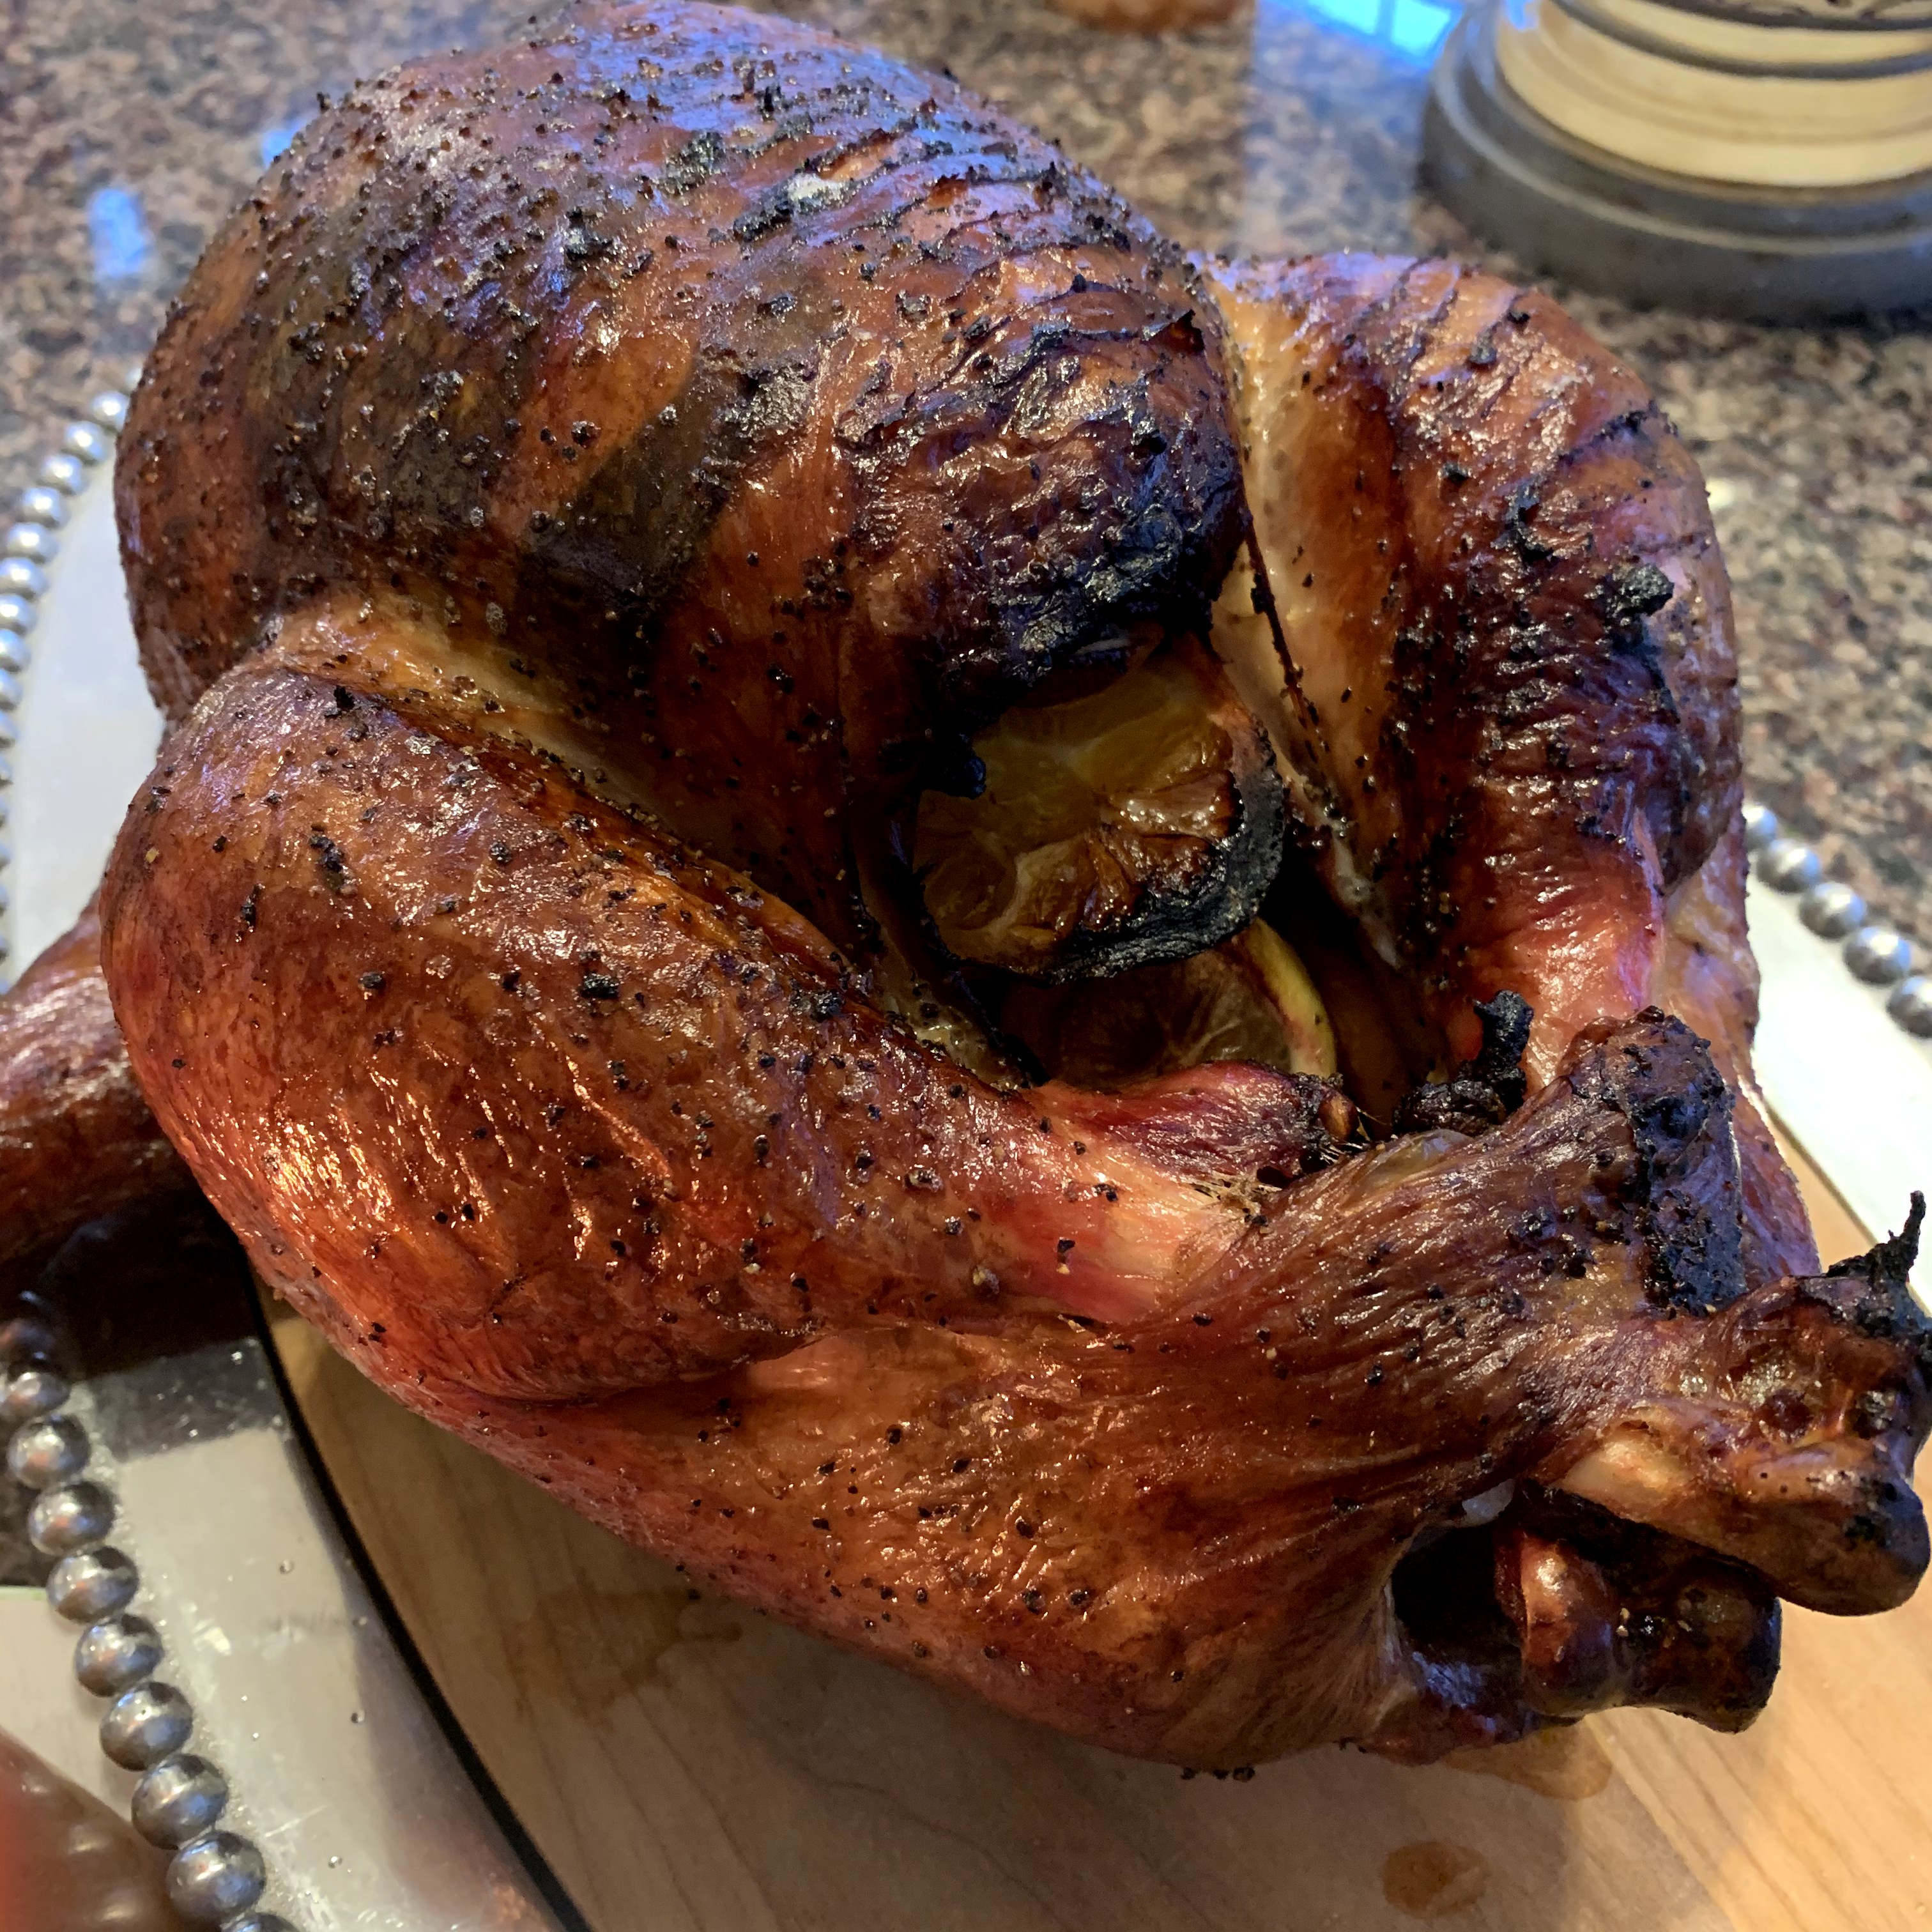
My Sister Felicia prepped it by slathering the entire turkey over and under the skin with butter and seasonings. She stuffed the cavity with an orange and more seasoning.
You can prep your turkey whichever way you’d normally do it in the oven.
But the cook part is so simple.
Two charcoal baskets pushed to the back of the kettle.
A 12 lb bird fits perfect.
A layer of tin foil on the charcoal grate under where the bird will sit and then a drip pan on top of that.
A half of a chimney of lit coals split into the two charcoal baskets.
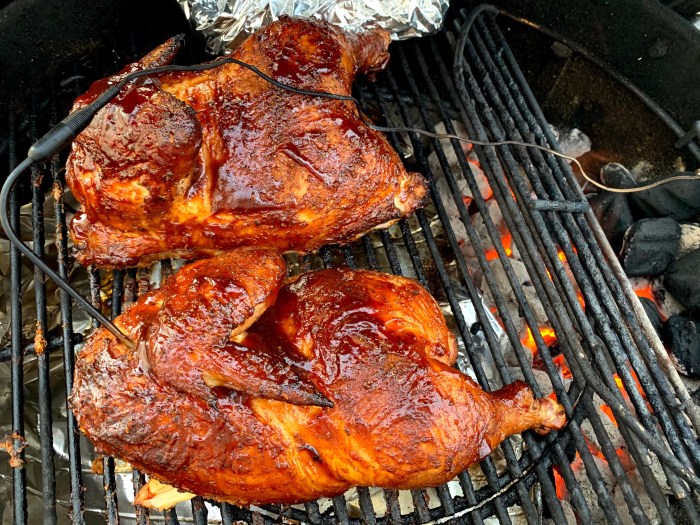
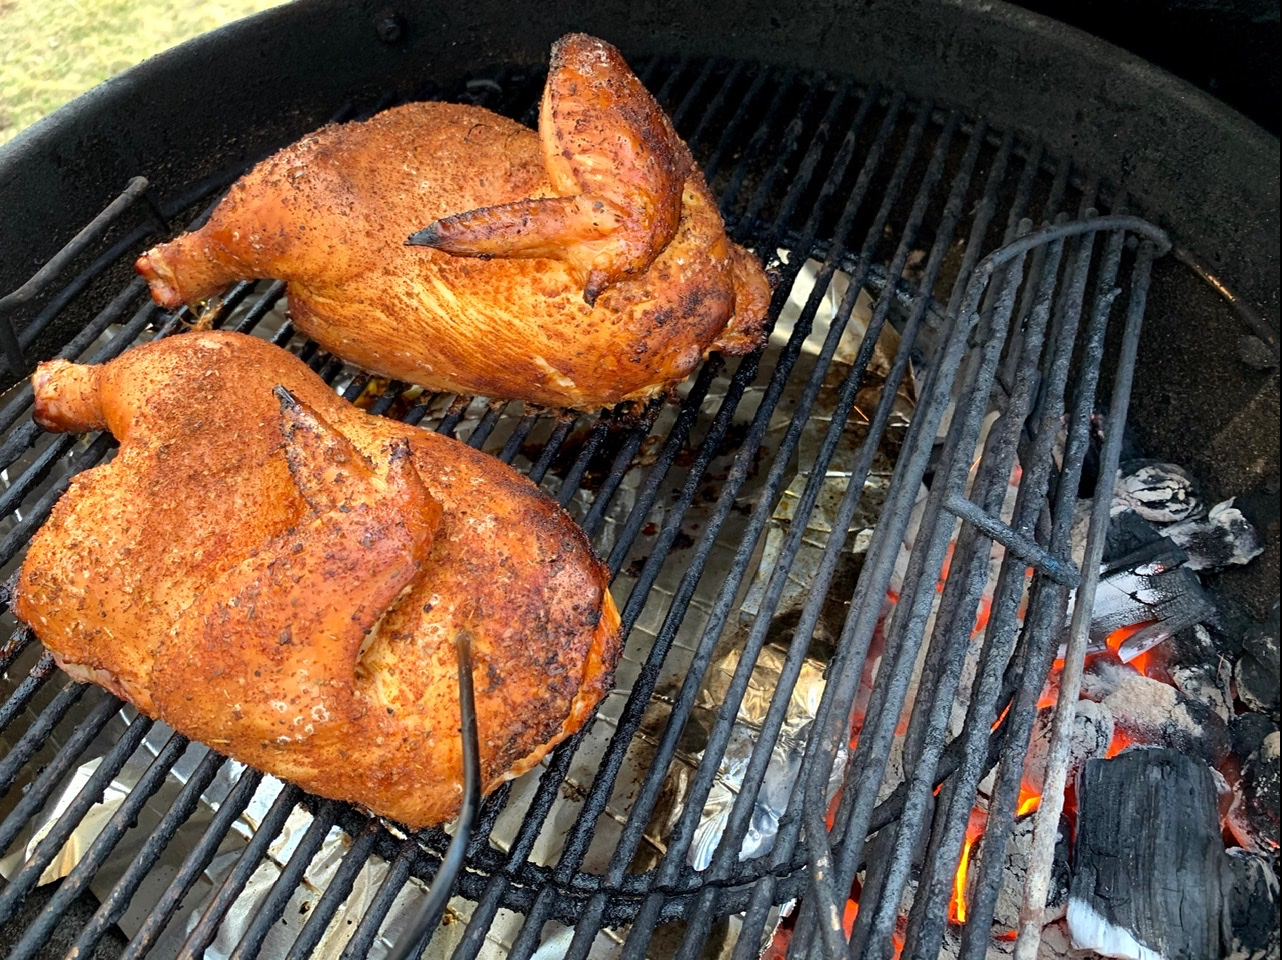
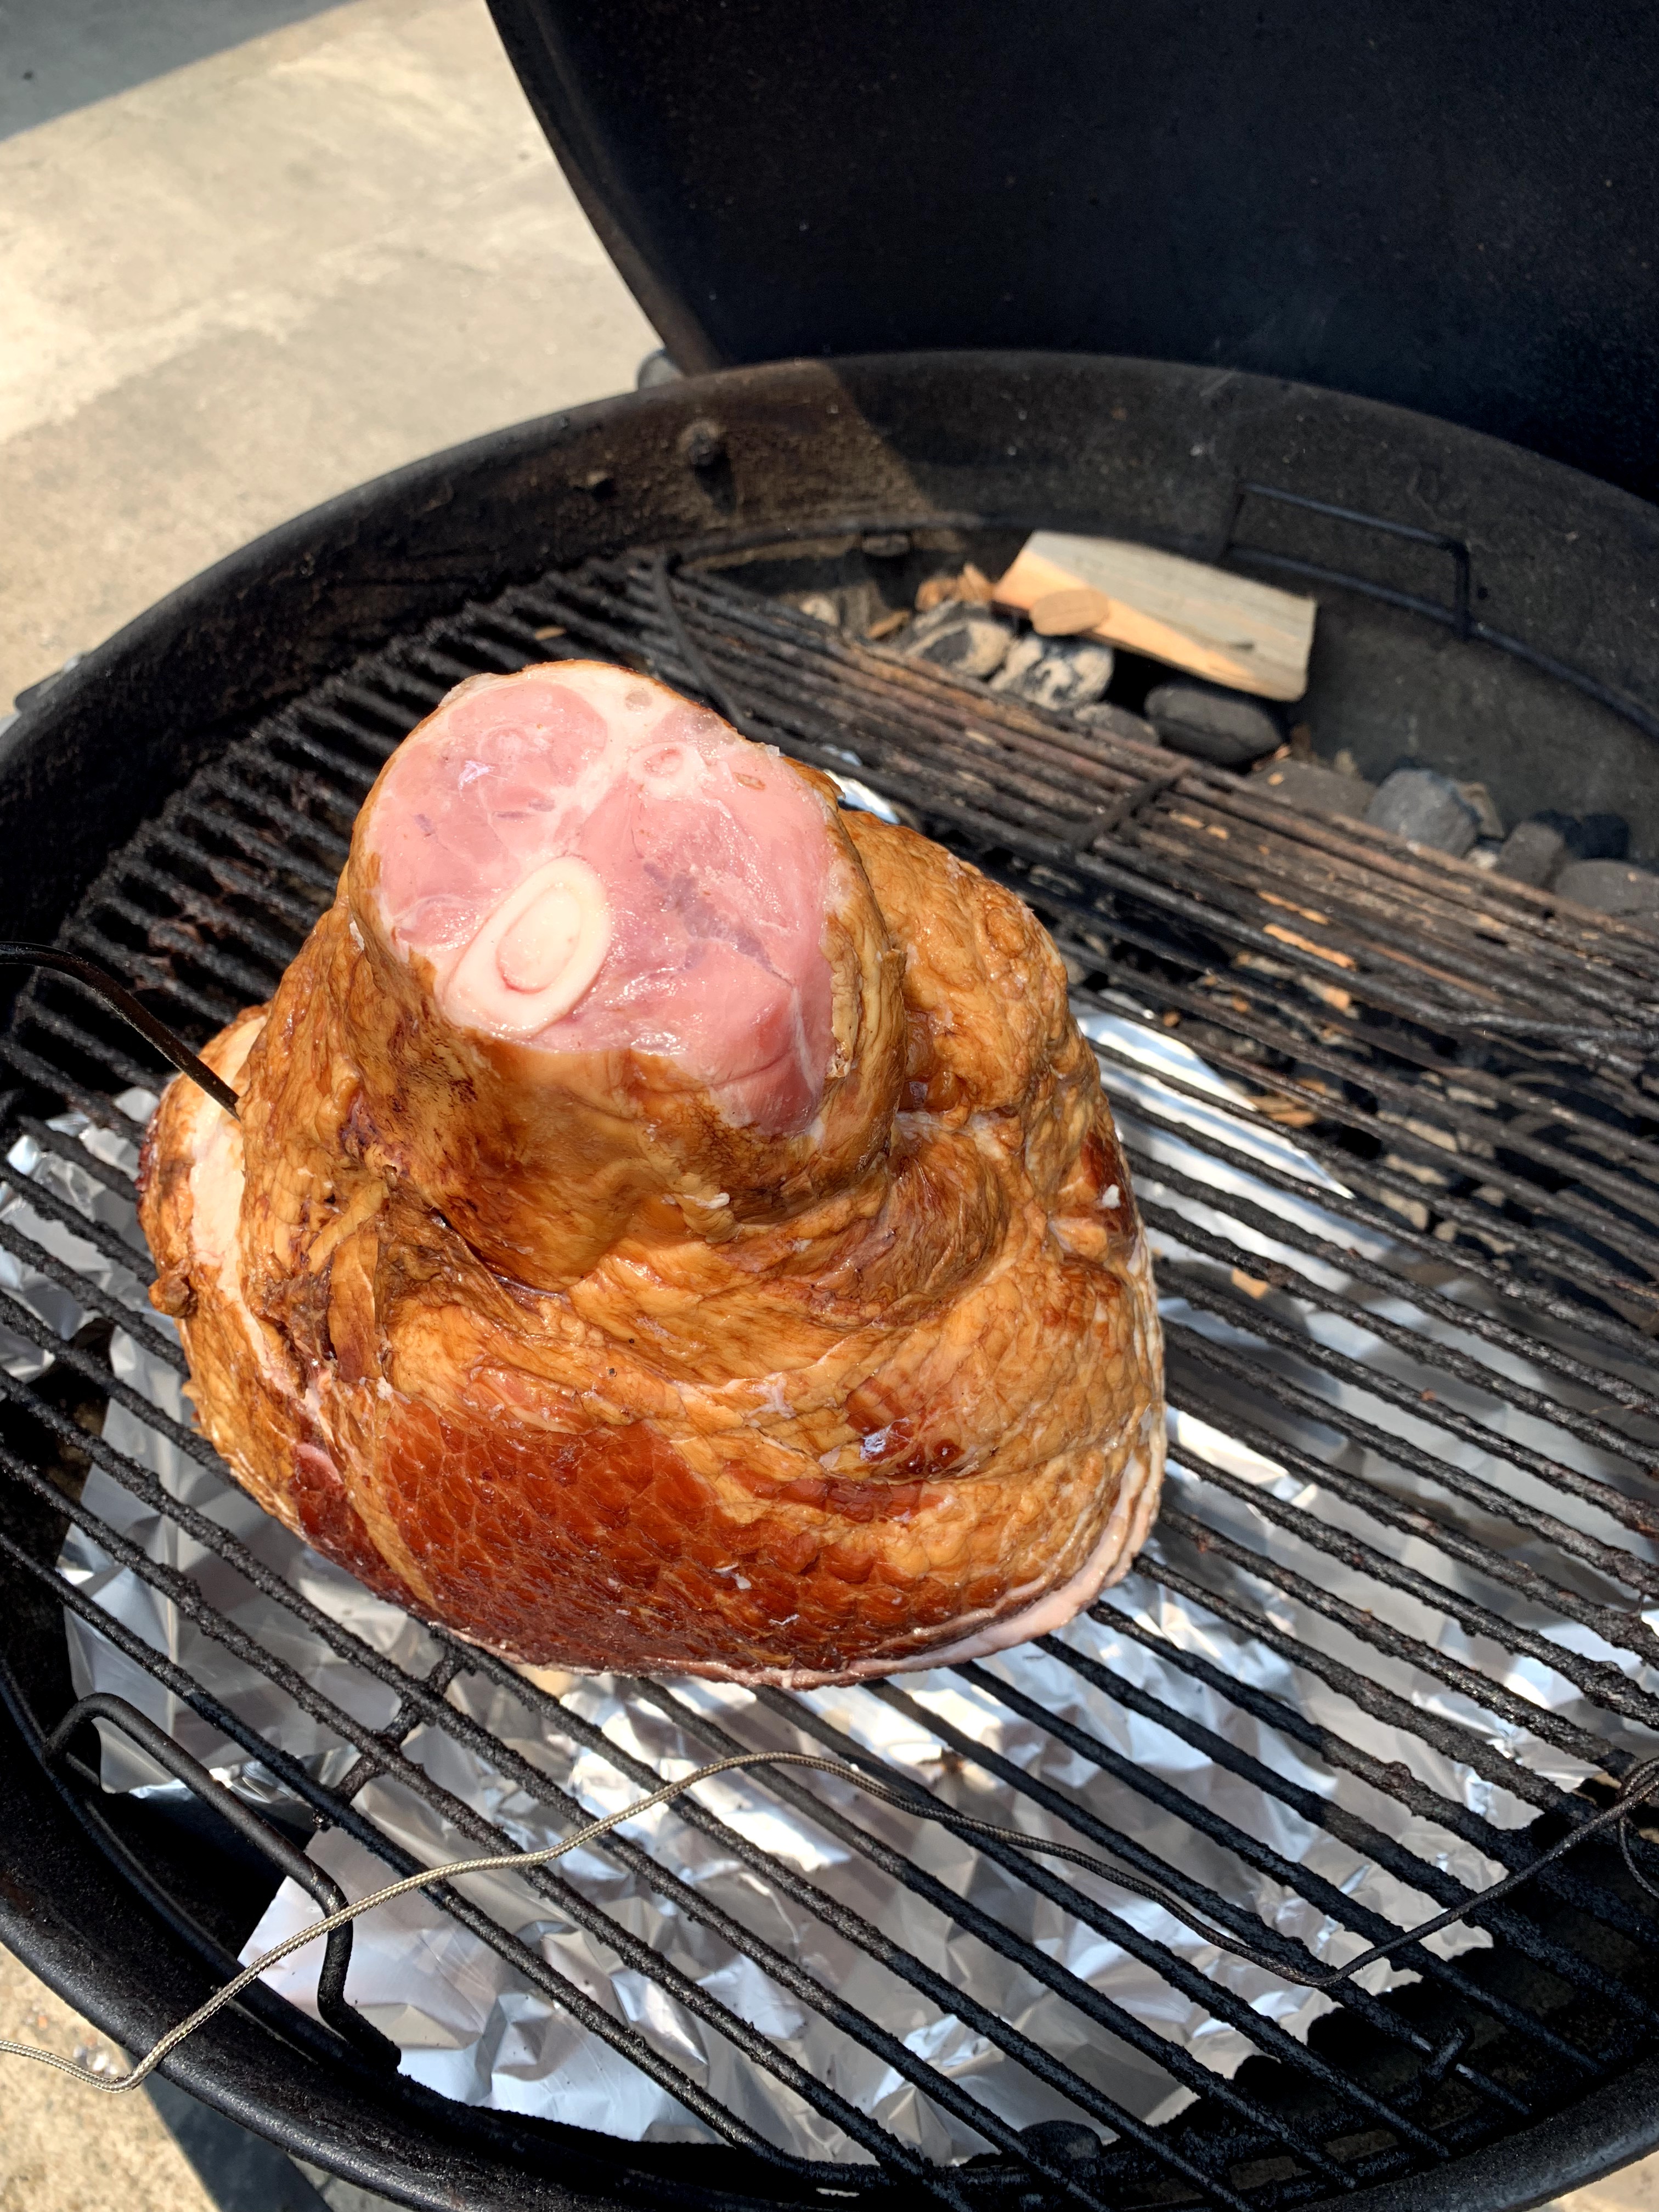
Close the lid, when the pit temp gets to 275 you place the bird on the grate breast side down legs facing the coals for one hour. Add one good sized chunk of pecan , cherry or apple.
My temps were running around 280. if they were running a little higher, anything up to 3-50 and i wouldn’t have bothered adjusting the vents. it would have been just fine.
After the first hour flip the turkey over and add 7 coals to each charcoal basket and stick a temp probe in the thickest part of the breast or thigh. I temped both.
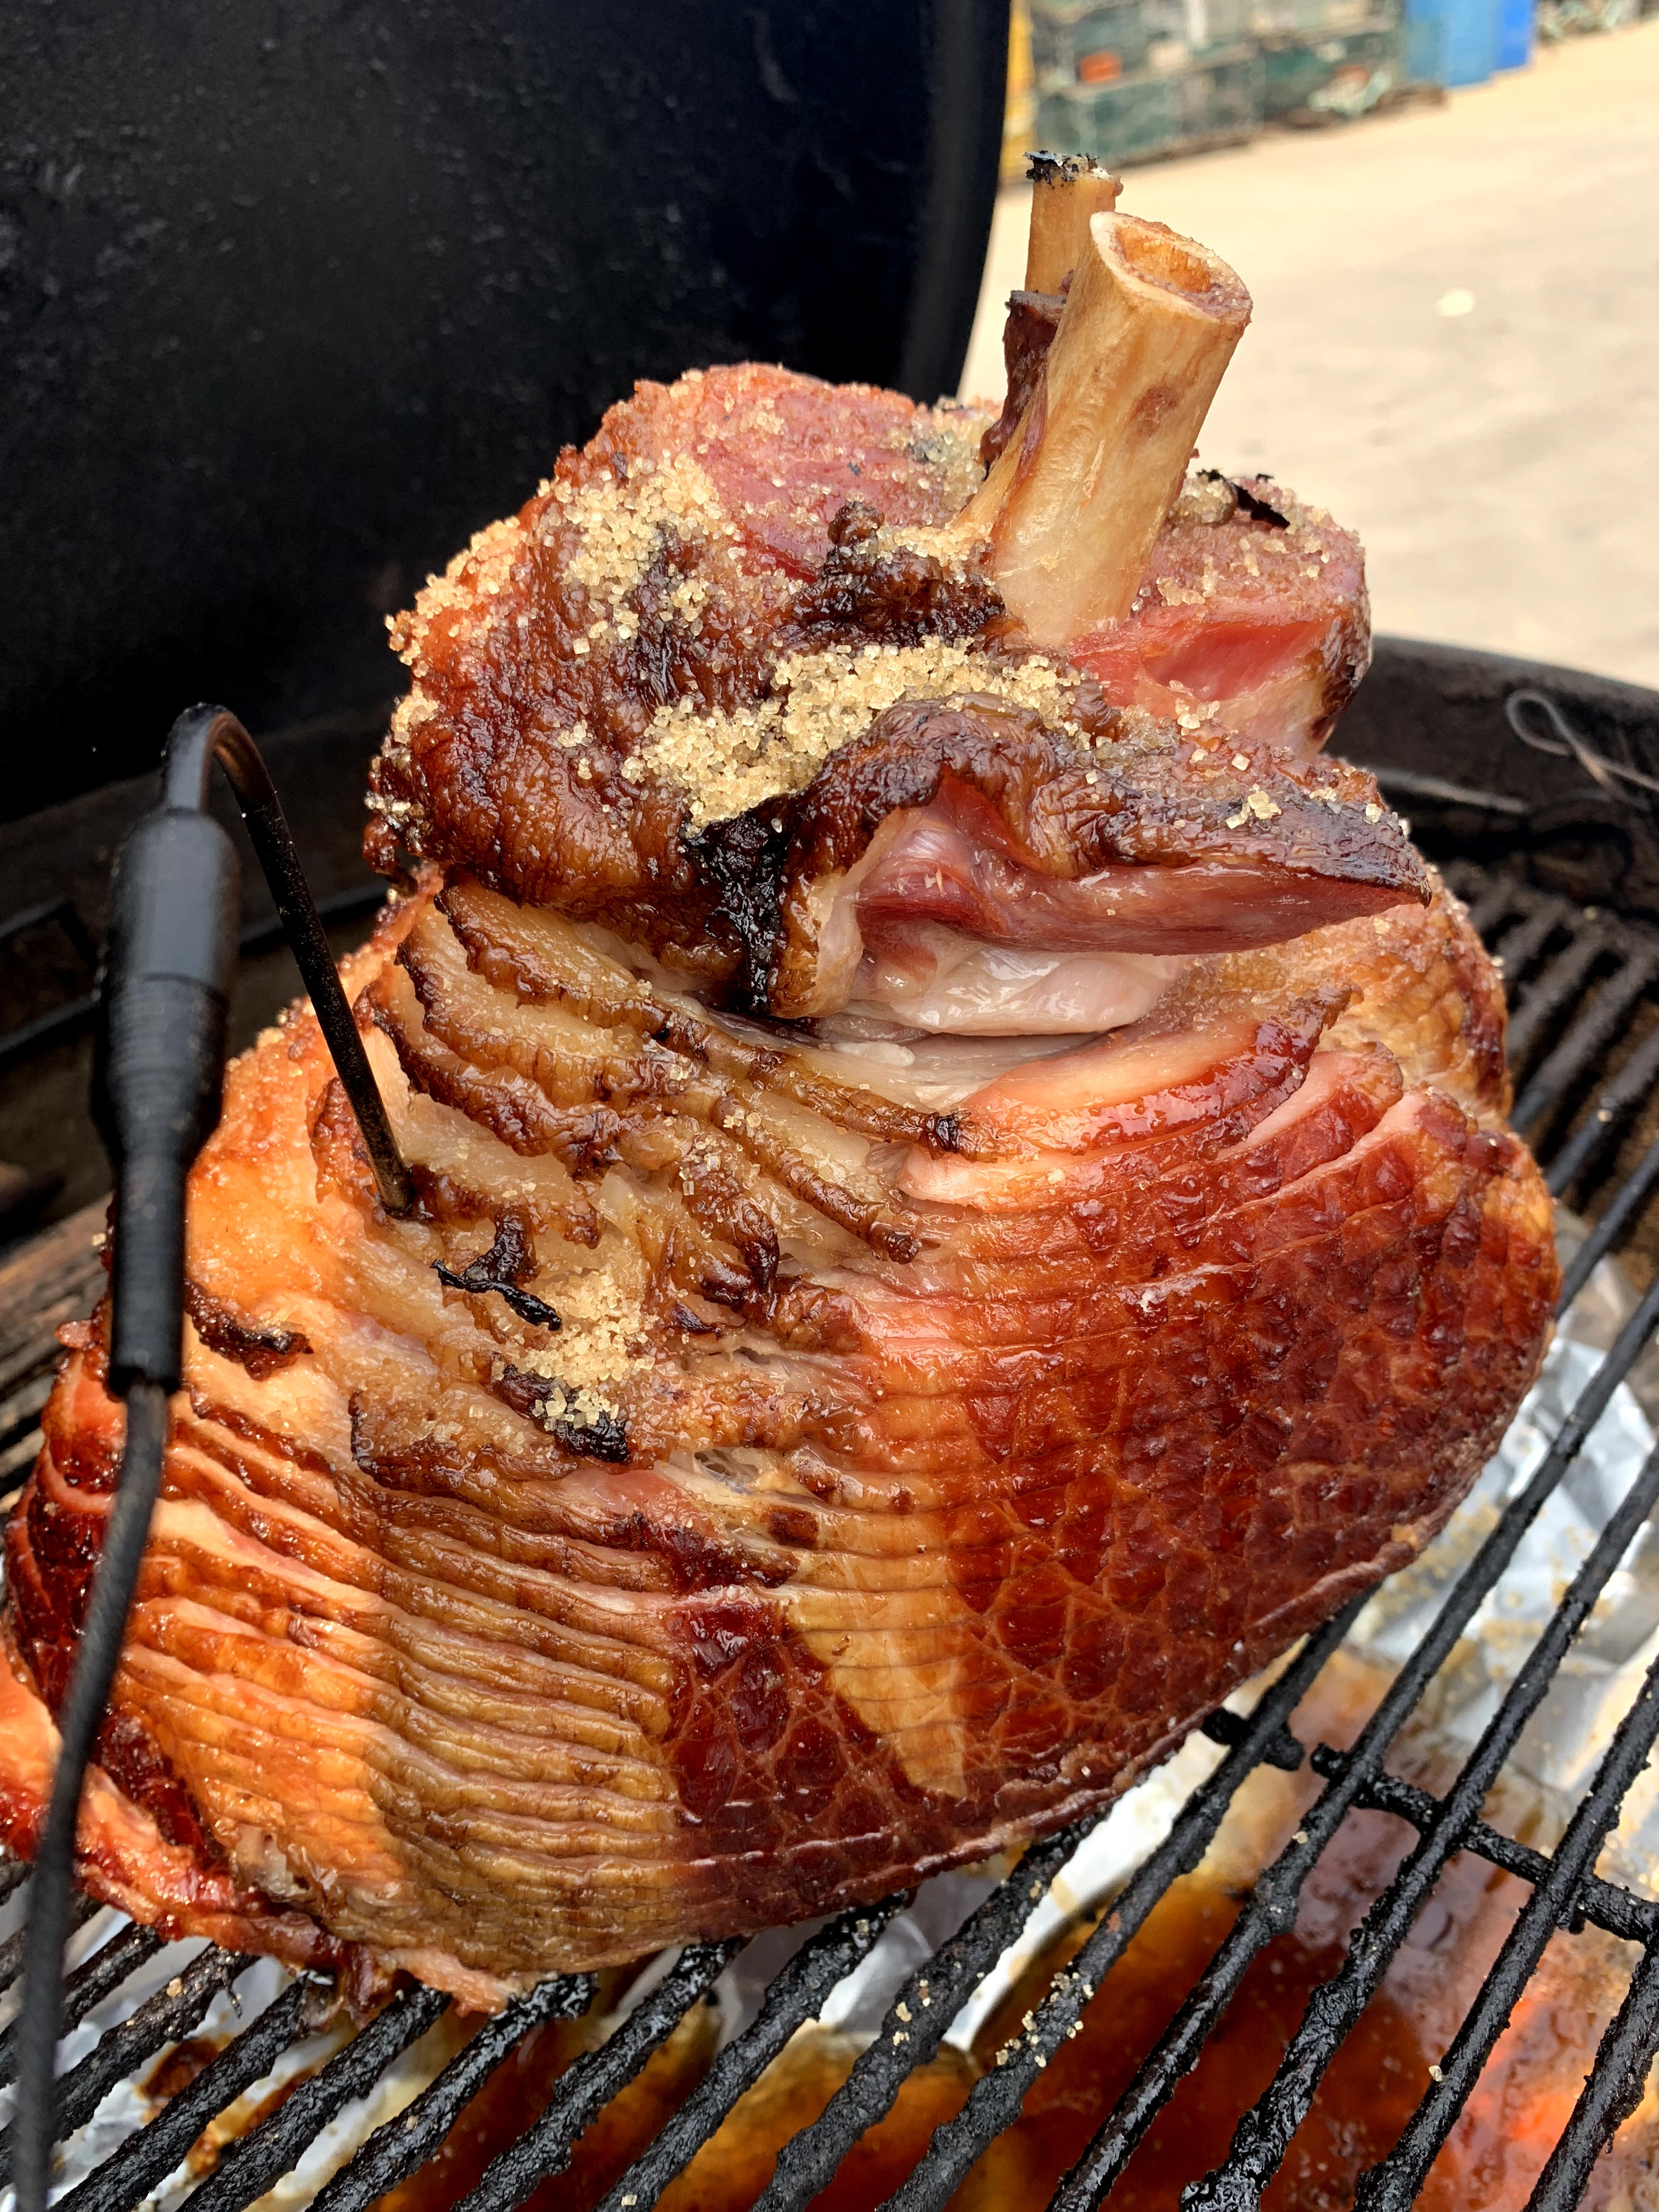
At the second hour I poured 2/3 a stick of melted butter over the bird (with some help from my awesome daughter Madeline) and the color was amazing.
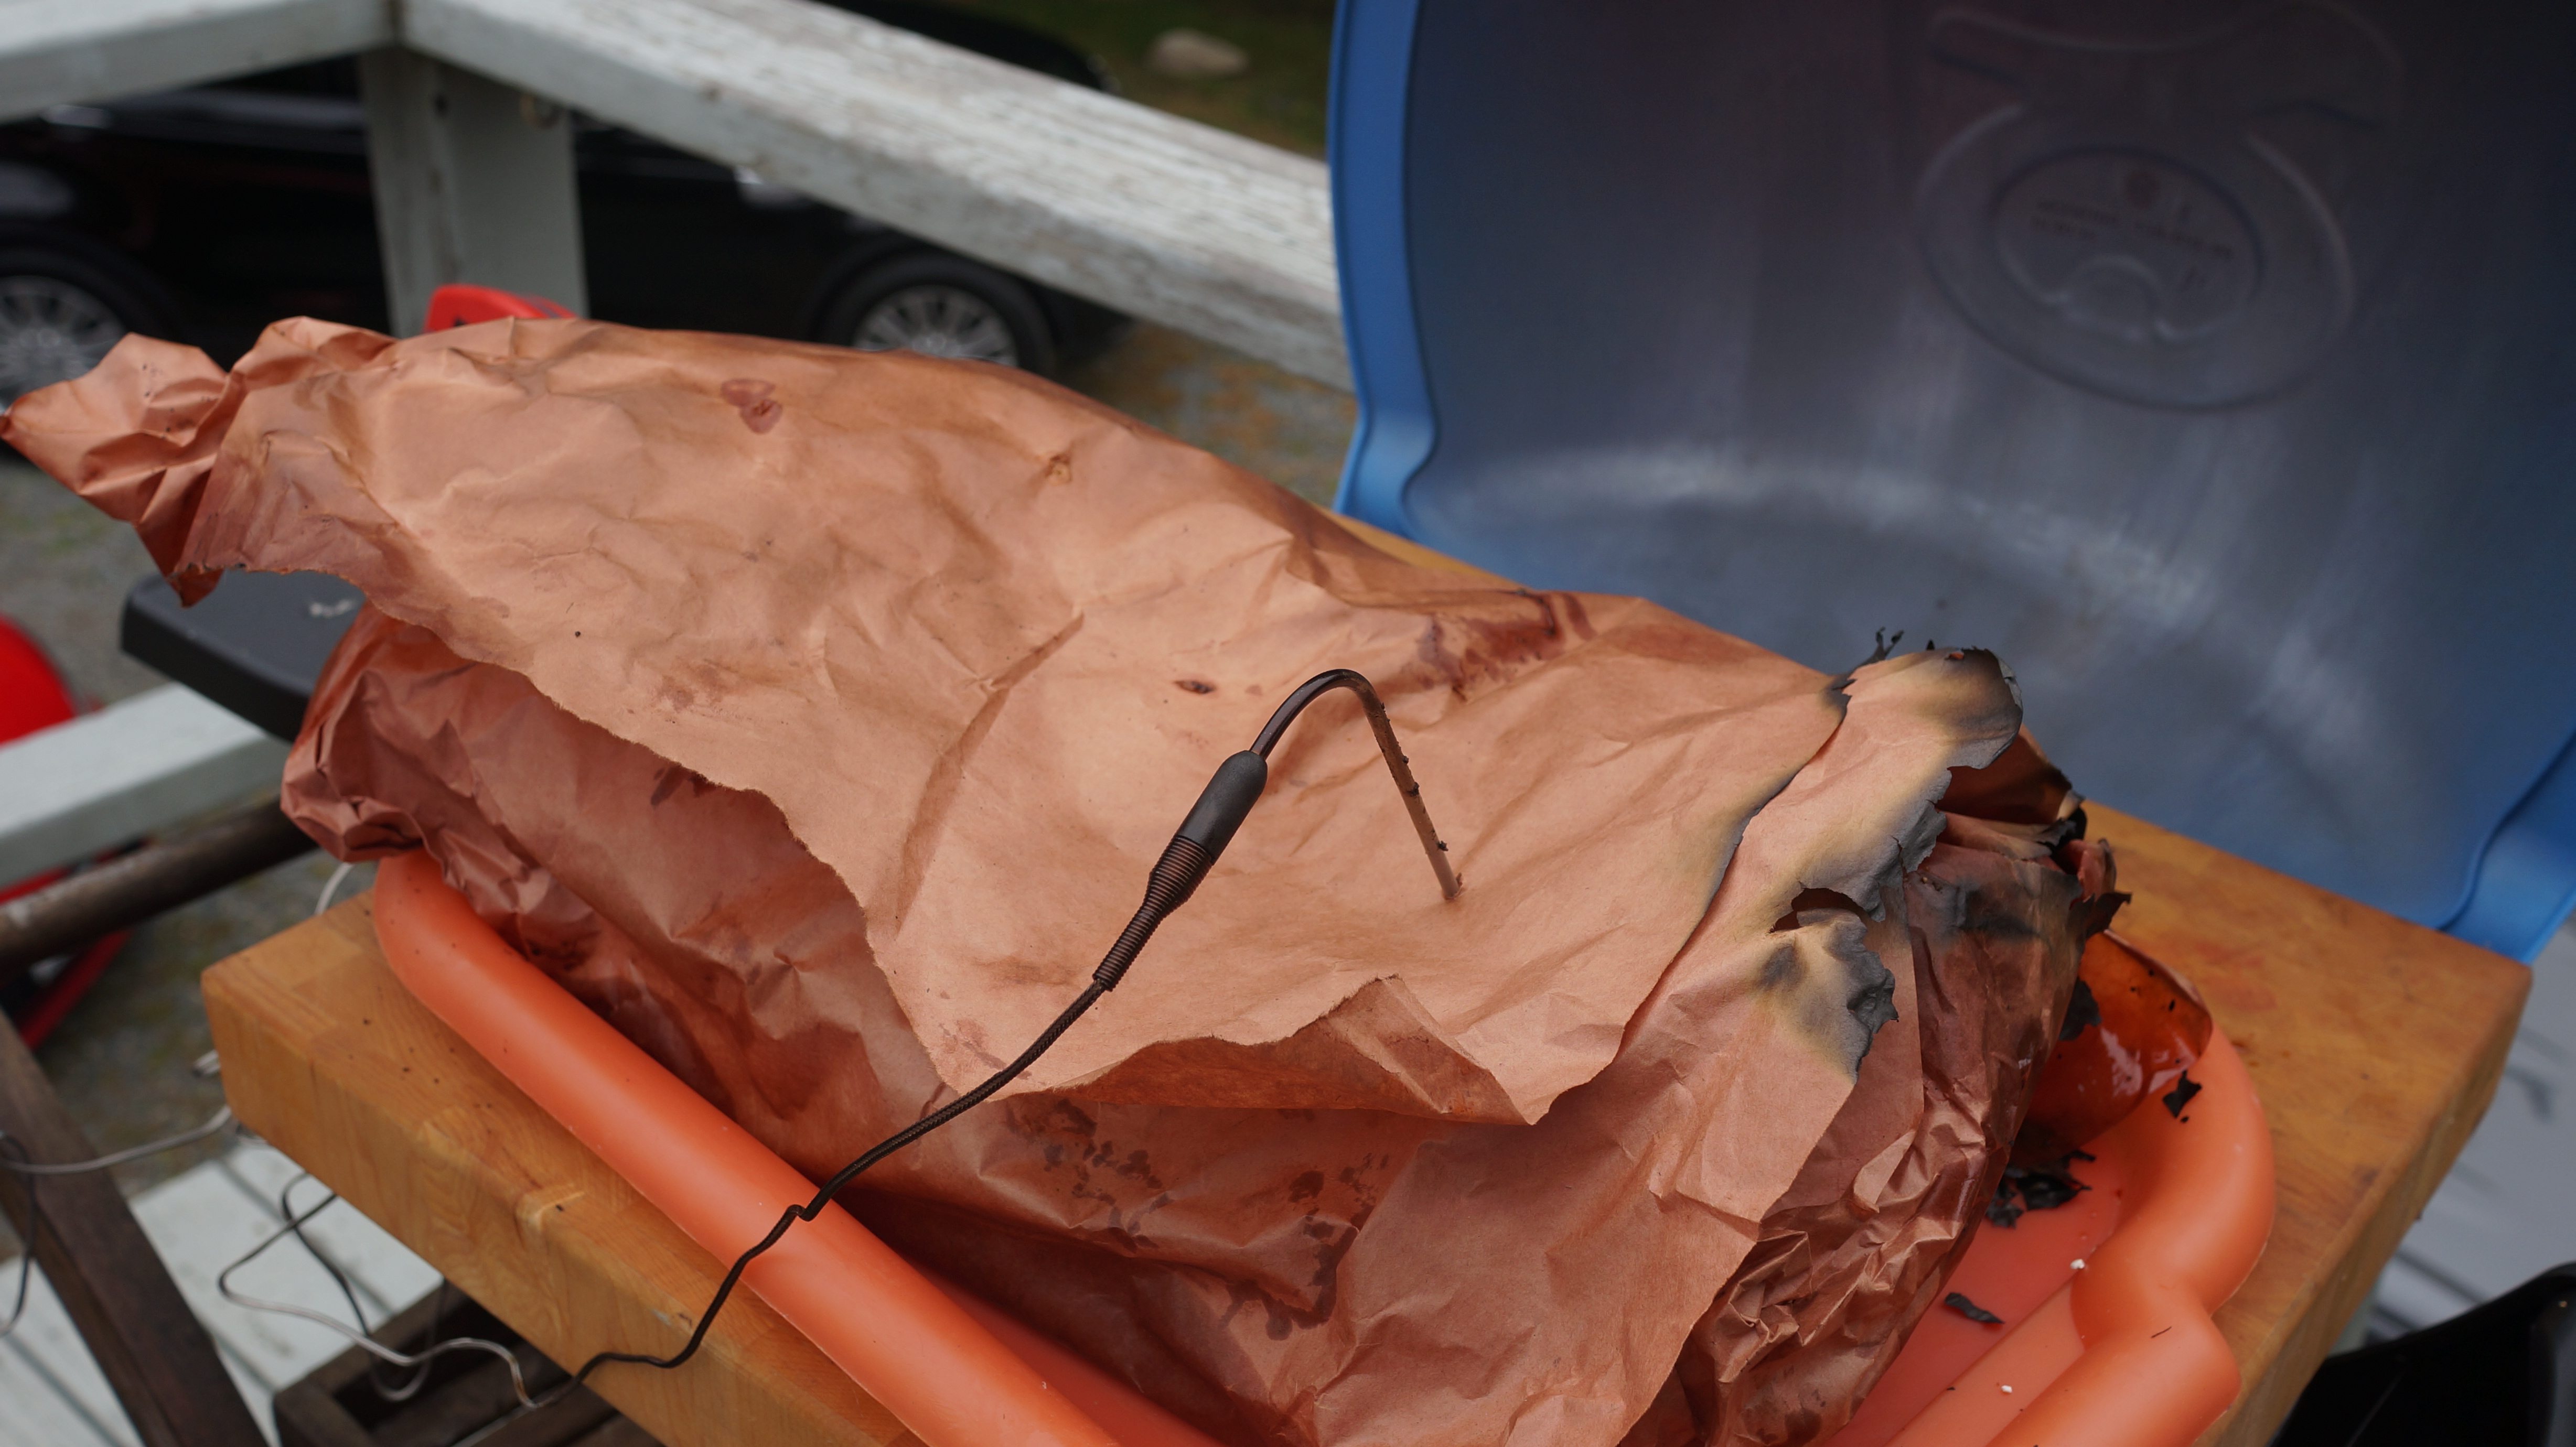
When it hits 265, pull that sucker off and let it rest for an hour or so.
Then dig in. The drippings that are collected in the drip pan underneath make excellent gravy!
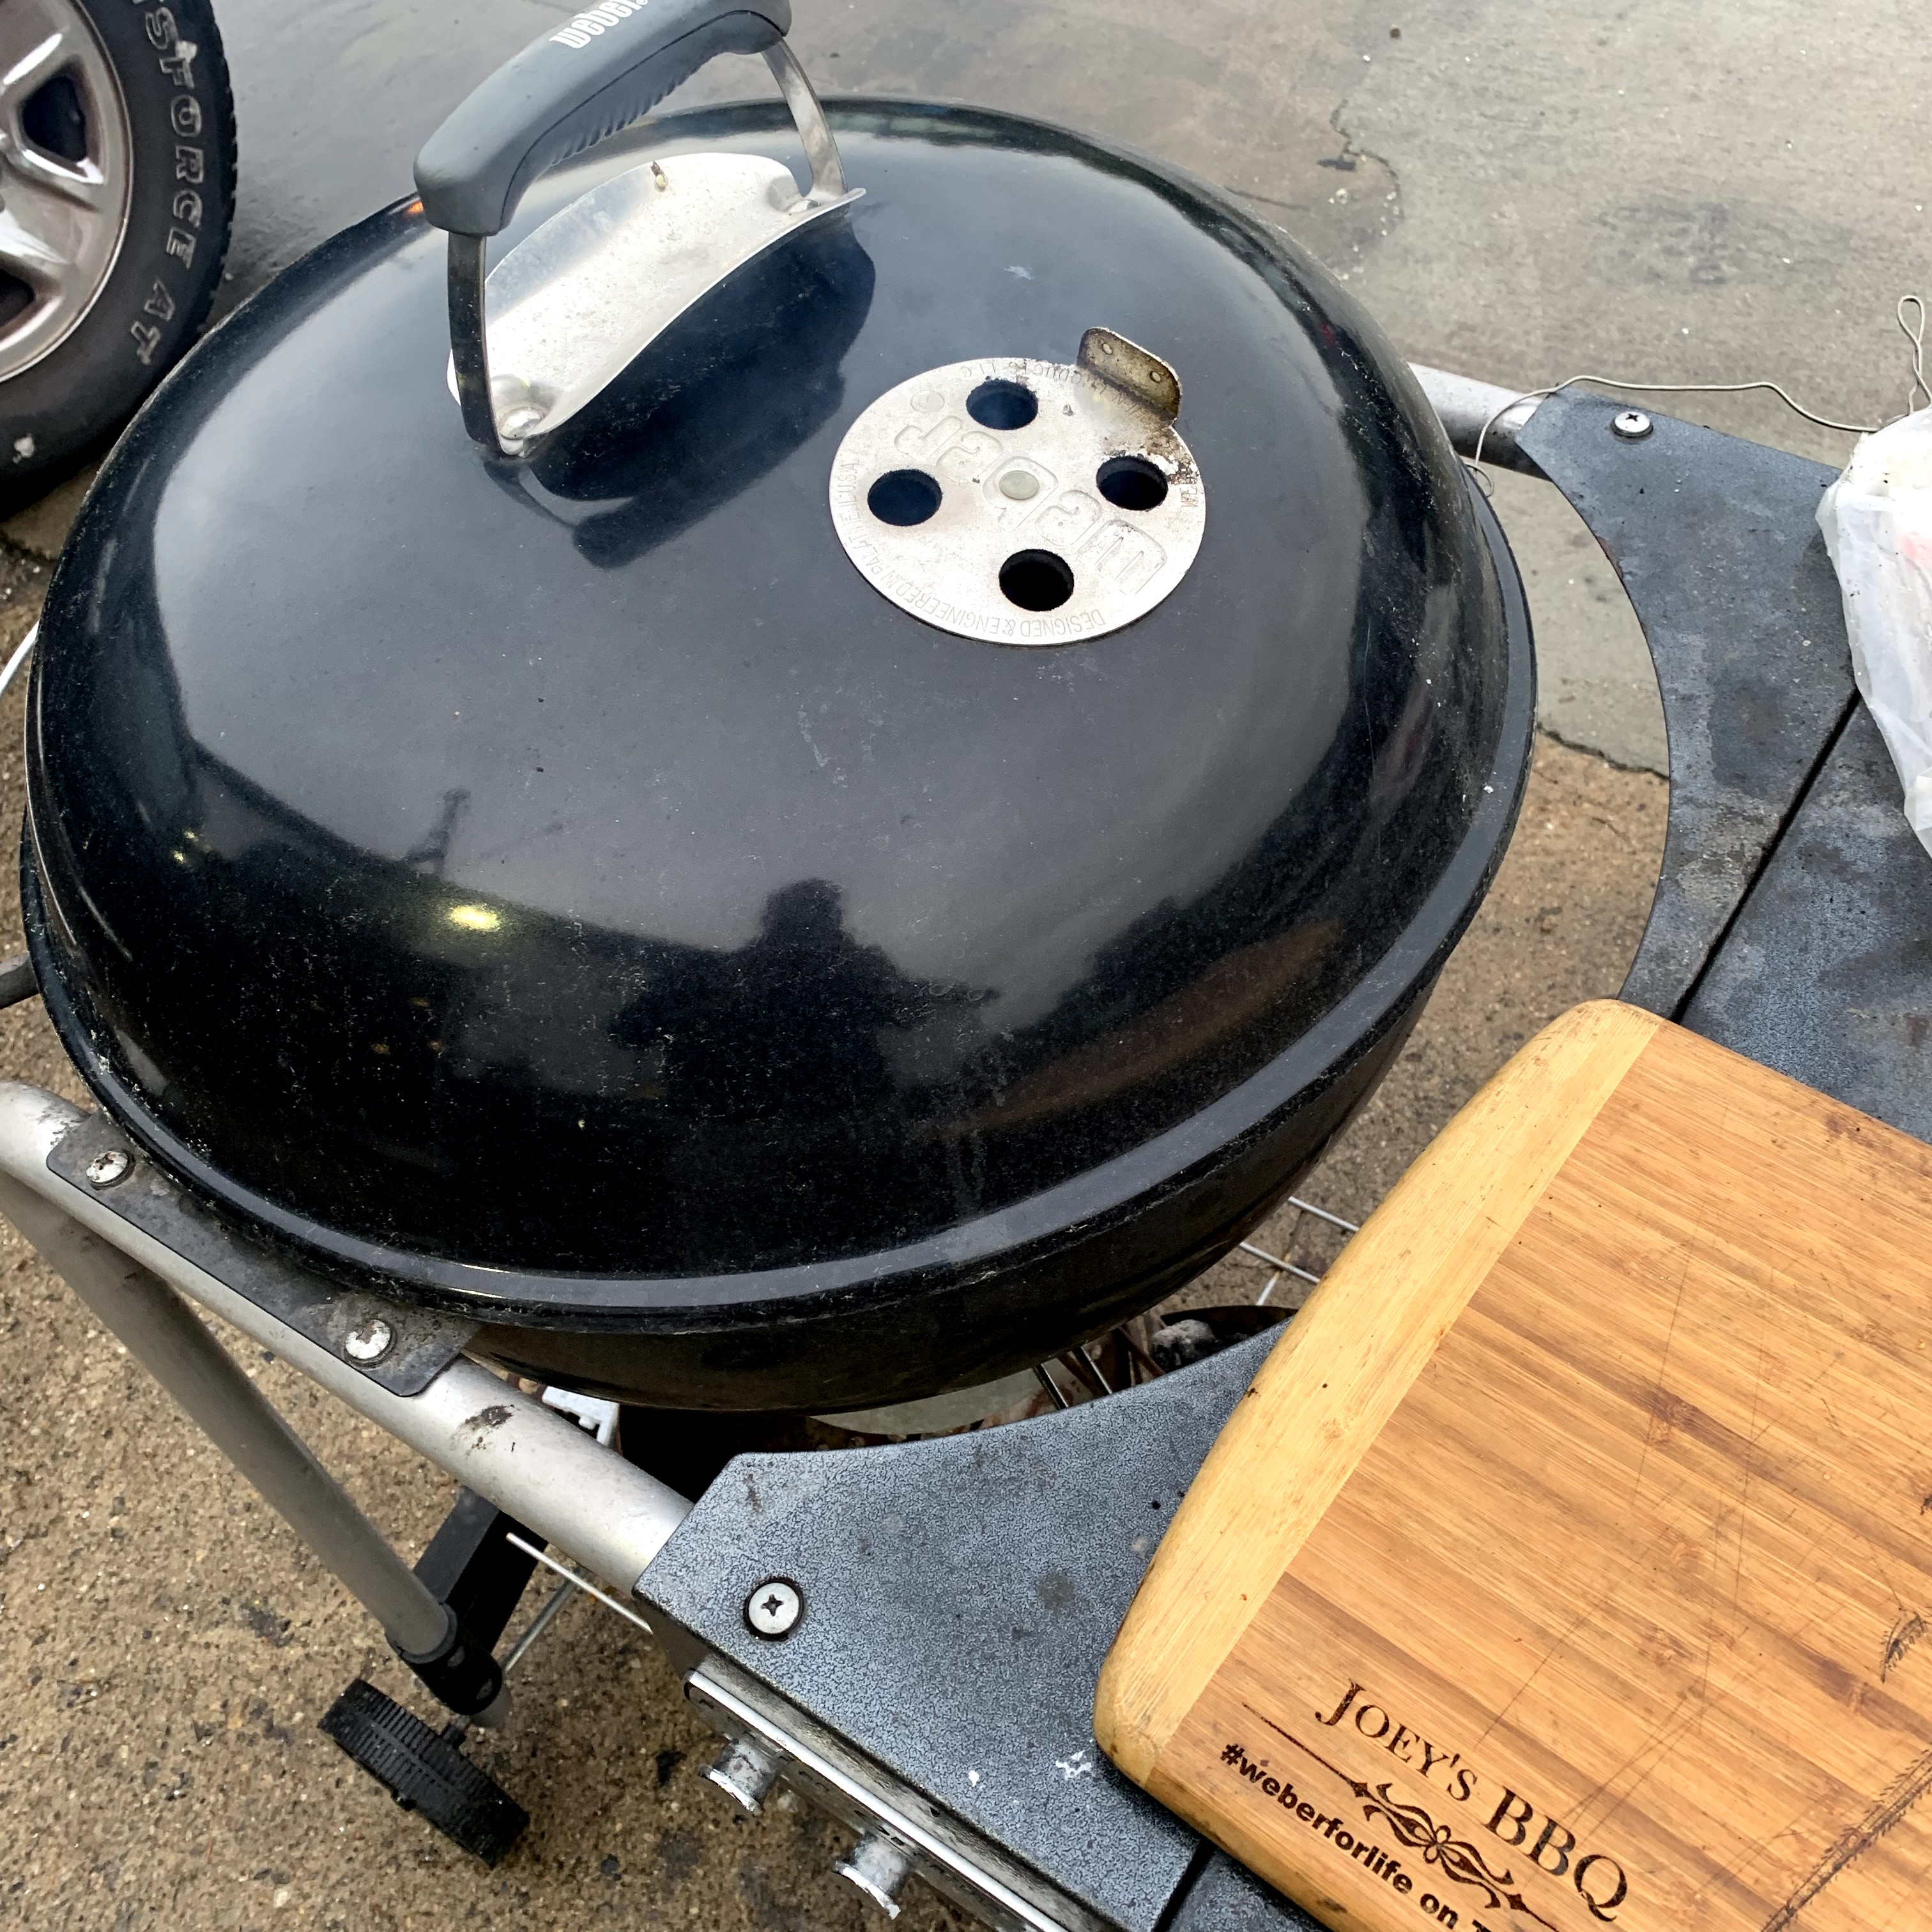
As a fan of the classic Weber 22 inch grill, one of the things that makes them so great is that they haven’t changed the dimensions of the bowl in decades making the aftermarket accessory market robust.
Knowing that you can restore a 30 year old grill that had been sitting in the corner of someone’s backyard for years and years to practically brand new with a little elbow grease gives confidence that you’re not buying some grill that is offered for a couple of years and then everything about it is changed up making it impossible to find parts. There will always be the parts for a classic 22 inch Weber kettle kicking around (at least during my lifetime).
This Killa Grilla Grate is so beautifully overbuilt in stainless steel it’s just such a fantastic addition to my favorite kettle in which it will reside- the Ivory 22 at the house.
It’s literally a grate for a lifetime.
Think about how many times you go out for dinner and drinks and drop a $100 or more. Why wouldn’t you treat yourself to something that will pay dividends for decades?
I love mine (thanks fam for the awesome Father’s Day Gift).
Every Grillfella should have one.
From last night’s break-in cook-
The details from the Killa Grilla site-
Each BBQ grill cooking grate measures 21.5″ diameter and fits 22.5″ Weber round kettle grills, replacing old and unusable cook grates.
21.5″ Round Flip Up BBQ Stainless Grill Cooking Grate- KG 7436 SNS
You asked for it, now we are producing it! Similar to our KG 7435 stainless grill grate, with (1) large side doors that allow you to add extra charcoal during cooking!!!
Each BBQ grill cooking grate measures 21.5″ diameter and fits 22.5″ Weber round kettle grills, replacing old and unusable 7435 and 7436 cook grates.
New, hand crafted, custom made heavy duty stainless steel cooking grate is made with 0.25” thick 304 stainless steel wire.
This 304 stainless steel BBQ grates will guard against corrosion and will last many years over nickel plated steel grates, guaranteed!. This unit directly replaces Weber chrome and nickel plated small wire grates that become corroded and unsafe for barbequing food.
These heavy duty 0.25″ diameter wire grates provide better searing and hold heat, allowing grill masters to complete this affordable upgrade in mere seconds. Each grill grate weighs in at a full 9 lbs!
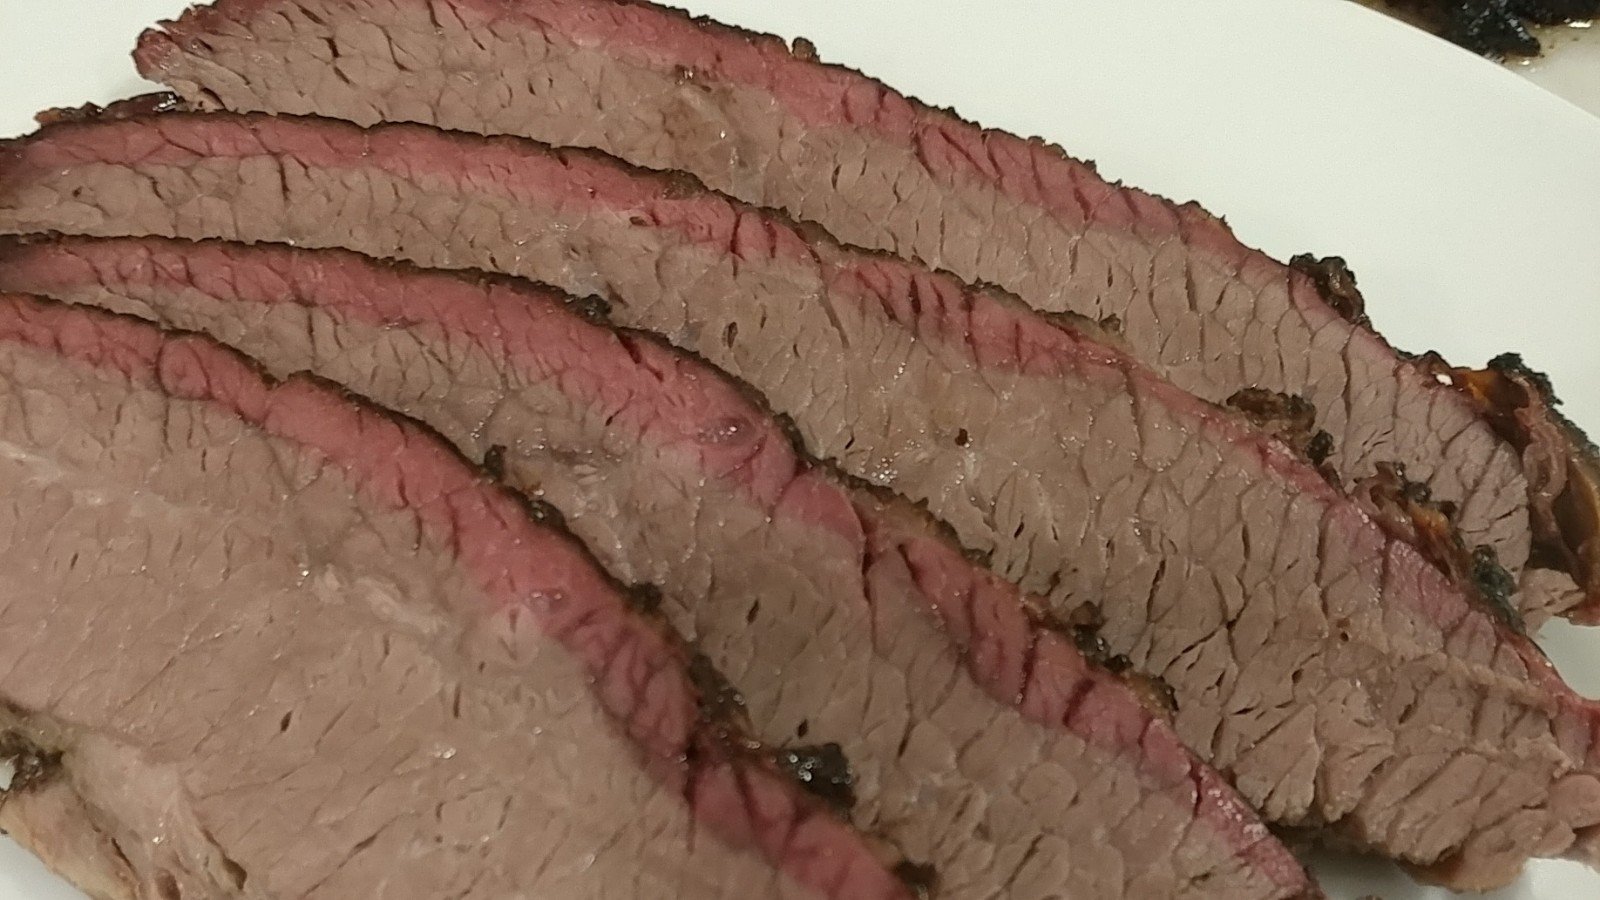
What I learned in this cook was that no matter what, you have to be patient and wait for the brisket to be probe tender.
This Brisket reached 204 degrees internal but wasn’t probe tender, enetered a stall, temps retreated even with steady 250 degree pit temps all the way from 204 back down to 189. It wasn’t probe tender until it came back up to 195F.
Not included in the review was a Lodge cast iron skillet which has many of the same properties as the Emeril cast iron griddle except it is round and has higher sides which eliminates the likelihood of grease fires in the case of grease overflowing the edges.
I used a flat griddle with a small lip around the edges to do some smash burgers and bacon. Believe me if you’ve ever had a grease fire due to the grease overflowing onto the coals , it’s no fun. They can get pretty unruly. The high sides and deep grease collecting trays are welcome features.
You don’t need a ton of coals to get any of these griddles good and hot.
The Emeril rectangular one fits like a glove within the edges of the rectangular Weber Go-Anywhere.
The Cook’s essentials was by far the easiest to handle and clean and was a joy to use on the 22 inch Weber Kettle. I suspect it won’t last a lifetime like a cast iron skillet that is well maintained but it also requires far less maintenance and won’t rust. For $16.46 I like it a lot.
The Little griddle required a decent amount of elbow grease to scrub clean with an sos pad. I suppose you could let it season up and not be so crazy about getting every bit of burnt on stuff off.
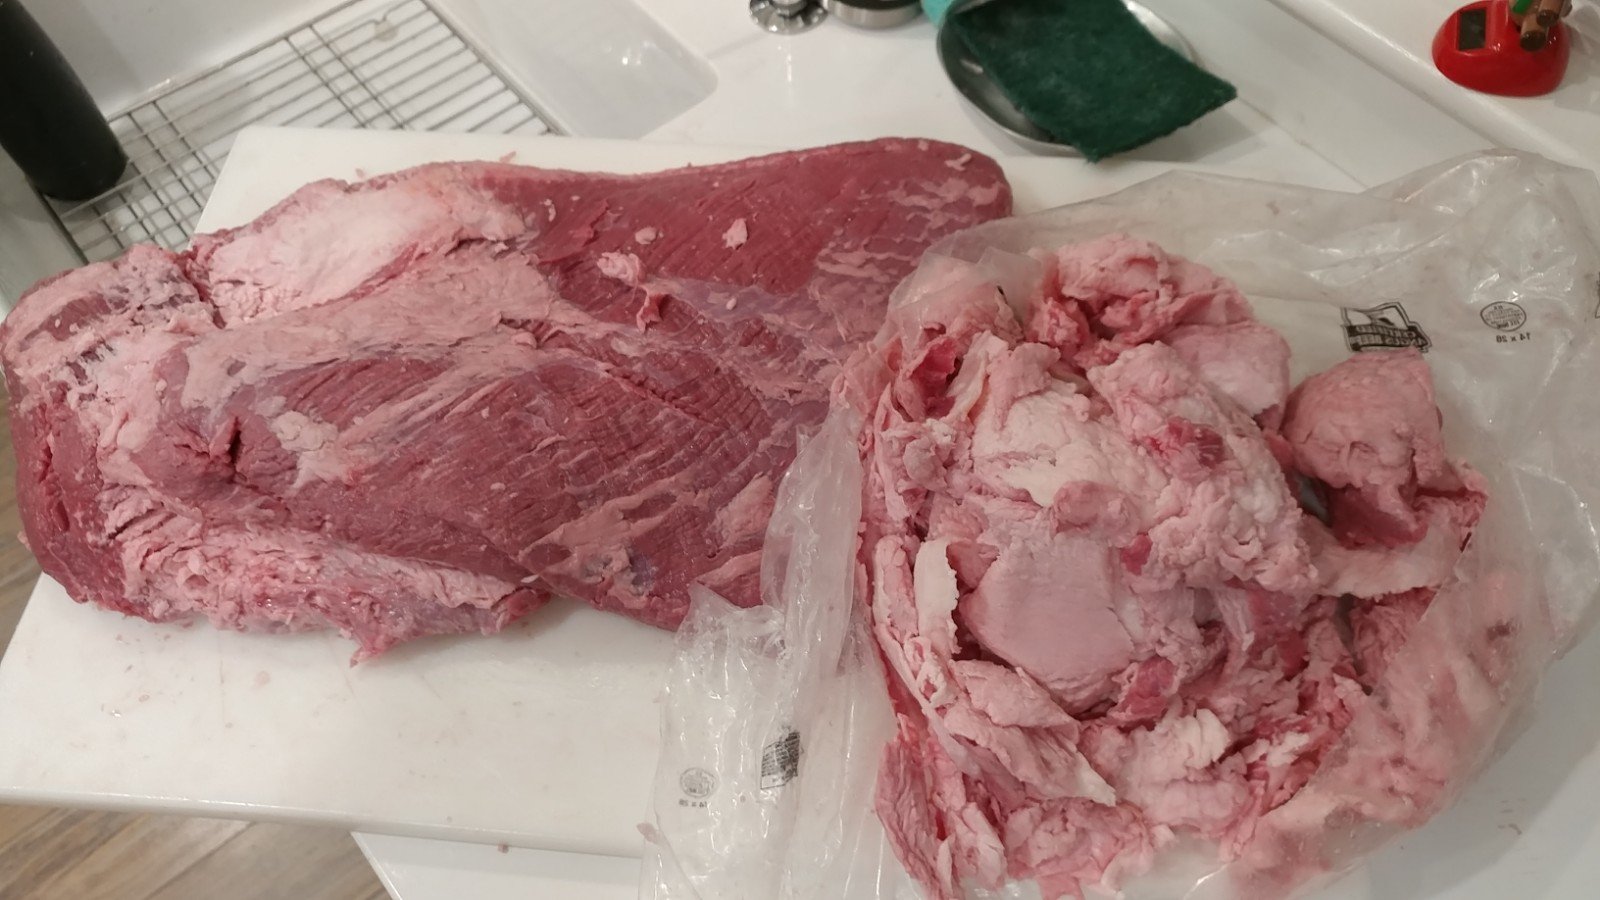
My buddy Eric Lorden got me a full packer brisket for Christmas. As there doesn’t look like there’s any end in sight to these frigid temps here in the northeast it was getting time to put up or shut up. So I trimmed this beautiful Angus Brisket which had a considerable about of fat to remove.
You can see how much fat was trimmed away in this pic. I left a quarter inch or so on the fat cap side which was cooked fave down on the Kettle.
After trimming away the unwanted fat it was time to season. Coarse salt, crushed black pepper, John Henry’s Brisket Rub and a little Montreal Steak Seasoning. Fat cap side up in this picture. She was wrapped in cello and refrigerated overnight.
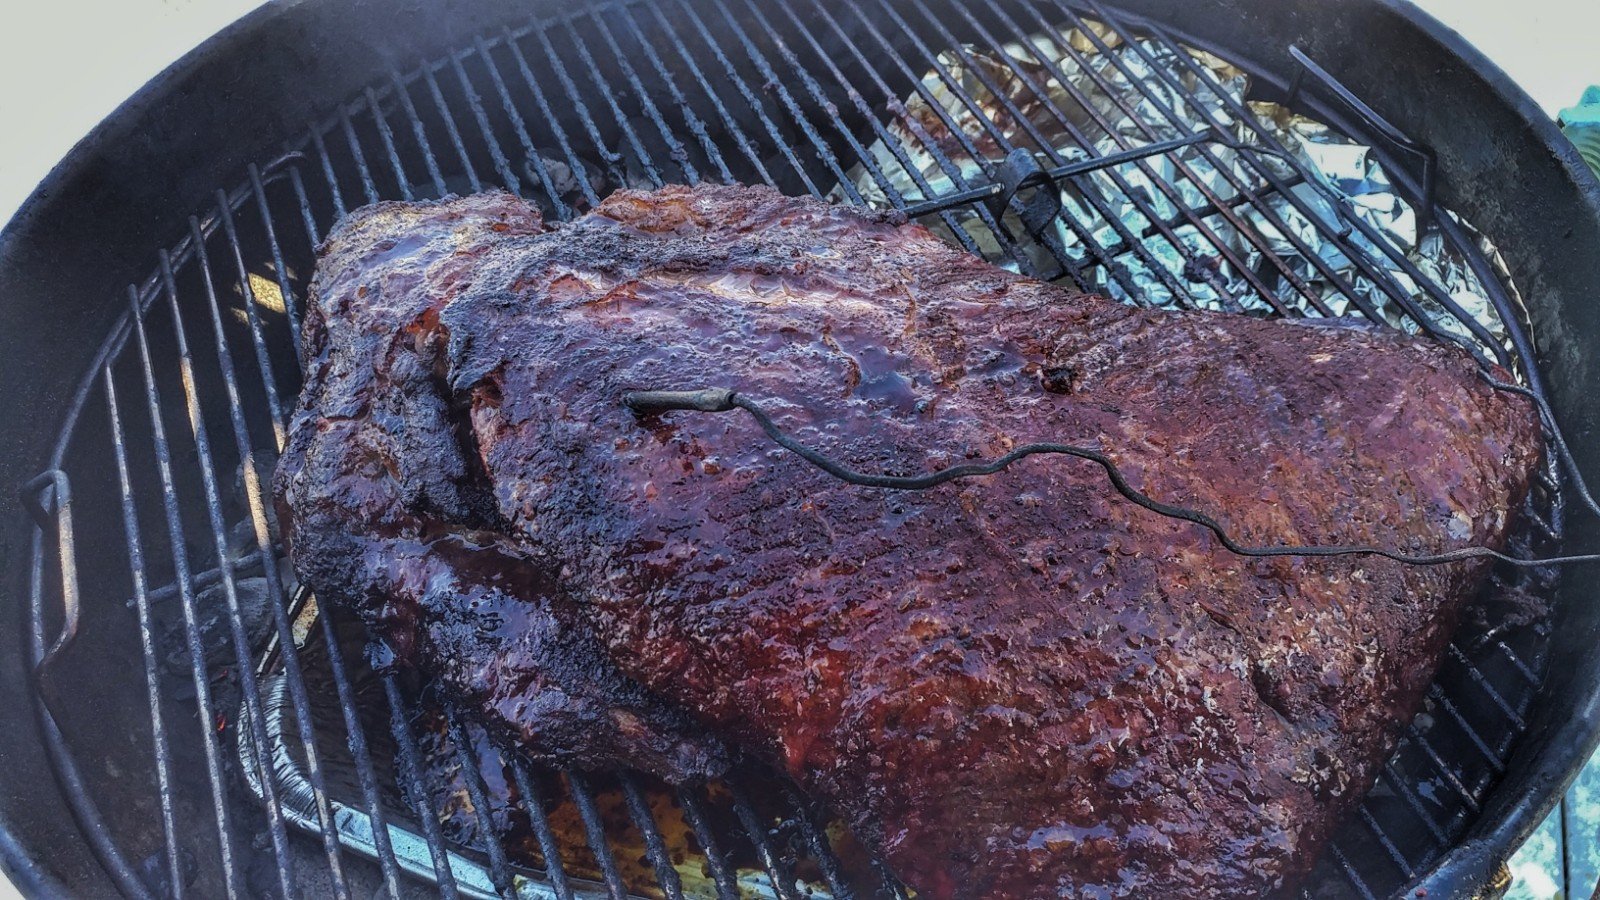
Got a late start at 8AM but set up the kettle for the snake method, placed a large aluminum pan on the charcoal grate and lit ten briquettes in the chimney. Cherry wood for smoke. Once the coals in the chimney were glowing orange I dumped them on the start of the snake. It took til 9AM to get the pit up to 200 degrees with the extreme cold temps outside. 6 degrees. Brrrrr.
Once the kettle got up to 200 degrees I placed the brisket on the cooking grate and it barely fit across. It was definitely poking out over the coals from the 10:30-1:30 O’Clock position on the Kettle. I start my snakes at 7 O’Clock so I knew I’d have to check and rotate the cooking grate once the fuse of the snake were going to have lit coals under the meat. I got about three and a half hours in when I needed to rotate it.
You can see in the next photo how I just kept rotating it. I placed a piece of foil to protect the meat from the coals you can see. Because of the extreme cold I needed to add charcoal twice. Here she is 5 hours in.
She hit the stall at 180 degrees and stayed right around there for over an hour. At 196 degrees I wrapped it in foil and put it in the oven at 275 til the Brisket hit 203 and was probe tender. The point was probe tender a full two hours before the flat. I wasn’t pulling it out to rest based on the internal temp, I was looking for the probe to slide in easily without any resistance.