

I tossed the cast iron grates from the STOK on the performer to grill these up. Worked out well.
I tossed the cast iron grates from the STOK on the performer to grill these up. Worked out well.

Incredible Day!

Trimmed Up The ribs-

Rubbed a with Paul Prudhomme

Ribs hit the Weber Smokey Mountain Smoker #bbq #bbqporn


Also some Atomic Buffalo Turds

Here’s the original post-
She started out dusty, faded blacks,rusty vents with a stained thermostatic plastic table-


She got a though rough detailing that you can follow in the link at top of this post.
So yesterday she looked like this-

Today the updated Performer table and stainless charcoal basket cord arrived.
The swap out took all of five minutes and the results are very pleasing. If I owned an older Performer it would be the first thing I’d do is order the newer style table.
The newer style metal table comes with bolts that are darker than the bolts that came on the original as you can see in the picture. I was torn deciding between keeping with the silver ones that were in great shape still or using the newer black ones that shipped with the metal table. In the end I decided to go with the darker ones, knowing that I could always swap them back f the black ones start to rust or something( I just need to not misplace them)

It was raining but I just couldn’t wait.
First to hook up the new charcoal basket cord while the table was still not bolted down. The cord that was on there previously had rusted clips. New style looks to be stainless so ask for I if you order the newer metal table.

Next to bolt it in, no drilling or modification necessary.
Before and after-
Before-

After-

Loving it and highly recommend this upgrade.
Weber Parts Numbers-
Metal Table 65189
Charcoal Bin Chain 65197
big time thanks to Weber Kettle Club Forum Members for the information on how to do this!
2 x 18.6 lb bags of Kingsford Blue Bag for $12.99 is roughly 34 cents a pound and a great deal. Sale ends April 11th
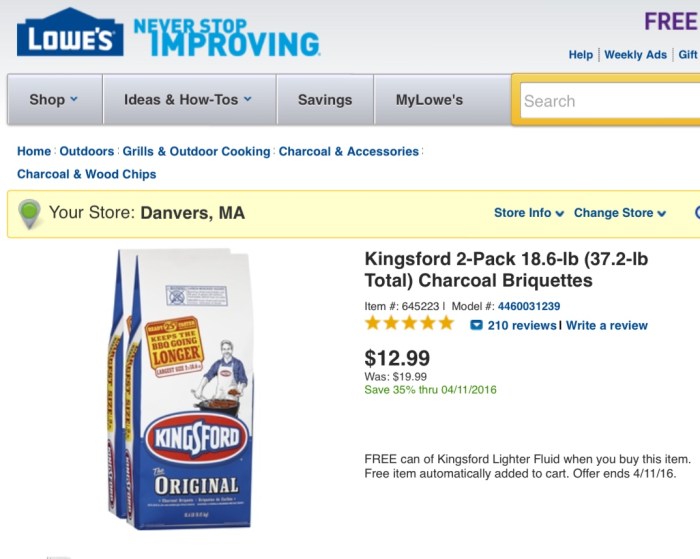
Verified- Got two 2-packs today at Danvers MA Lowe’s-

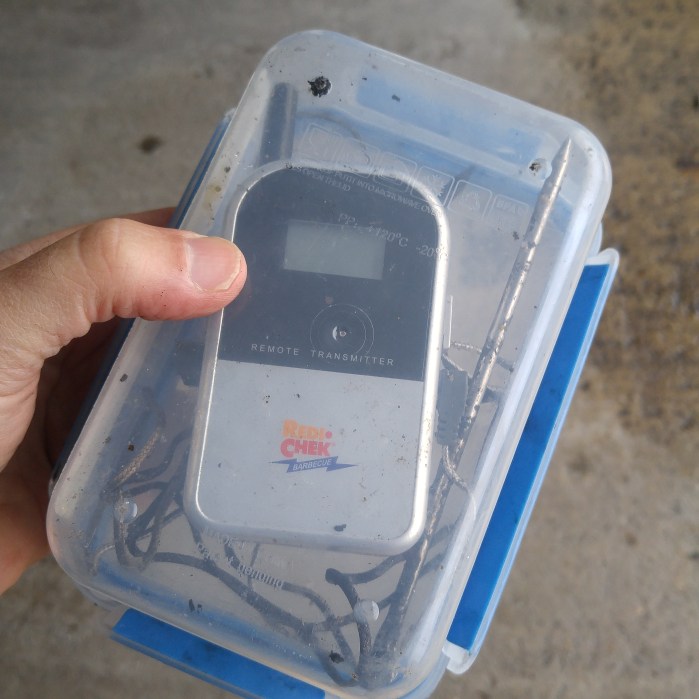
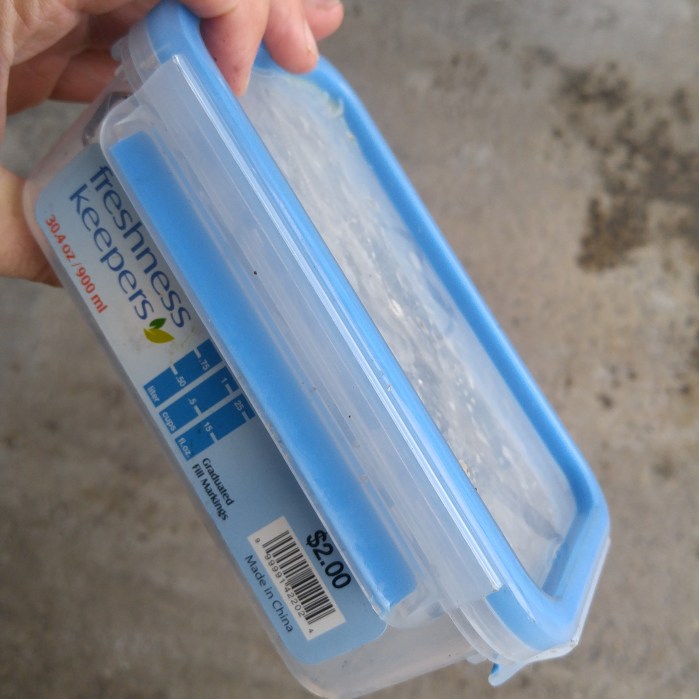 You can get these at the Dollar Store. They work very well to protect the unit on your remote thermometer sensor from the rain which will ruin your investment in a hurry.
I know it’s not some high tech revelation but sometimes there are simple solutions that we can pass on. I hear many stories of semi-expensive remote thermometers getting destroyed by rain.
Being transparent they allow you to see the temps without having to take the unit out if the container.
The cord on the probe goes right out the corner and the container can still be locked down to protect from the elements.
This one was $2 and I got it at Ocean State Job Lot in Peabody.

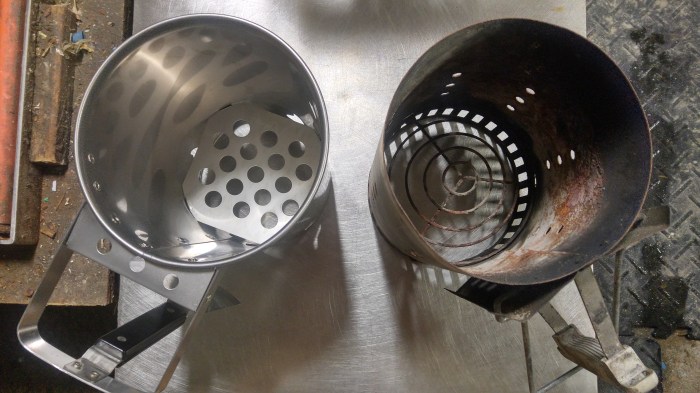
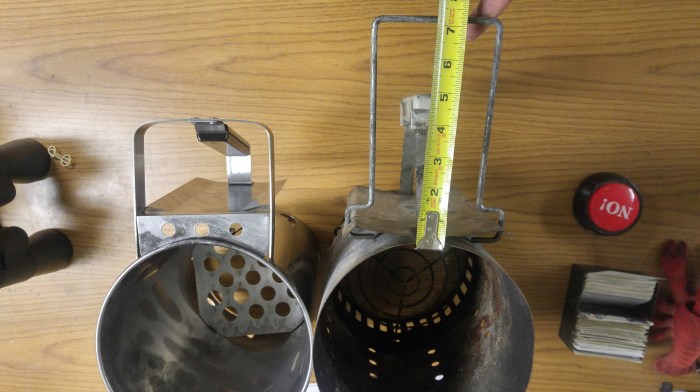
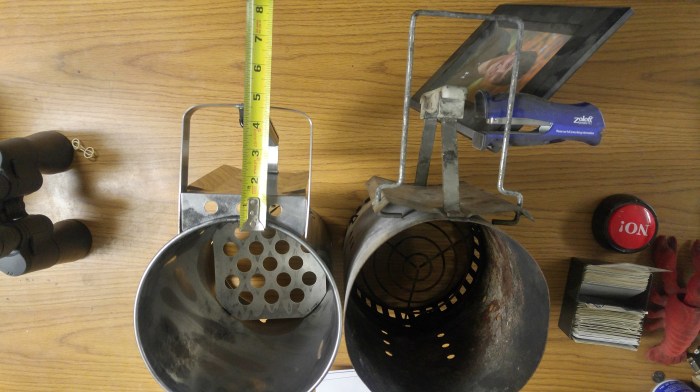
This is intended to show with tape ruler, digital scale and photographs some of the differences between the Broil King 63980 Charcoal Chimney Starter and the Weber 7416 Rapidfire Chimney Starter.
It should be noted that the Weber unit has been used at our lobster dock since last May and the Broil King Unit just arrived.
Firstly, the Broil King cost $26.99 at the time of purchase and here are the details as listed on Amazon-

The Weber Rapidfire Chimney Starter cost $14.99 and here are teh details as listed on Amazon-

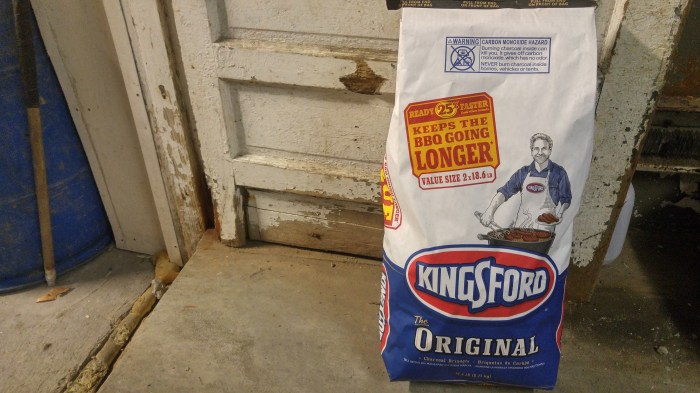
Opening and using a new bag of Kingsford briquettes for uniformity.
Physical characteristics- The Broil King is shorter, it also has a slight taper to widen just a bit at the top. The Weber seems like it would have more air flow with the wire rings. the Weber also has the hinged handle which when extended will keep your steadying hand further away from the hot coals. They both are well built and sturdy.
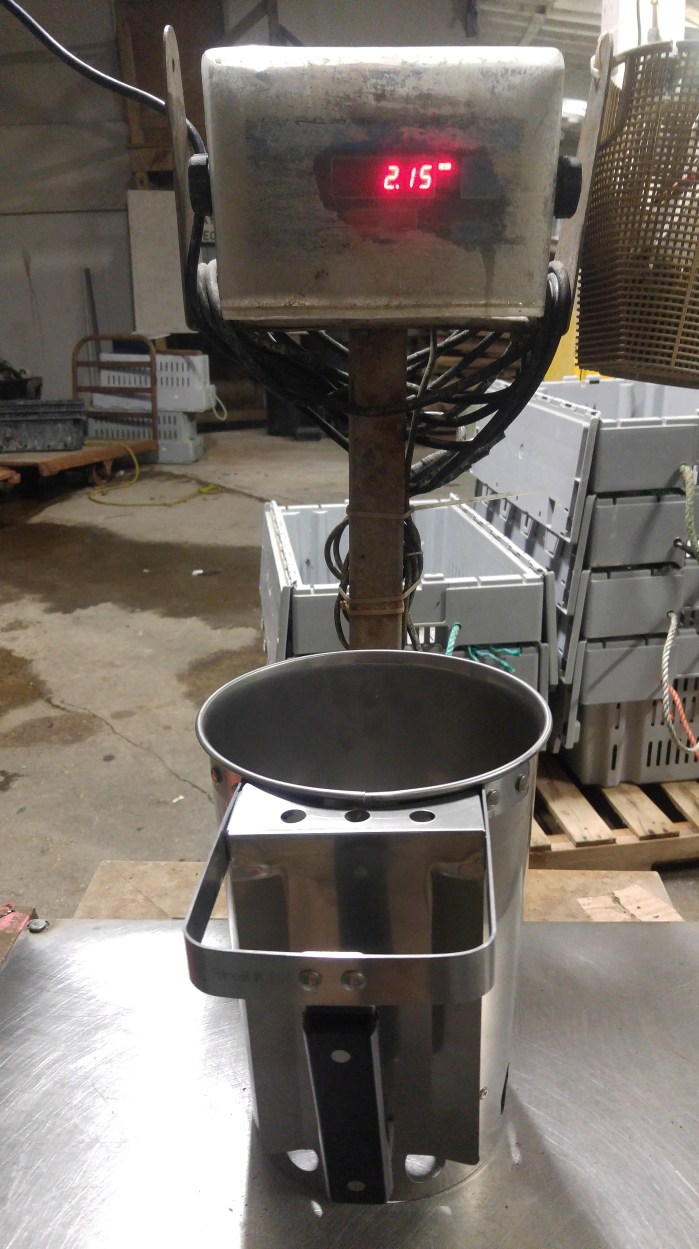
The Broil King weighs significantly less- 2.15 lbs vs 3.5 lbs for The Weber

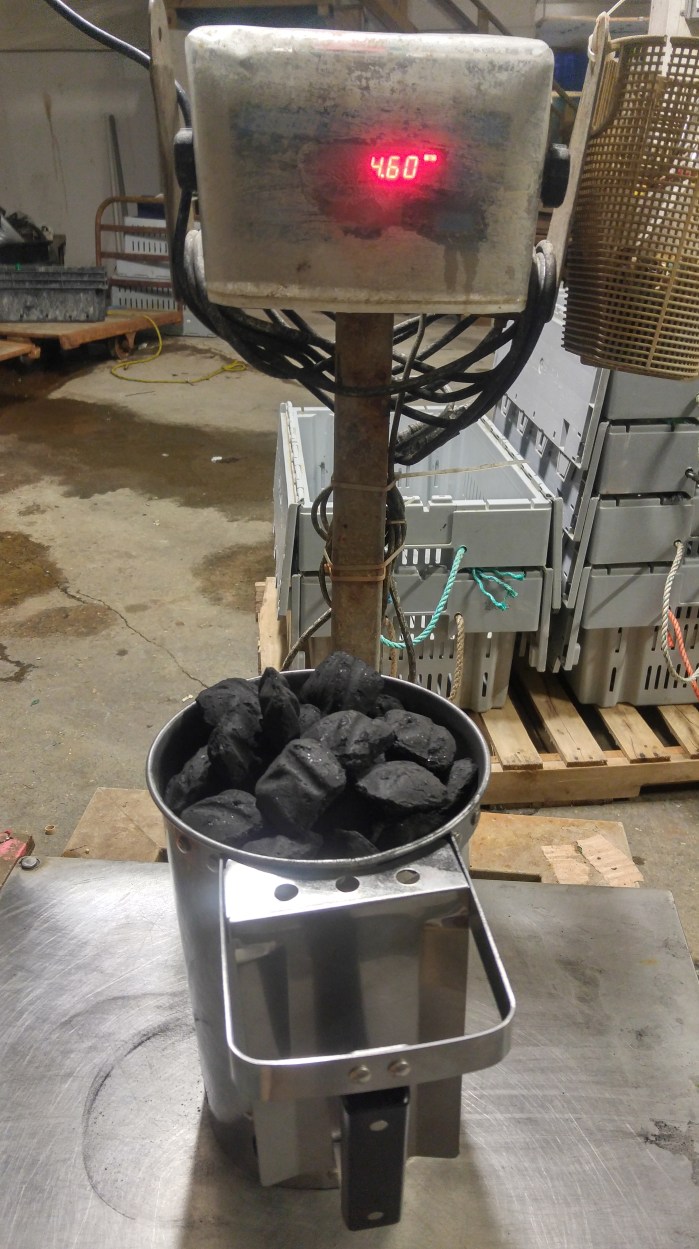
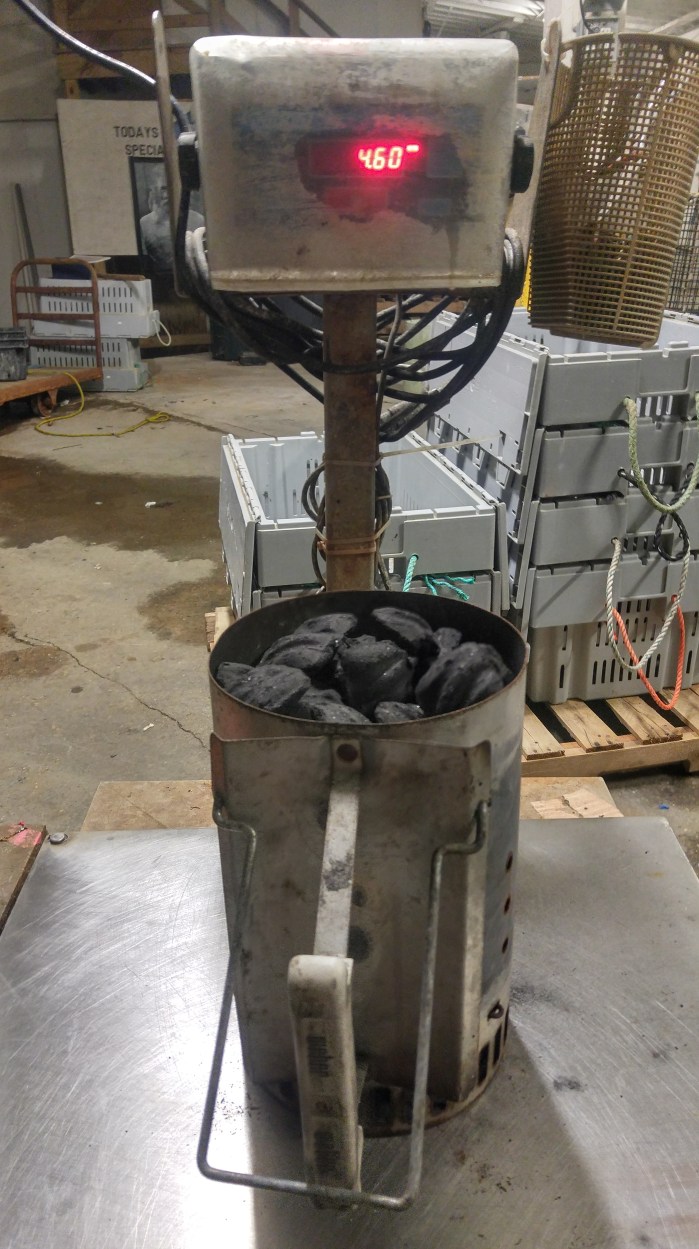
Filling each starter with exactly 4.6 lbs of charcoal the Weber can hold slightly more than the Broil King (not very significantly more but there is a little more space at the top, probably an additional 6 briquettes.
The extended hinged secondary handle on The Weber extends further than the Broil King- 7.25 inches vs 4.5 inches.
Conclusion:
The Weber 7416 Rapidfire Chimney Starter is a little over half the cost of the Broil King 63980 Charcoal Chimney Starter . It is heavier, it holds slightly more charcoal, it has more space for air to flow upward to start the charcoal and it has the secondary hinged handle which help to control the chimney when its full of hot coals.
Some things I like about the Broil King is that it is stainless. I’m not sure if it will hold up better than the Weber over time but at almost twice it’s cost I doubt you would get almost twice as long with it. Maybe you could though. I also like that the holes in the bottom which are shaped like flames are large enough that you could stick the end of a long lighter into completely whereas on the Weber you have to lift the chimney with one hand and light it from underneath.
For the money I’d purchase the Weber as you could almost afford two for the same price as the Broil King and I don’t see enough significant features that would make it worth almost double the price. In fact The Weber is a little heavier and can hold slightly more charcoal.
Update 3/20/16:
Tested The Broil King
Lit two crumpled pieces of newspaper and one Weber Starter Cube in the bottom of the unit at 6:06PM
6:20PM All the briquettes were glowing except for the top row. Ready for the cook.

It was easy enough to handle and the extra handle of the Weber is actually a non-factor one way or another for my use. Pouring the coals into the charcoal basket was easily controlled without the hinged extra handle on the Weber unit. The handle on the Broil King 63980 was cool to the touch and the heat deflector did its job well.
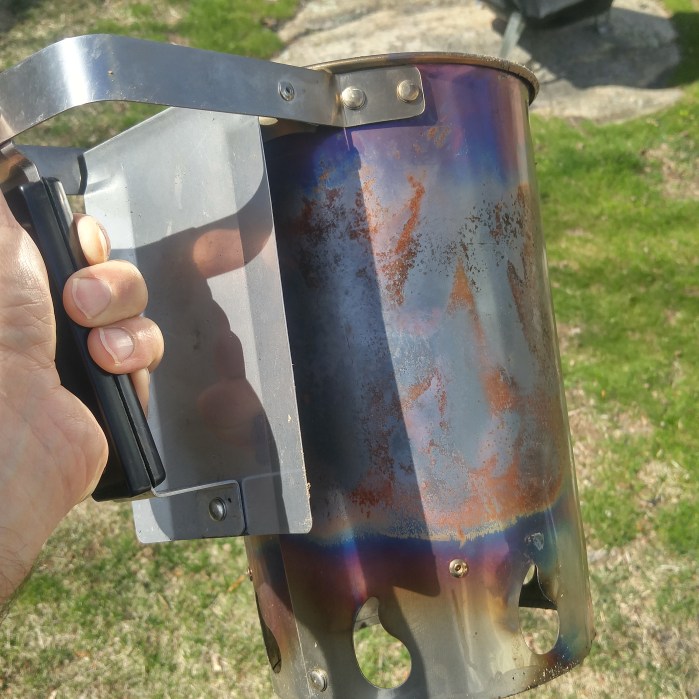
As you can see after the first use it is obviously discolored. This as we know does not effect performance but it’s worth noting that it will not be looking like the stainless out of the package unit that came shipped after it’s initial use.

After having used the Broil King unit I would say it performs well but because of the much higher cost I would buy the Weber 7416 Rapidfire Chimney Starter
4/2/16 Update:
After one week outside the Broil King Chimney that is supposedly made out of stainless steel has significant rust on it. Another problem I’m encountering is that with the slightest breeze it tips over because it is not very heavy and the weight of the handle topples it making it difficult to fill because you need to hold it with one hand while dumping the charcoal with the other arm.
I can’t under any circumstances recommend the Broil King Chimney, In fact I feel like it should be returned for the simple reason of rusting after only a week outdoors.

My daughters wanted to have a cookout after school so we loosely formed up some 80/20 burgers with baked bacon bits inside and smashed em up on the STOK Drum!
Big hit

And a Ribeye for good measure! Note the hash marks you get with the cast iron grates on the STOK!

Time to load up!
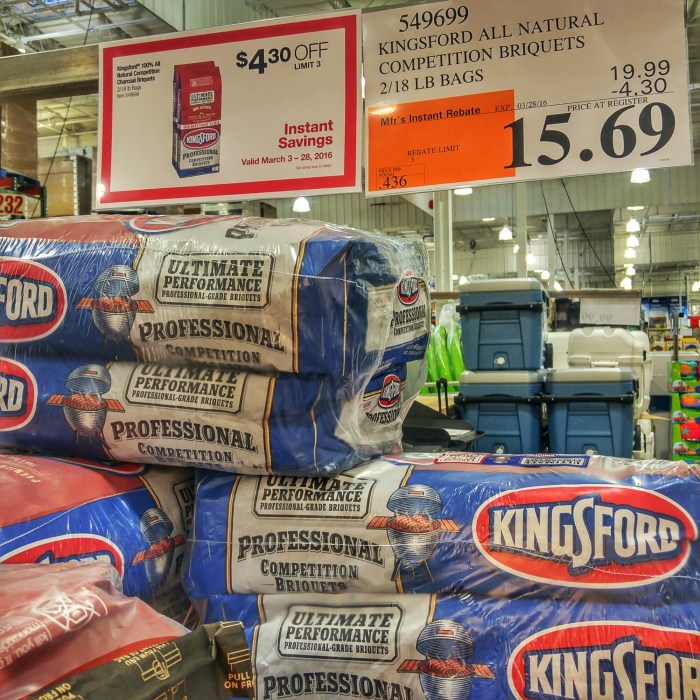
PNW Smoker, a forum member at http://www.bbq-brethren.com passed along this great Charcoal sale at Costco –
On sale this month. Their ad says $4.xxx off, but they don’t give you the price.
After instant rebate, two 18lb bags are $15.69. I was at Home Depot just before Costco and they had 11lb bags for $9.88. That’s nearly half the price at Costco
Pretty good deal at Costco I’d say. I got my three bundle limit 🙂


Most of us die hard BBQ fanatics cook all the way through the winter but if you haven’t fired up the pit it’s a good time to give your grill a checkup and a little maintenance to ensure you’ll be ready to rock come spring.
I find it best to scrape down the grates right after you finish up and season them but there are many times you just want to get right into the delicious grub you just prepared so a little crud gets left behind. A little crud is no big deal in the summer when you’re cooking often but you don’t want that to stay there all winter making for a tougher spring cleanup.
On a sunny morning even if it’s cold, start up the grill, let the grates warm up, scrape it down and then apply a nice coat of canola or peanut oil to the grates to protect against rusting. A tiny bit of preventative maintenance goes a long way to keeping your pit tip top shape! I keep a mason jar with canola oil next to the grill all spring/summer/fall but it will congeal in the winter. At the dollar store they always stock $1 silicone brushes which are great for mopping sauces and also applying oil to season your grates after every cook.
Have a great day and keep grilling!

