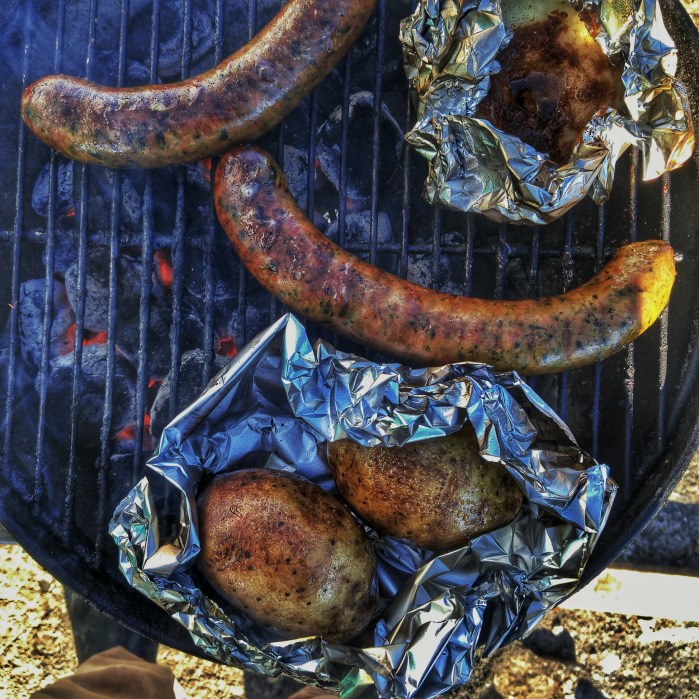
So cheap, so delicious, so easy you gotta add it into your BBQ repertoire.
First Pierce the russet potatoes a bunch of times and toss them in the microwave for three minutes. then flip them over and put them in for another three minutes.
Carefully take them out and use a paper towel or basting brush to brush on some EVOO. Next crush some Atlantic Saltworks coarse salt on top(this will create a nice crust).
Fire up the pit and let the coals get good and hot vents wide open.
Tear off a piece of aluminum foil to place the potatoes on so they don’t burn and leave them on for about 45 minutes.
The outside skin will be nice and crispy and the inside fluffy just waiting to bathe in butter and/or sour cream and/or cheddar melting cheese and/or bacon bits and/or chopped up jalapenos and/or… you get the picture.
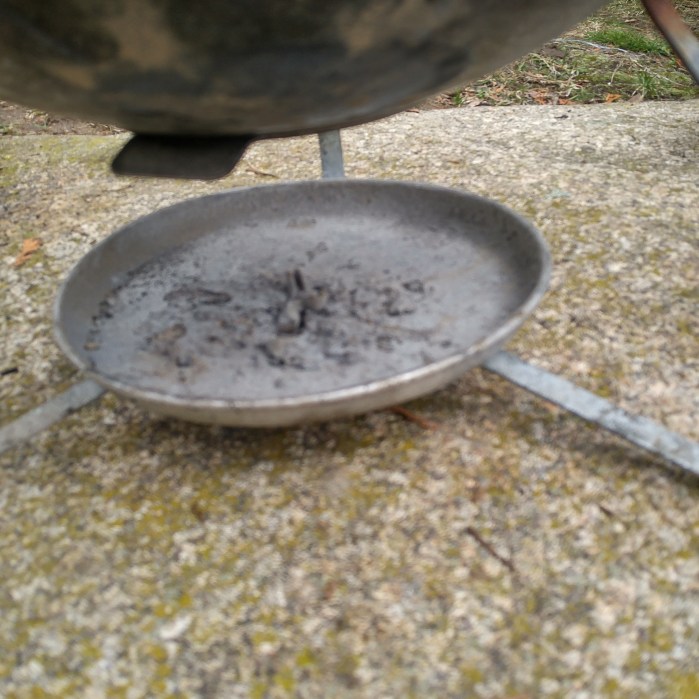
With inspiration and advice from far more mechanically inclined contributors @Bustin Butt and @addicted-to-smoke on the Weber Kettle Club Message board I successfully added a nice lower vent knob to my often used Smokey Joe Grill that I use for lunches at the dock.
First she needed some cleaning from a heavy year of use and neglect in the most brutal of saltwater dock conditions (our lobster company).
Before-
After scraping with a razor blade handle to remove the heavy crud, I gave it a good scrubbing with some dish soap and fine steel wool. This Smokey Joe is pretty banged up already so I didn’t get too crazy but the results are pretty remarkable with only about 40 minutes of elbow grease.
For really great Weber Kettle cleaning instructions check out Weber Kettle Clubs guides-
So now that I got the Smokey Joe looking nice it was time to man-up and break out the tools. I am probably the least mechanically inclined person I know. Generally whenever I try to save some money by doing something mechanical it ends up costing me double after I end up having to hire someone that knows what they’re doing to fix my mistakes.
Because the Smokey Joe owed me nothing as I’ve cooked on it a ton and it was pretty beat up to begin with, I figure if I was going to try to drill into one of my grills to do a modification, that I’d start out on one that if I completely messed up it wouldn’t be the end of the world.
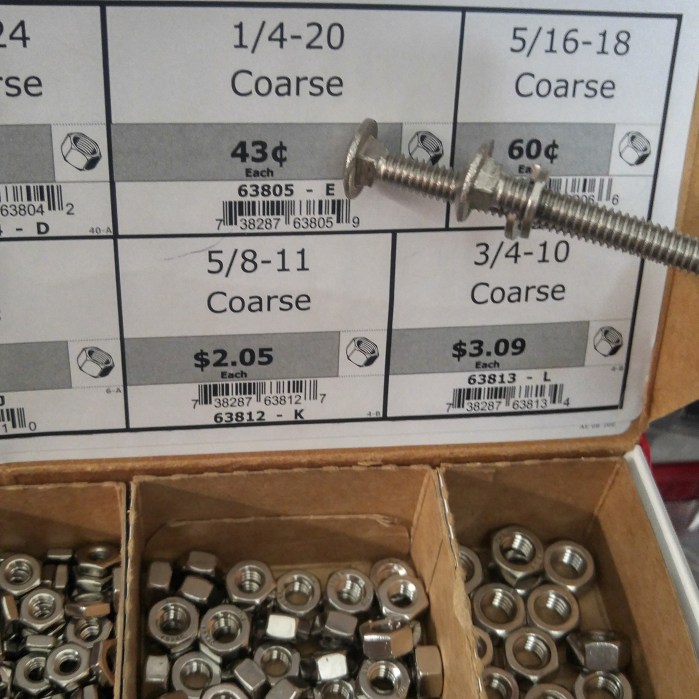
Then headed to The Building Center where I found the stainless hardware that Weber Kettle Club member @addicted-to-smoke advised me to get. I bought two sets of the hardware which included these items-
5 inch stainless carriage bolts $2.29 each 1/4- 20 thread
1/4 inch split lock washers .22 cents each
stainless 1/4-20 nuts .43 cents each
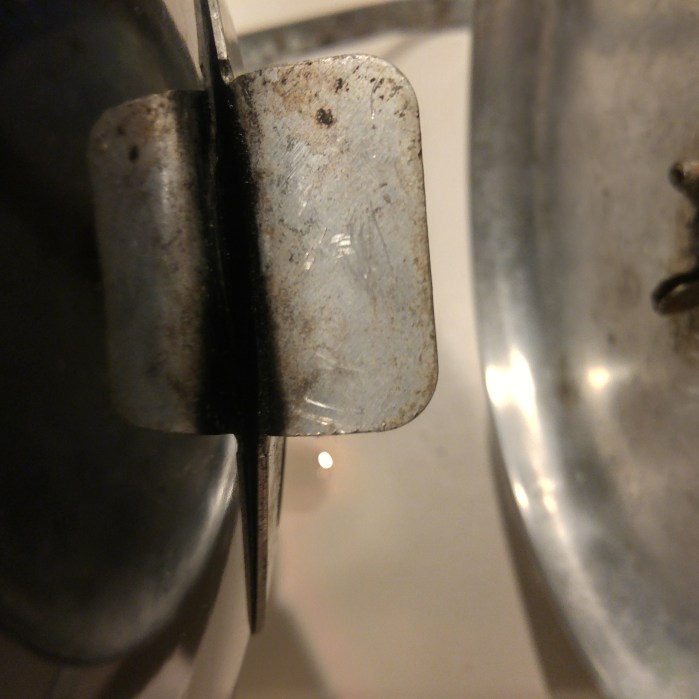
Next bend the bottom vent tab 90 degrees with a pair of pliers. It bends pretty easily. I doubled over a paper towel to not scratch up the vent tab.
So now for the part where I am nervous that I’m going to royally screw up. The drilling of the hole. I used a 1/4 inch metal drill bit on a Dewalt cordless drill. Pressed down and applied steady but not too much pressure. It skipped a teeny bit so it’s not perfectly centered but no one would notice if they weren’t looking for it as it under the Smokey Joe out of sight. Next time when I do this to the brand new Lime Green Smokey Joe I have sitting in the box in the basement you can rest assured I’ll be getting it precisely in the middle. Anyway here are the parts-
I’be seen quite a few people choose long carriage bolts with big heads on the end and they simply put locking washers and bolts one either side of the vent tab and have the head of the carriage bolt extended out to use as the lever. I liked the way @bustin butt’s mod came out in which the large head of the bolt is on the inside of the vent tab and then you just use the one lock washer and nut to tighten down on the vent tab and screw the threaded knob onto the end of the carriage bolt that is extruding toward you-
Here it is in action-
I’m pretty happy it came out the way I wanted and I didn’t mess anything up!
Follow along with this morning’s live Boneless NY Strip Loin Roast Smoke at www.northeastbbq.com
Here’s tomorrow’s victim.
Update 6:00AM
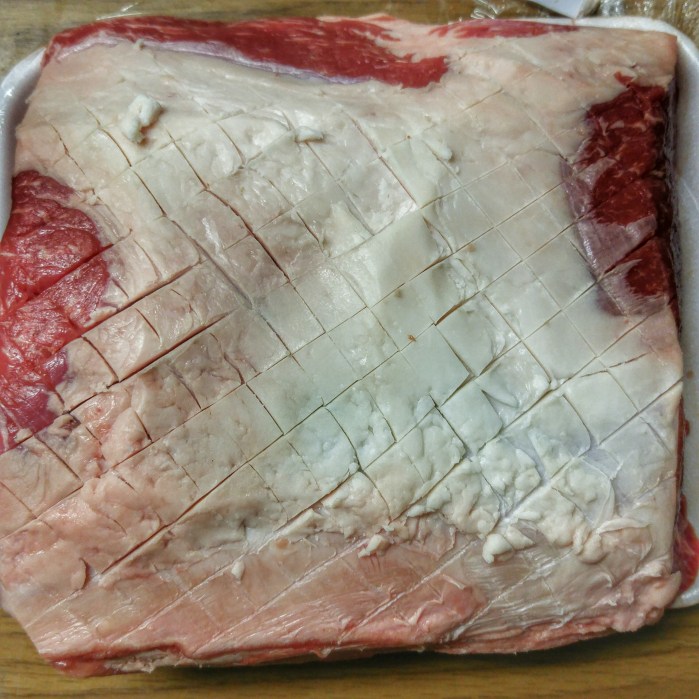
Bust the Loin Roast out of the package and prepare the rub.
Cut a criss-cross pattern in the fat cap to get the rub to penetrate in there and create a nice flavorful bark on top.
When I selected this particular NY Strip Loin Roast I looked for the one that had the most fat throughout as this fat will render fantastic flavor through the slow smoking process when it renders down.
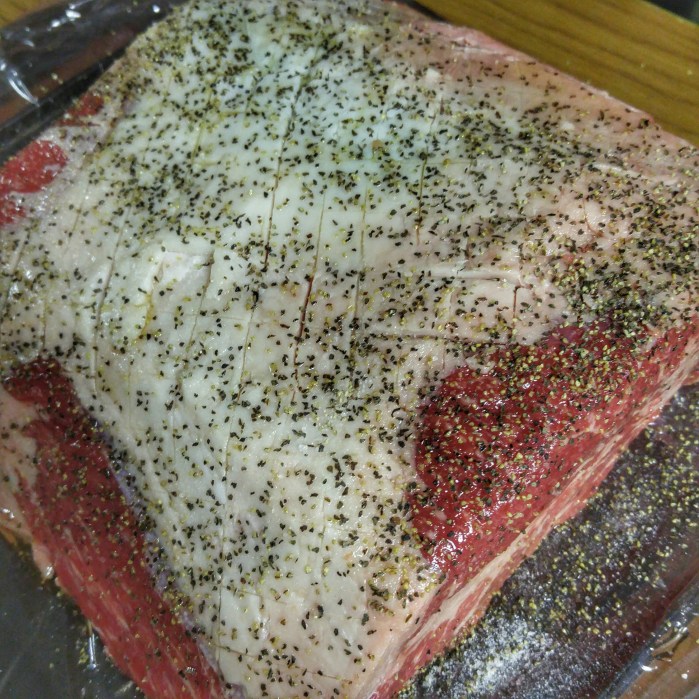
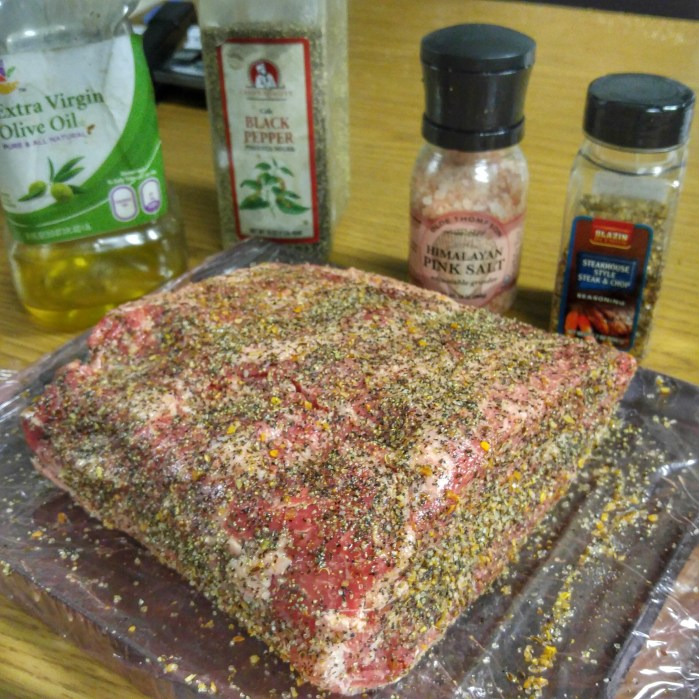
Start out by slathering on a coating of EVOO and coating it with coarse salt and black pepper.
The next layer of flavor will be a coating of Montreal steak and chop seasoning.
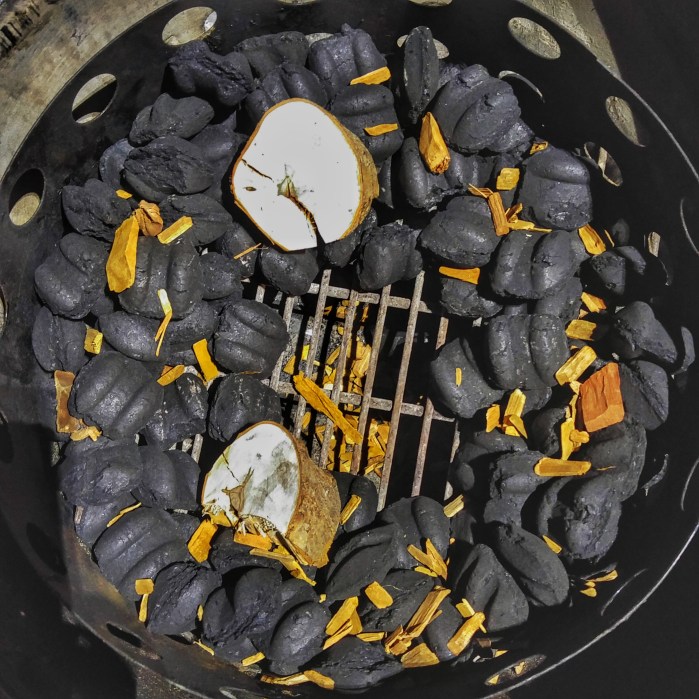
We’ll let her sit for an hour or so while we build our smoke using the minion method in the Weber Smokey Mountain Smoker.
Set up the charcoal basket with a ring of briquettes and an empty center. Two pieces of apple wood from Russell orchards and a sprinkling of Cherry wood chips.
Prepping the smoker with the@webergrillsCharcoal chimney inverted and 12 briquettes inside. Placed a upside down espressos can in top of the Smokey Joe then placed a Weber lighter cube on top of that. Don’t want this mornings smoke session to go to hot so we will dump the 12 lit briquettes in the center of the minion method set up of unlit coals in the bottom of our Weber Smokey Mountain Smoker.
Once the coals in the chimney are glowing red and the ones on the top are ashed over they are dumped into the center of the charcoal basket in the bottom of the Weber smokey Mountain. Looking to build the temp gradually to 250 degrees for the duration of the smoke.
Now we wait for the temps to climb. When the smoker temp reaches 225 I’ll close one or two of the bottom vents and try to get it to settle in at 250. I find if you let it rip and don’t adjust your vents before you hit your target temp the heat can get away from you and it’s easier to get in front of it and slow it down rather than knock it down and have to fiddle with it a whole lot more.
Update 7:15AM
Loin Hits The Smoker
Update 8:50AM
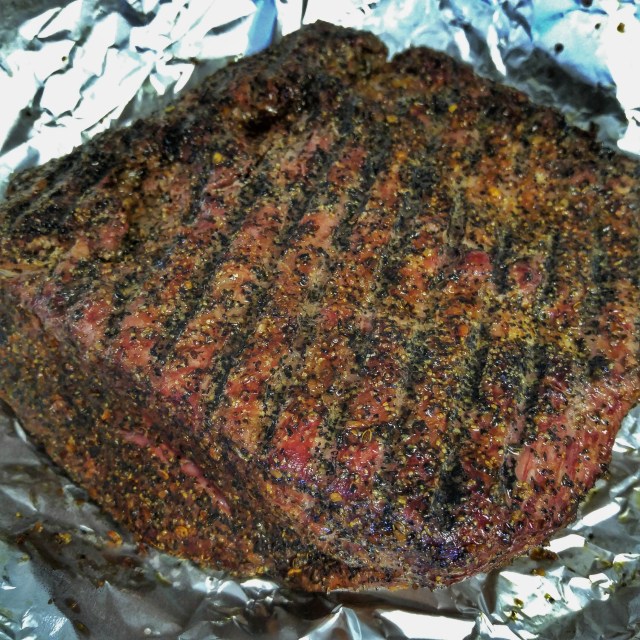
Hits 120 internal and I pull it off and double wrap it in foil for an hour to bring it to a final temp of 125 for a nice rare condition.
10:45 Update
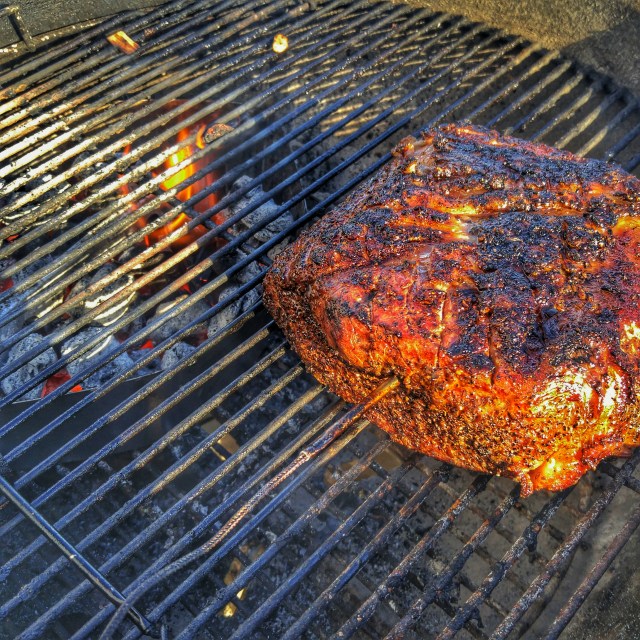
So when I unwrapped it and took an internal temp it only read 110 and didn’t seem done. So I fired up the kettle and put 3/4 chimney of briquettes into the charcoal baskets.
Going to sear it and then put it offset to bring internal temp to 125
So I took it off and wrapped it again once the temps got to 122. After a half hour wrapped cut into it and I can’t explain how tender and delicious it is. I will never pass this cut of beef up again when it’s on sale at that price. And thanks to Bill O’Connor from North Shore Kid who called to let me know about the sale at Stop and Shop East Gloucester yesterday.