
With inspiration and advice from far more mechanically inclined contributors @Bustin Butt and @addicted-to-smoke on the Weber Kettle Club Message board I successfully added a nice lower vent knob to my often used Smokey Joe Grill that I use for lunches at the dock.
First she needed some cleaning from a heavy year of use and neglect in the most brutal of saltwater dock conditions (our lobster company).
Before-


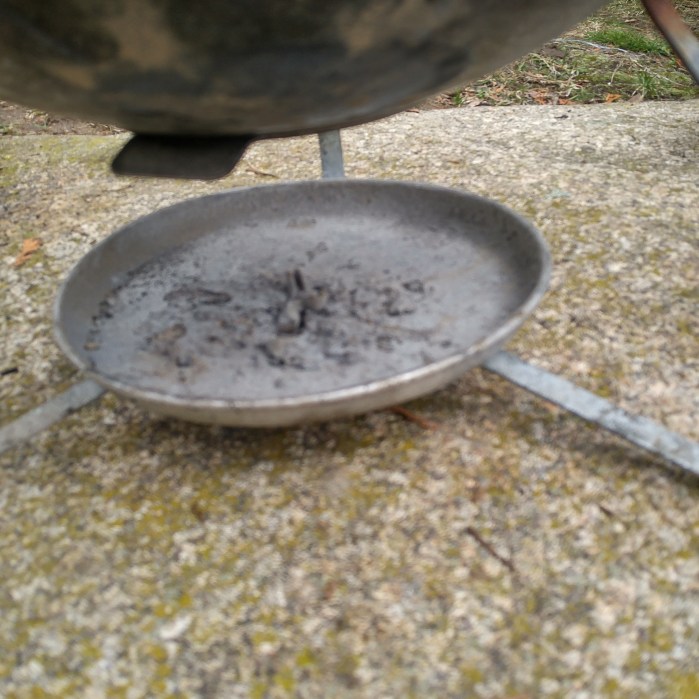
After scraping with a razor blade handle to remove the heavy crud, I gave it a good scrubbing with some dish soap and fine steel wool. This Smokey Joe is pretty banged up already so I didn’t get too crazy but the results are pretty remarkable with only about 40 minutes of elbow grease.

For really great Weber Kettle cleaning instructions check out Weber Kettle Clubs guides-
So now that I got the Smokey Joe looking nice it was time to man-up and break out the tools. I am probably the least mechanically inclined person I know. Generally whenever I try to save some money by doing something mechanical it ends up costing me double after I end up having to hire someone that knows what they’re doing to fix my mistakes.
Because the Smokey Joe owed me nothing as I’ve cooked on it a ton and it was pretty beat up to begin with, I figure if I was going to try to drill into one of my grills to do a modification, that I’d start out on one that if I completely messed up it wouldn’t be the end of the world.
So using dimensions for the knob which @Bustin Butt from Weber Kettle Club
helped me figure out, I checked out Amazon and came up with this knob-

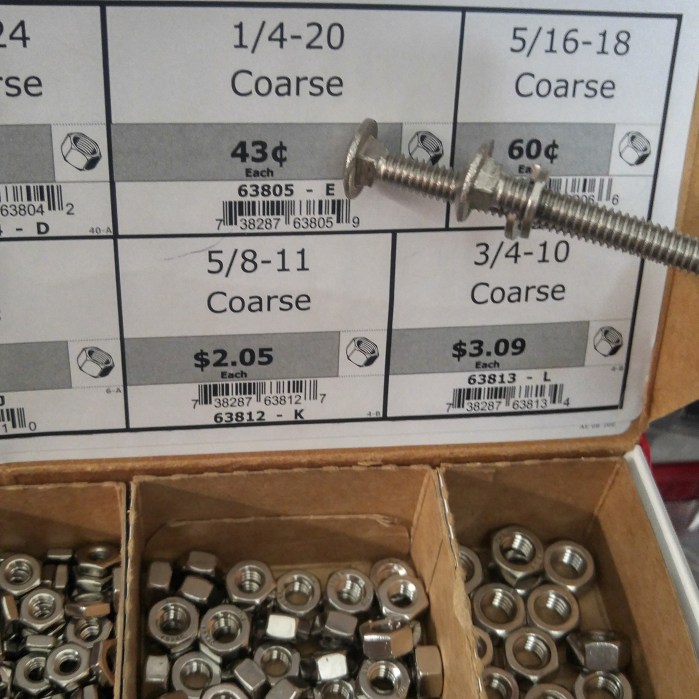
Then headed to The Building Center where I found the stainless hardware that Weber Kettle Club member @addicted-to-smoke advised me to get. I bought two sets of the hardware which included these items-
5 inch stainless carriage bolts $2.29 each 1/4- 20 thread

1/4 inch split lock washers .22 cents each

stainless 1/4-20 nuts .43 cents each
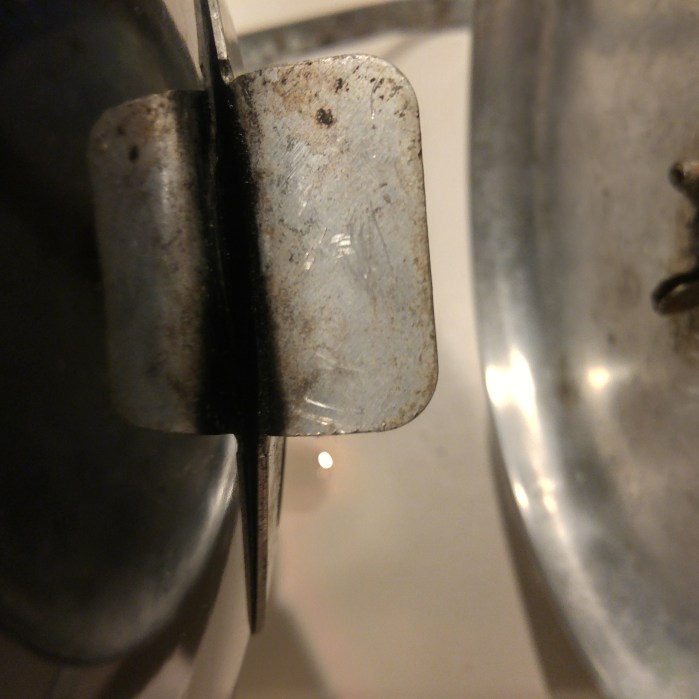
Next bend the bottom vent tab 90 degrees with a pair of pliers. It bends pretty easily. I doubled over a paper towel to not scratch up the vent tab.
So now for the part where I am nervous that I’m going to royally screw up. The drilling of the hole. I used a 1/4 inch metal drill bit on a Dewalt cordless drill. Pressed down and applied steady but not too much pressure. It skipped a teeny bit so it’s not perfectly centered but no one would notice if they weren’t looking for it as it under the Smokey Joe out of sight. Next time when I do this to the brand new Lime Green Smokey Joe I have sitting in the box in the basement you can rest assured I’ll be getting it precisely in the middle. Anyway here are the parts-


I’be seen quite a few people choose long carriage bolts with big heads on the end and they simply put locking washers and bolts one either side of the vent tab and have the head of the carriage bolt extended out to use as the lever. I liked the way @bustin butt’s mod came out in which the large head of the bolt is on the inside of the vent tab and then you just use the one lock washer and nut to tighten down on the vent tab and screw the threaded knob onto the end of the carriage bolt that is extruding toward you-


Here it is in action-
I’m pretty happy it came out the way I wanted and I didn’t mess anything up!

Reblogged this on GoodMorningGloucester and commented:
More from Joey’s Pit-
http://www.northeastbbq.com
LikeLike