First to scrape ‘er down with the razor blade
Before-
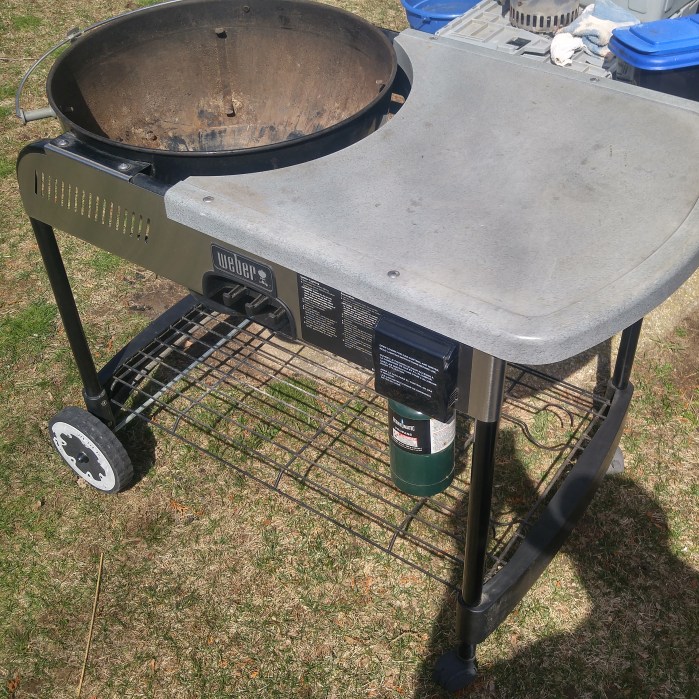
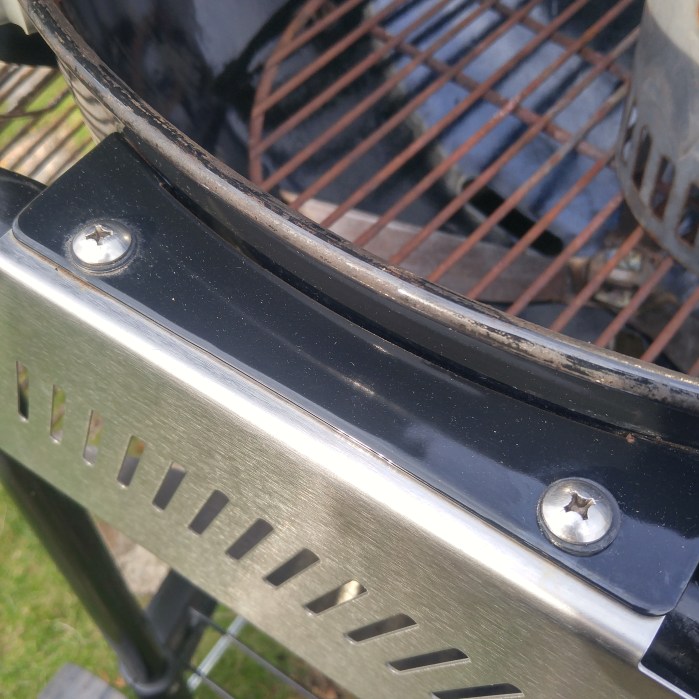
She was in pretty decent shape to begin with but the blacks were faded, there was cobwebs and the bowl, lid and ash pan were all encrusted in crud.
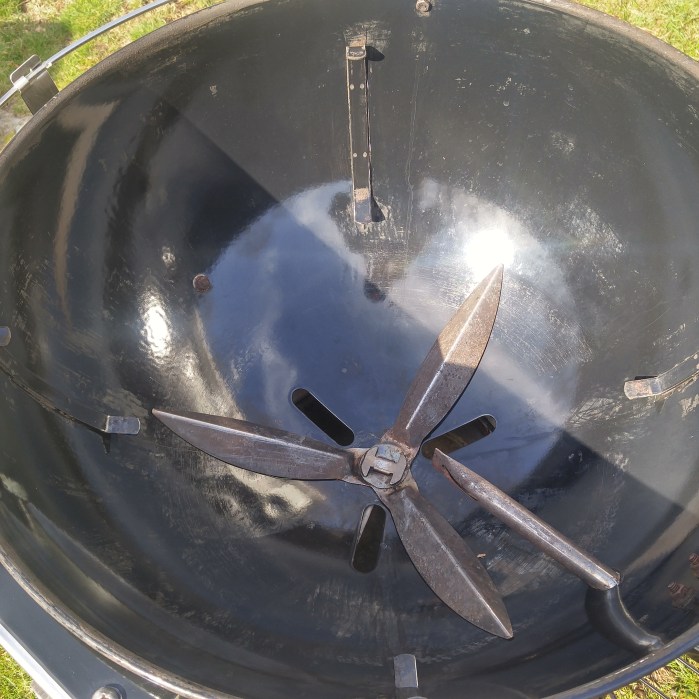
After a good scrape with the razor and scrub with the extra fine steel wool-
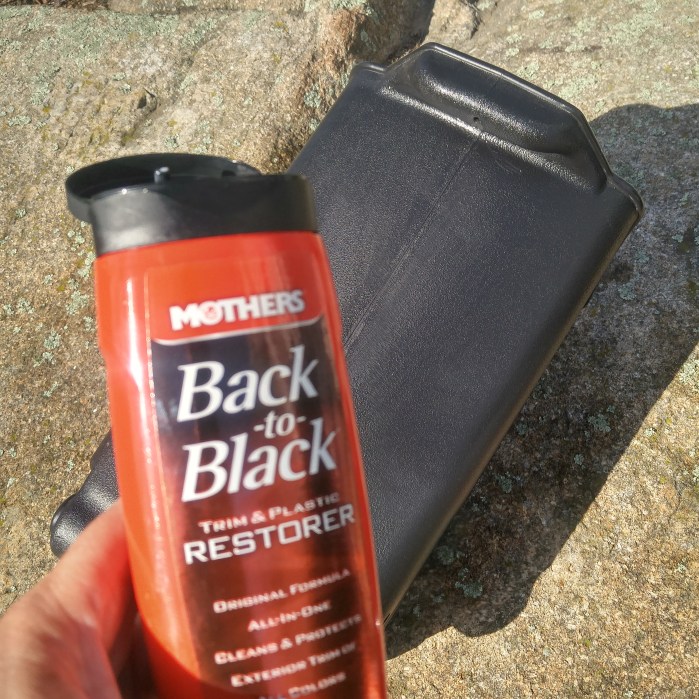
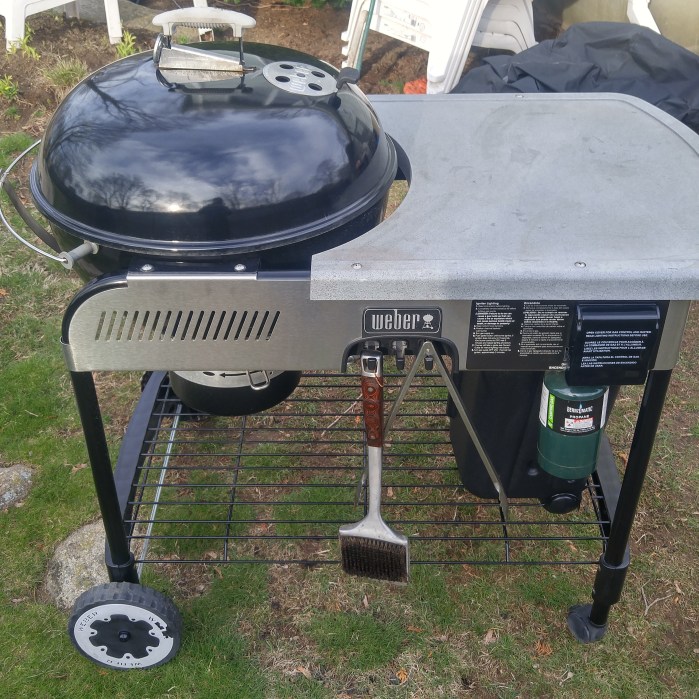
Next to clean all the black trim including legs, wire grate shelf on the bottom and charcoal basket and then apply Back To Black to restore the original deep black luster.
All the aluminum was scrubbed with the extra fine steel wool as well. I didn’t spend any time on the thermostatic table as it will be replaced with a newer metal style Performer table when it arrives.
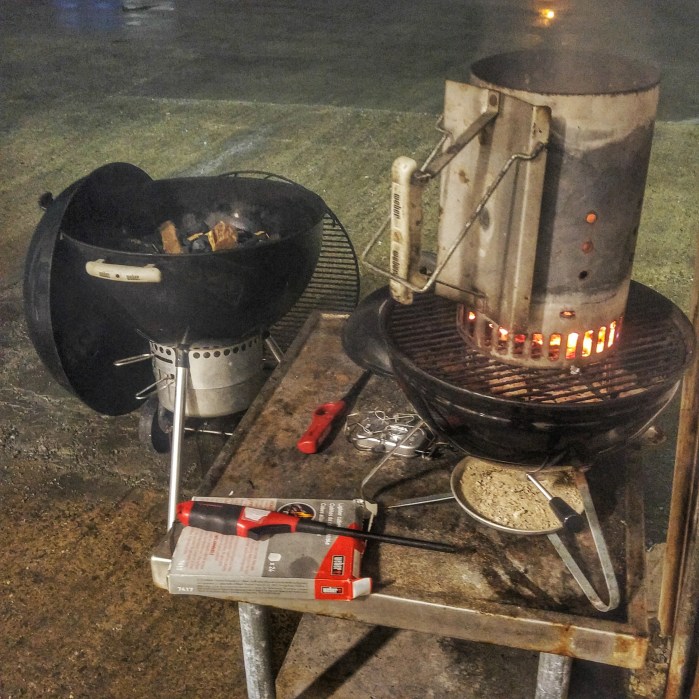
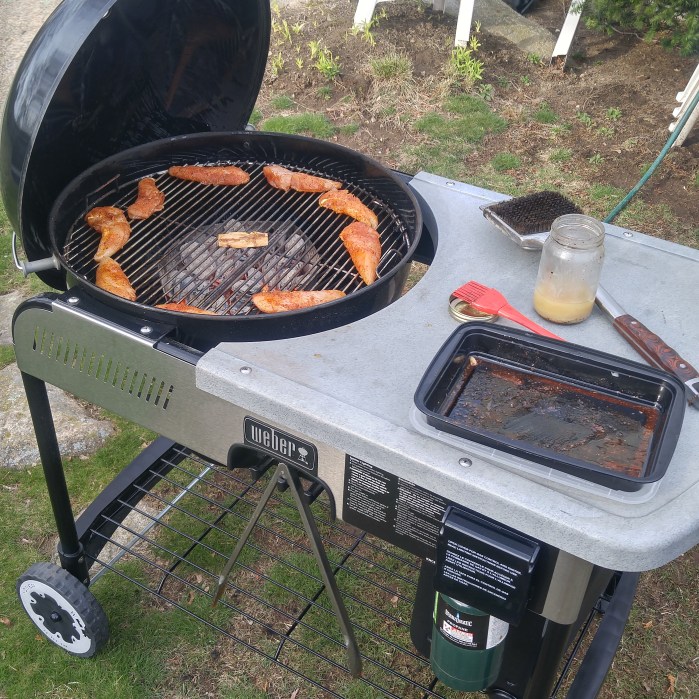
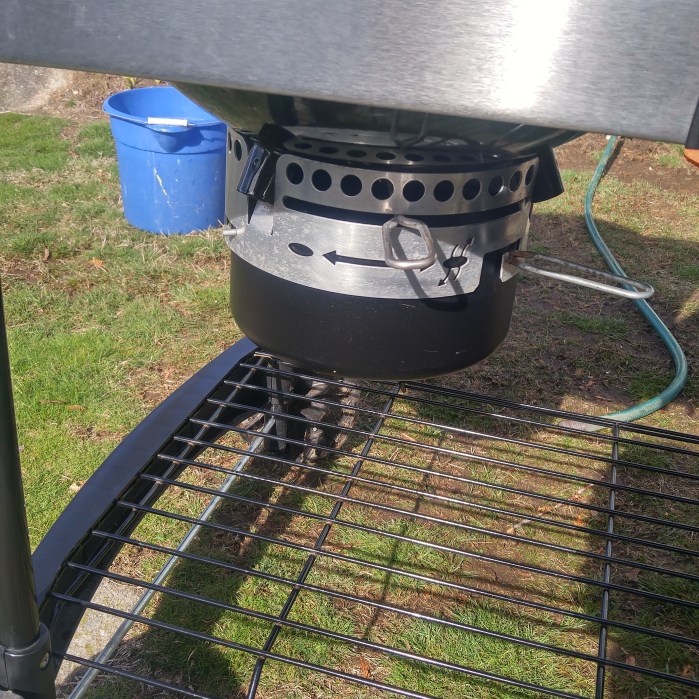
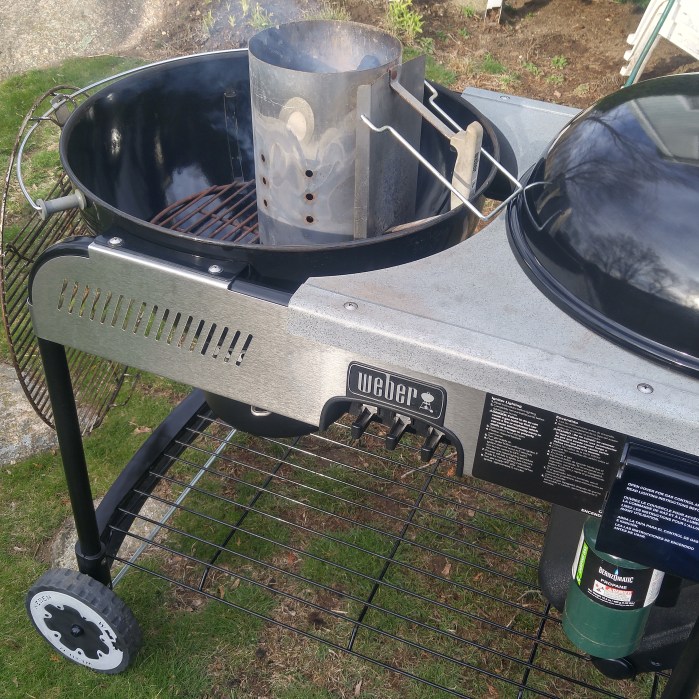
Fired up the gas assist to light a chimney of charcoal. It was nice to not have to use paper or lighter cubes to get the chimney going. Just placed it on top of the gas assist tube filled up the chimney and let it light the coals. After about three minutes the gas assist was turned off and the chimney dud the rest of the work. Dumped the chimney into the Weber charcoal baskets and put them in the center.
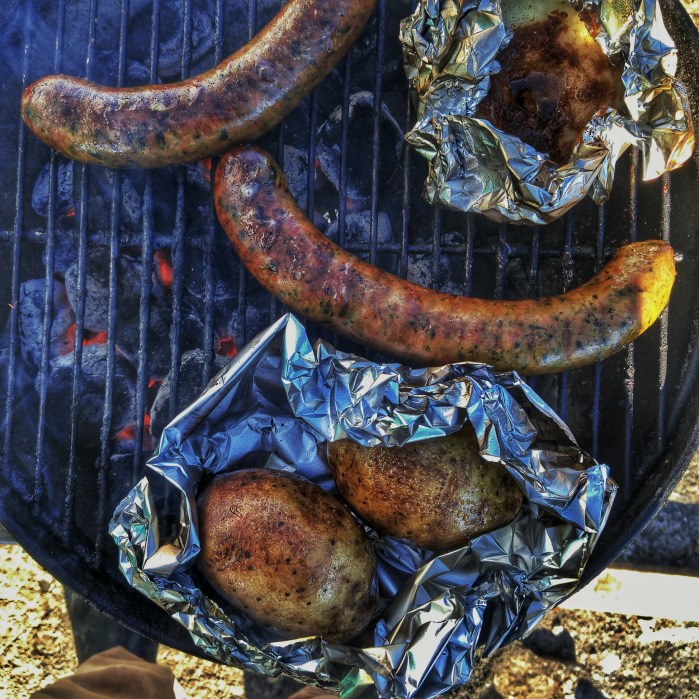
The grates that came with the Performer were already in decent shape but I gave them a quick scrub and oiled them down with Peanut oil before placing the rubbed chicken tenderloins offset the coal baskets around the perimeter of the bowl. Placed a small chunk of mesquite in the center for smoke.
When they hit 165 internal they got pulled off to eat.
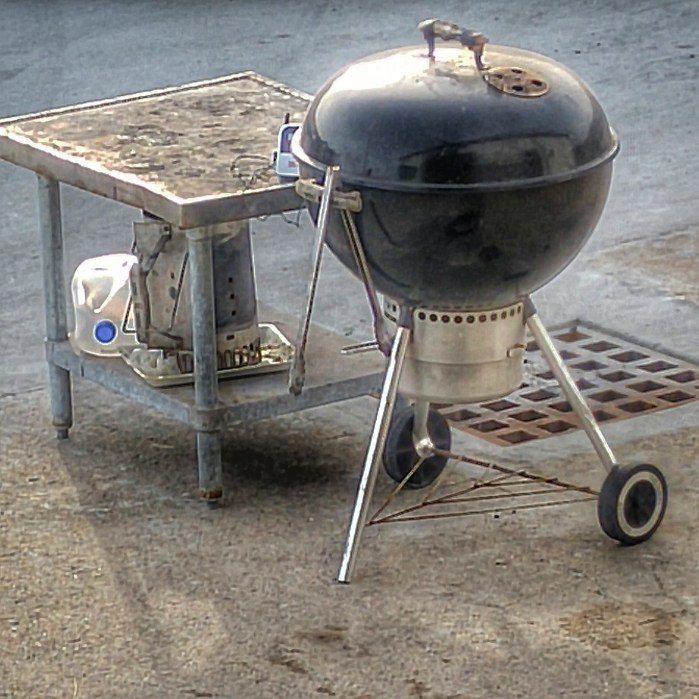
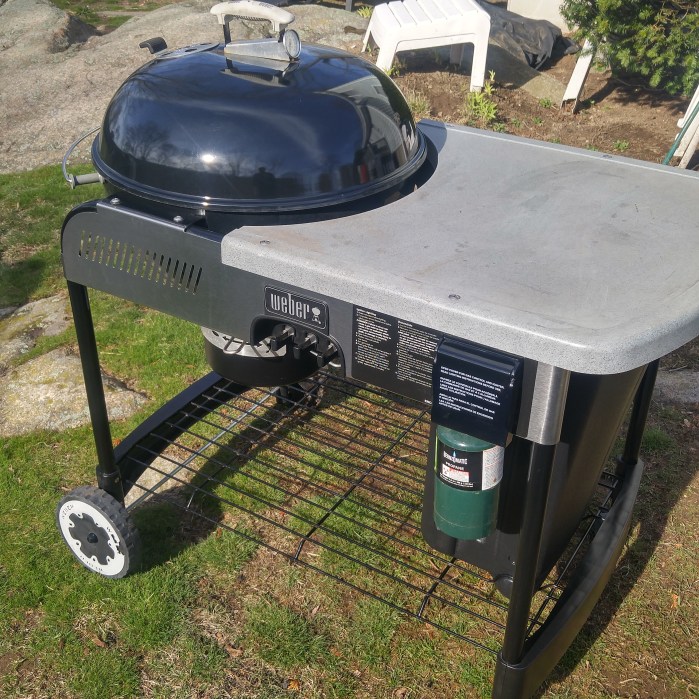
Waiting for the new style metal table to be delivered tomorrow and handle from Brian😀
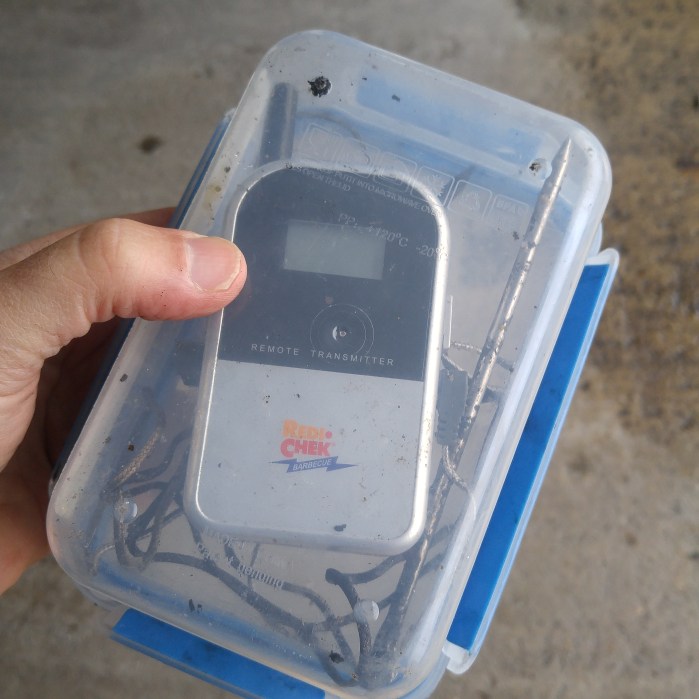
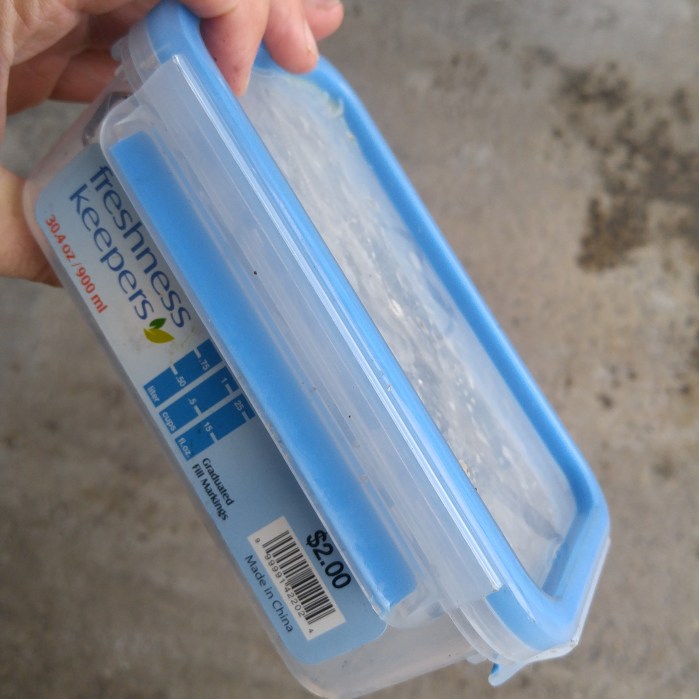
You can get these at the Dollar Store. They work very well to protect the unit on your remote thermometer sensor from the rain which will ruin your investment in a hurry.
I know it’s not some high tech revelation but sometimes there are simple solutions that we can pass on. I hear many stories of semi-expensive remote thermometers getting destroyed by rain.
Being transparent they allow you to see the temps without having to take the unit out if the container.
The cord on the probe goes right out the corner and the container can still be locked down to protect from the elements.
This one was $2 and I got it at Ocean State Job Lot in Peabody.
4:40AM Light The Chimney with about 12 Kingsford briquettes and set up the pit for snake method smoking using mesquite chunks and cherry wood chips.
Outside conditions 39 degrees with a light drizzle.
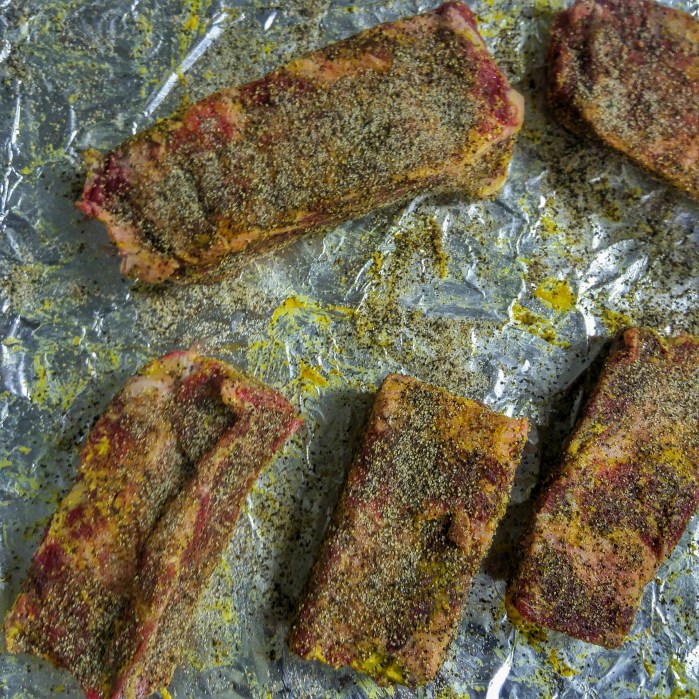
I’m trying a little something different as the beef ribs are so rich and I wanted to cut back on the salt so I put together a beef rub consisting of-
3 tbsp restaurant grind black pepper
1 tbsp onion powder
1 tbsp sugar
2 tsp granulated garlic
2 tsp ancho powder
1 tsp cayenne powder
At the dollar store I picked up this $1 sugar shaker to use to disperse the rub.
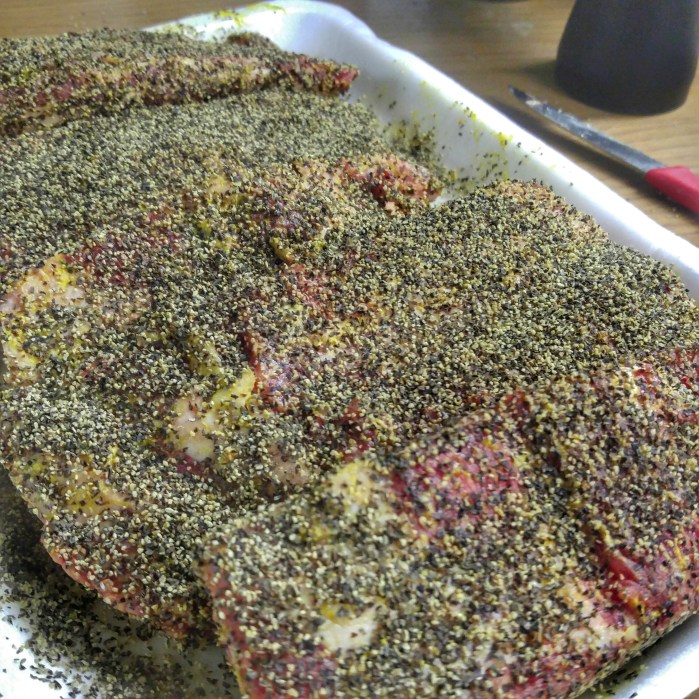
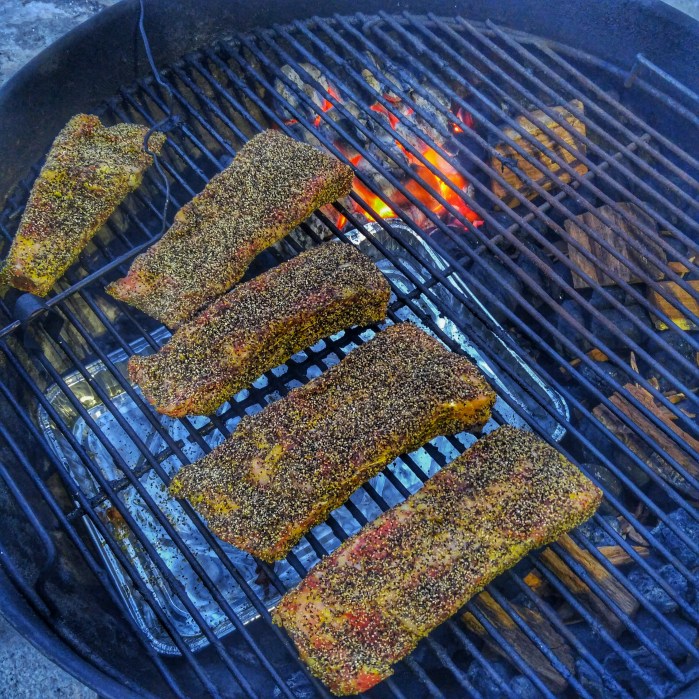
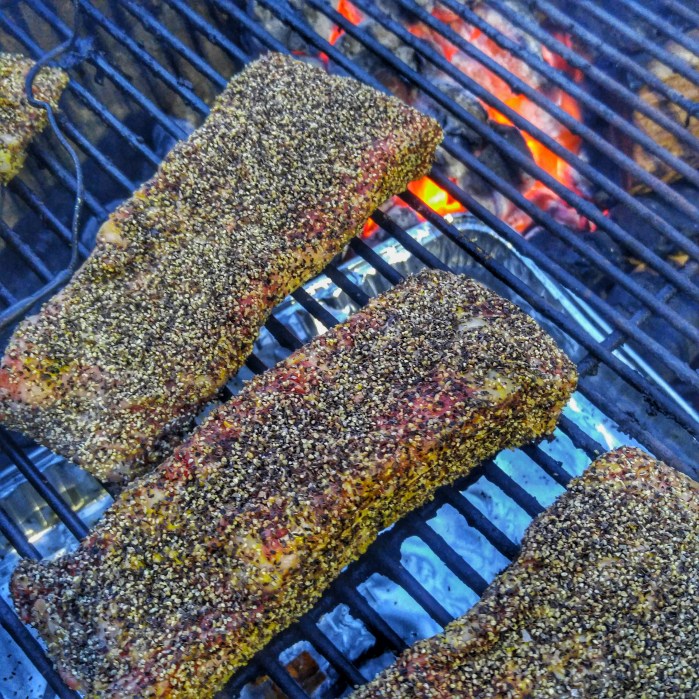
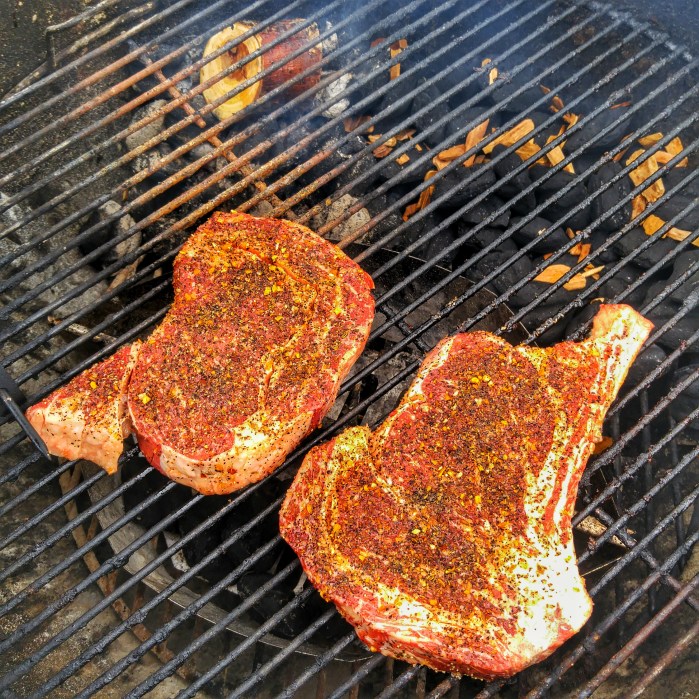
First a light slather of yellow mustard for the rub adhesive and then I applied ground Himalayan salt to the ribs as if I was seasoning a steak ( a lot less salt than the 50/50 pepper salt ratio I was using before). Once the salt was on I shook on the rub using the sugar shaker.
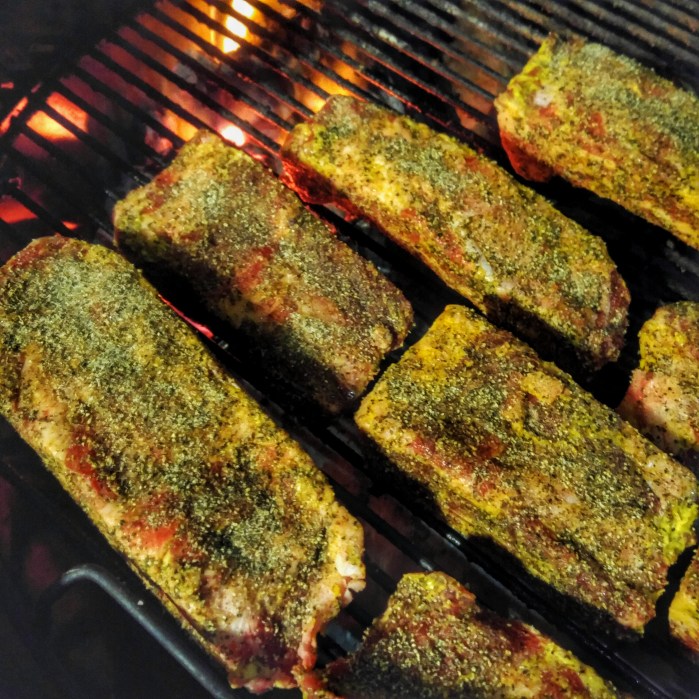
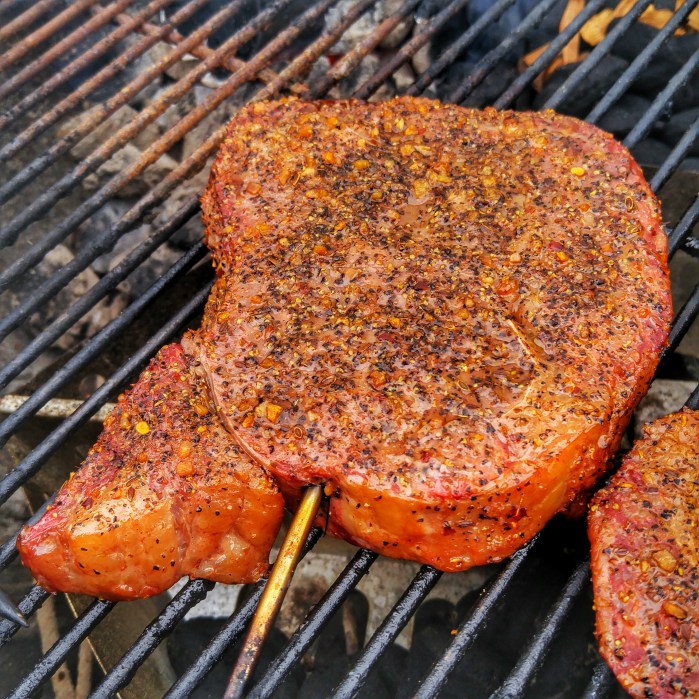
5:20AM Ribs Hit The Kettle-
6:57 Update: Temps have fluctuated from 250- 325. I’m not sweating the temps, they’ll be done when they’re done.
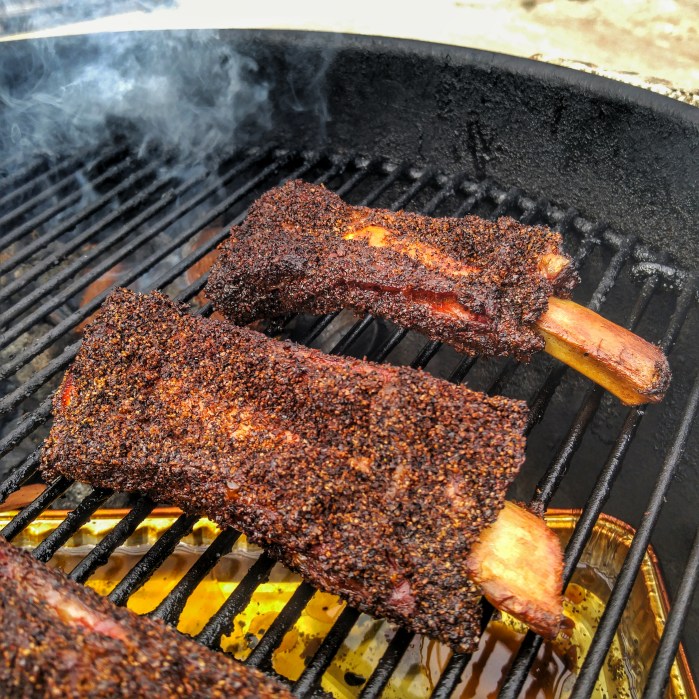
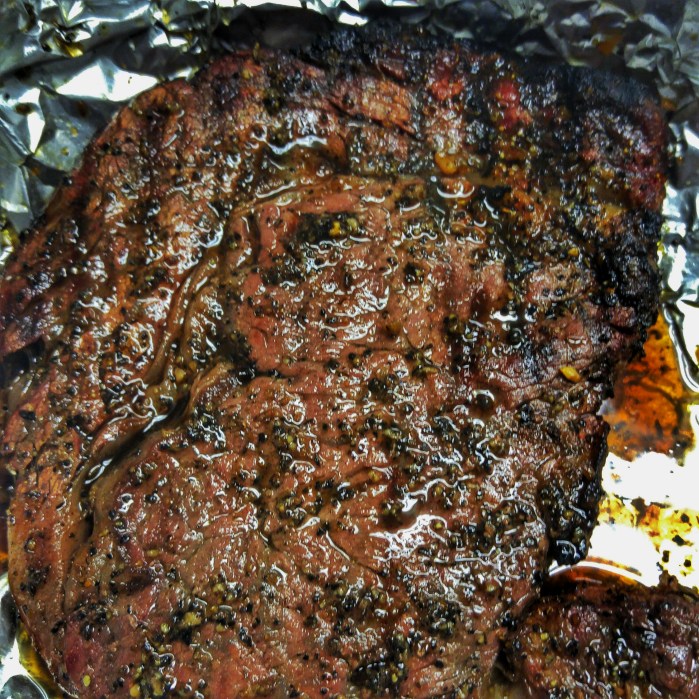
9:40AM. Probably the first time ever that I didn’t lift the lid once start to finish. The temps within the first hour varied from 250-325 but after exactly two adjustments she settled into a much tighter range of 270-289.
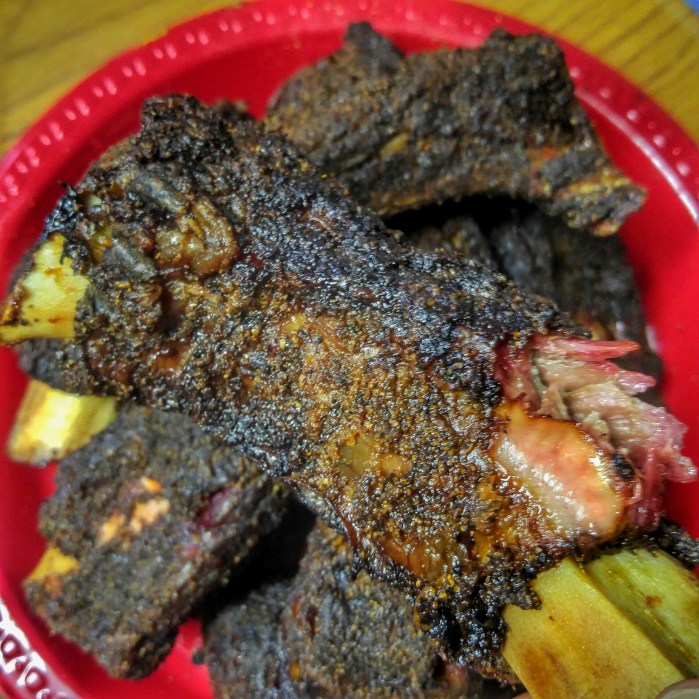
They were fantastic but probably could have benefited for spritzing at 20 minute intervals during the final hour. I also will absolutely use this rub again as they had a much better pepper/salt flavor.
It should be noted that the Weber unit has been used at our lobster dock since last May and the Broil King Unit just arrived.
Firstly, the Broil King cost $26.99 at the time of purchase and here are the details as listed on Amazon-
Heavy duty all stainless steel design
High density resin handle
Lights up to two pounds of charcoal without starter fluid
The venturi effect will light the charcoal within five to ten minutes
The Weber Rapidfire Chimney Starter cost $14.99 and here are teh details as listed on Amazon-
Chimney starter system lights charcoal quickly and evenly
Made from aluminized steel with a stay-cool thermoplastic handle
Holds enough briquettes for a 22-1/2-inch kettle grill
Cone bottom ensures a fast start; eliminates need for lighter fluid
Measures 7-1/2 by 7-1/2 by 12 inches
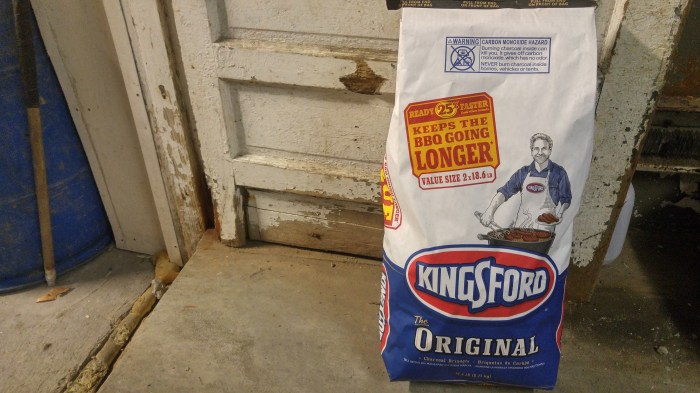
Opening and using a new bag of Kingsford briquettes for uniformity.
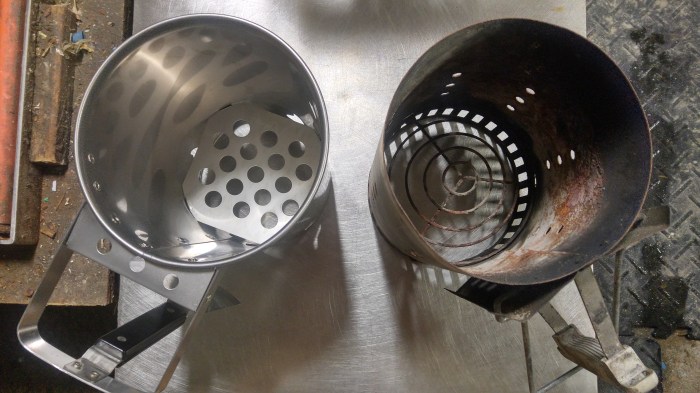
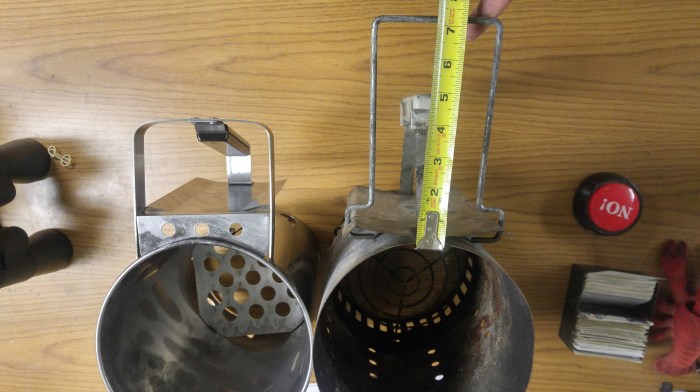
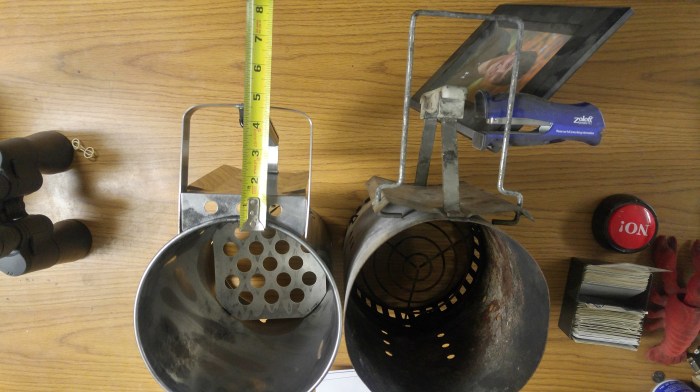
Physical characteristics- The Broil King is shorter, it also has a slight taper to widen just a bit at the top. The Weber seems like it would have more air flow with the wire rings. the Weber also has the hinged handle which when extended will keep your steadying hand further away from the hot coals. They both are well built and sturdy.
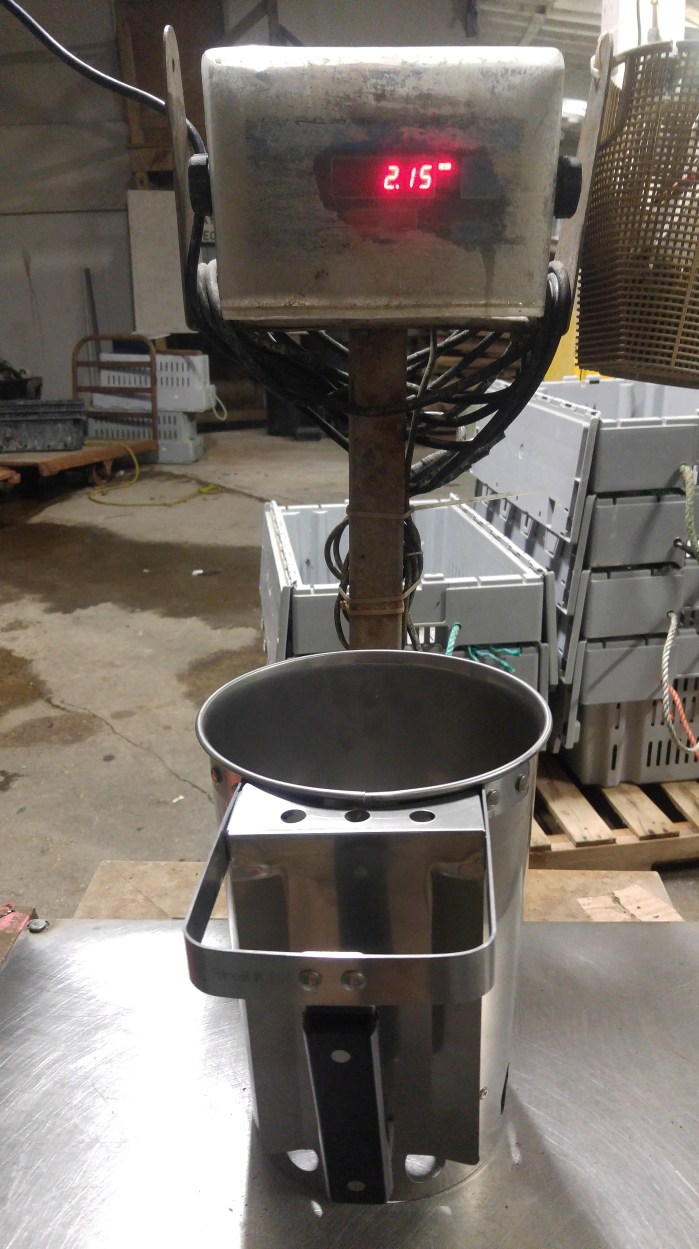
The Broil King weighs significantly less- 2.15 lbs vs 3.5 lbs for The Weber
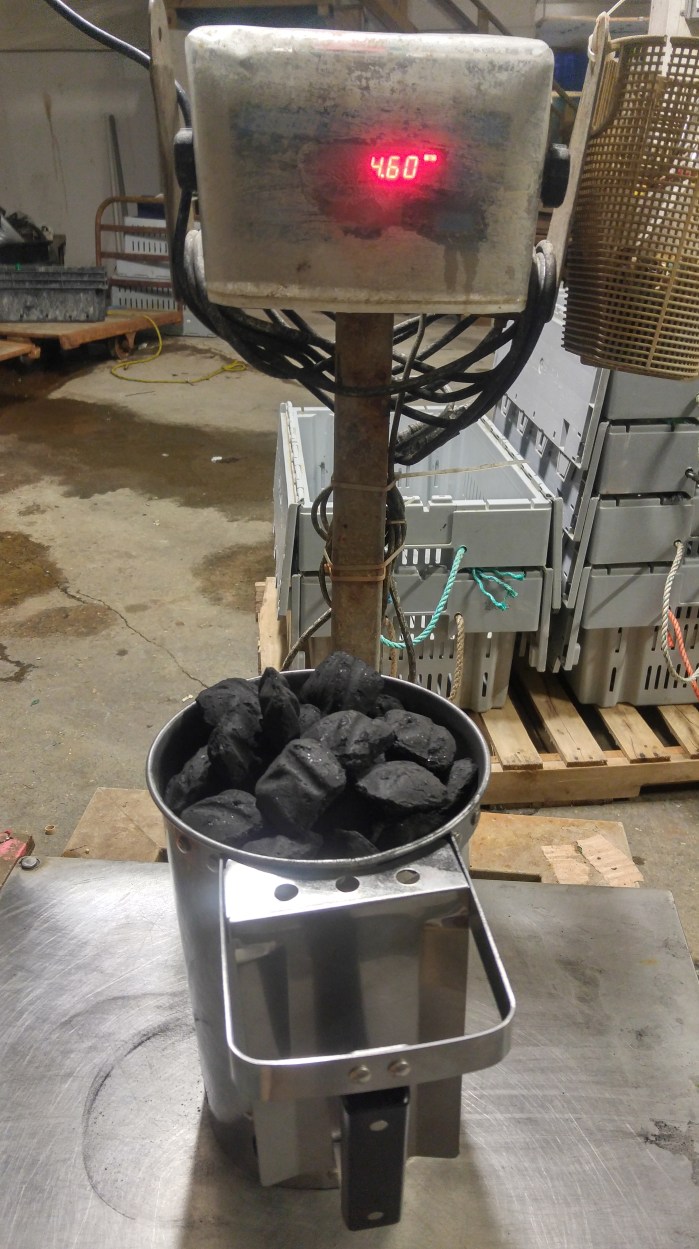
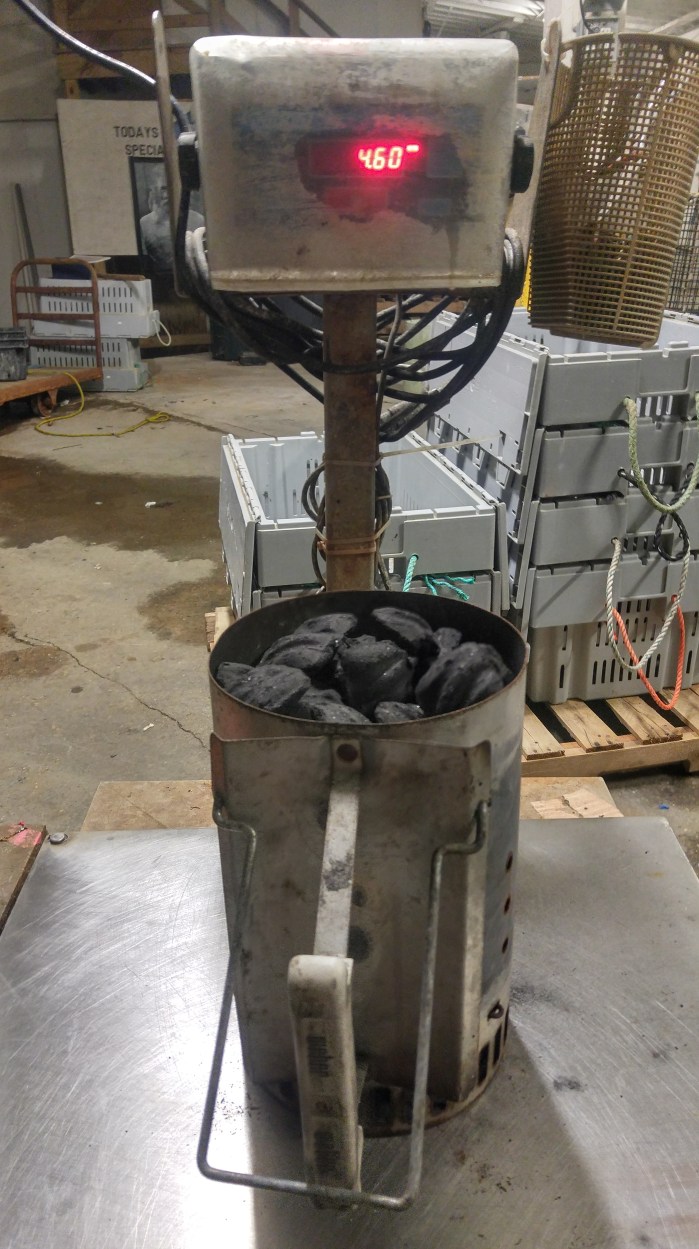
Filling each starter with exactly 4.6 lbs of charcoal the Weber can hold slightly more than the Broil King (not very significantly more but there is a little more space at the top, probably an additional 6 briquettes.
The extended hinged secondary handle on The Weber extends further than the Broil King- 7.25 inches vs 4.5 inches.
Conclusion:
The Weber 7416 Rapidfire Chimney Starter is a little over half the cost of the Broil King 63980 Charcoal Chimney Starter . It is heavier, it holds slightly more charcoal, it has more space for air to flow upward to start the charcoal and it has the secondary hinged handle which help to control the chimney when its full of hot coals.
Some things I like about the Broil King is that it is stainless. I’m not sure if it will hold up better than the Weber over time but at almost twice it’s cost I doubt you would get almost twice as long with it. Maybe you could though. I also like that the holes in the bottom which are shaped like flames are large enough that you could stick the end of a long lighter into completely whereas on the Weber you have to lift the chimney with one hand and light it from underneath.
For the money I’d purchase the Weber as you could almost afford two for the same price as the Broil King and I don’t see enough significant features that would make it worth almost double the price. In fact The Weber is a little heavier and can hold slightly more charcoal.
Update 3/20/16:
Tested The Broil King
Lit two crumpled pieces of newspaper and one Weber Starter Cube in the bottom of the unit at 6:06PM
6:20PM All the briquettes were glowing except for the top row. Ready for the cook.
It was easy enough to handle and the extra handle of the Weber is actually a non-factor one way or another for my use. Pouring the coals into the charcoal basket was easily controlled without the hinged extra handle on the Weber unit. The handle on the Broil King 63980 was cool to the touch and the heat deflector did its job well.
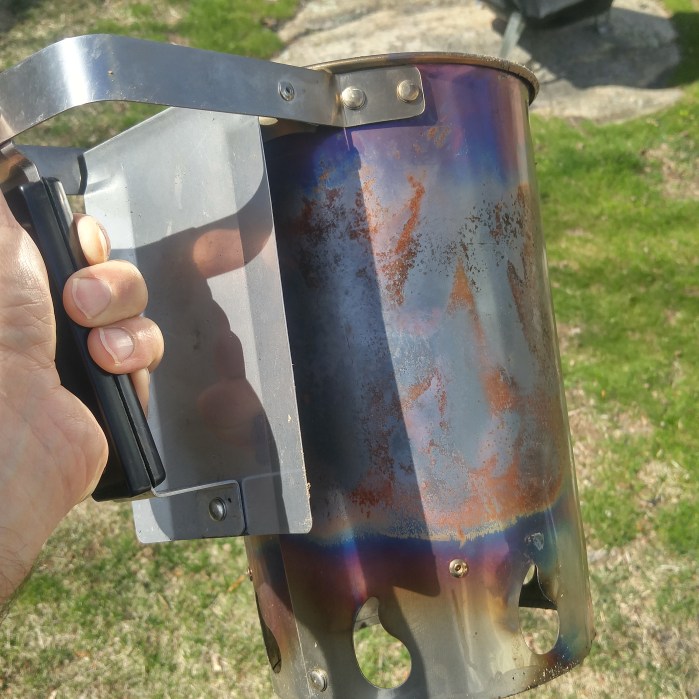
As you can see after the first use it is obviously discolored. This as we know does not effect performance but it’s worth noting that it will not be looking like the stainless out of the package unit that came shipped after it’s initial use.
After having used the Broil King unit I would say it performs well but because of the much higher cost I would buy the Weber 7416 Rapidfire Chimney Starter
4/2/16 Update:
After one week outside the Broil King Chimney that is supposedly made out of stainless steel has significant rust on it. Another problem I’m encountering is that with the slightest breeze it tips over because it is not very heavy and the weight of the handle topples it making it difficult to fill because you need to hold it with one hand while dumping the charcoal with the other arm.
I can’t under any circumstances recommend the Broil King Chimney, In fact I feel like it should be returned for the simple reason of rusting after only a week outdoors.
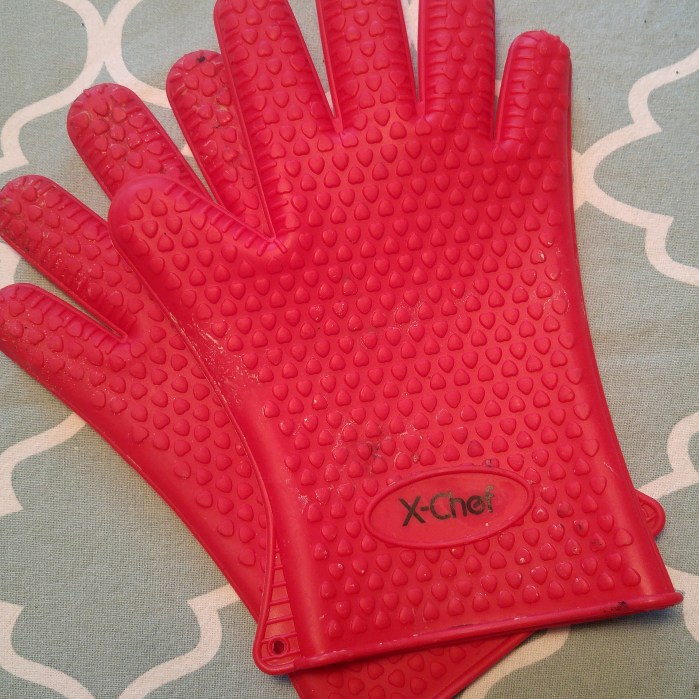
I was looking for a set of grill gloves to handle the Lodge Cast Iron Skillet. When opening up all the vents on the pit and getting that cast iron searing hot, the last thing you want to do is forget that it isn’t a stove top skillet that you can grab the handle. Often times you want to lift the skillet to redistribute the butter or cooking oil in the bottom of the skillet to coat the bottom. Or you may just want to move it off the direct heat and over the section of the grill that doesn’t have the coals under it.
After a little research I came across these X-Chef Silicon mitts for $9.99 There were similar mitts that looked exactly like these priced anywhere from $12.99-$54.00. I decided for $9.99 I’d give them a shot.
Yesterday when cooking the smash burgers with my daughters I needed to press down on the back side of the spatula to flatten the hamburger and get a good sear on the meat. I first placed the loosely formed round mound of hamburger down on the cast iron pan and then put a piece of parchment paper down and then used my hand to press the spatula down to flatten the meat into a patty. After about ten seconds I felt the heat on the tips of my fingers get very hot very quickly. So I slipped the X-Chef silicon gloves on and had no problem whatsoever. I also lifted the large super hot cast iron skillet up no problem without feeling any heat at all.
5:30AM Set up the kettle with a aluminum pan filled with water and briquettes set up snake style around the bowl for a low and slow sesh. Lit 12 briquettes inn the chimney and dumped them on the left end of the trail of briquettes which we’re looking to gradually catch and provide steady even heat between 275-300 degrees. using cherry chips and mesquite chunks.
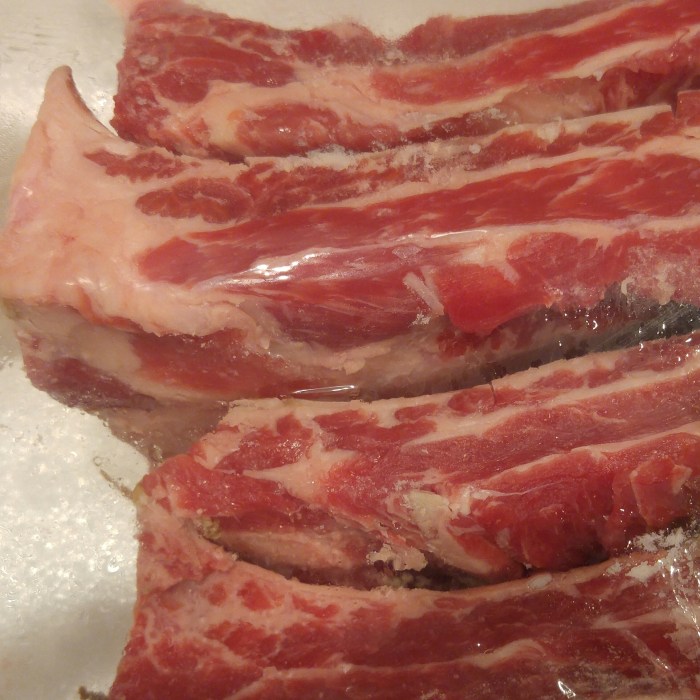
I’m not sure if it’s just our local Stop and Shop market that pre-cuts the racks of beef ribs or if it’s done elsewhere as well. I buy what’s on sale usually and they had 2.4 lbs on sale for $2.24 per lb so I couldn’t pass them up (you can’t see the sale tag in the first picture).
Slathered them up lightly with yellow mustard and applied a generous coating of coarse salt and black pepper (Texas Style rub).
The pit set up and getting up to temp. Water in the pan to keep a moist smoking environment-
8:39AM Cranking along Grate temp 284 degrees. Only adjusted the vents once since 6:24AM Got a ways to go. Haven’t opened the lid once. “If you’re looking-you ain’t cookin.”
9:54AM 3.5 hours in-
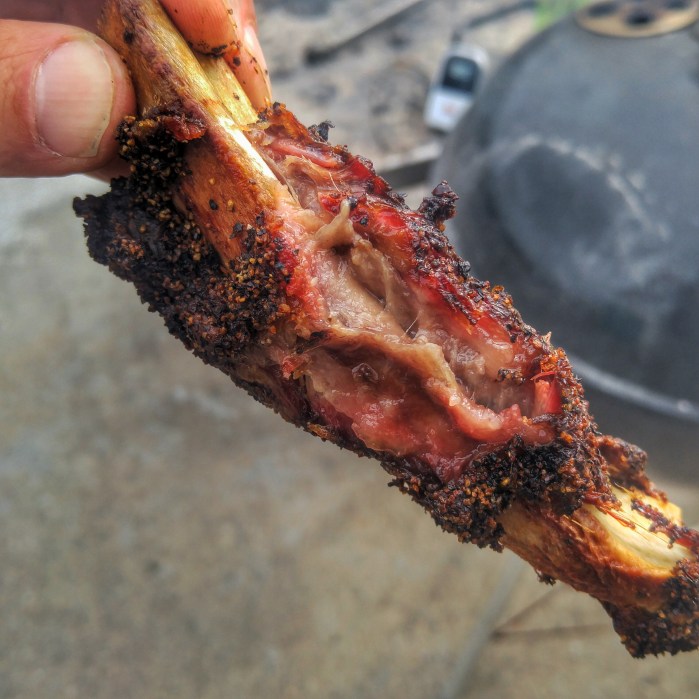
11:45AM- They’re all jiggly and the probe slides right in so it’s time to take ’em off-
Larry from http://www.thewolfepit.com has my favorite bbq video series check out his site at the link above for this recipe.
Set up the Kettle for the snake method using briquettes, cherry chips and mesquite chunks.
Got a third of a chimney going and dumped the asked over coals onto the left end of the briquette “fuse” looking to keep temps around 250 degrees for smoking the beef.
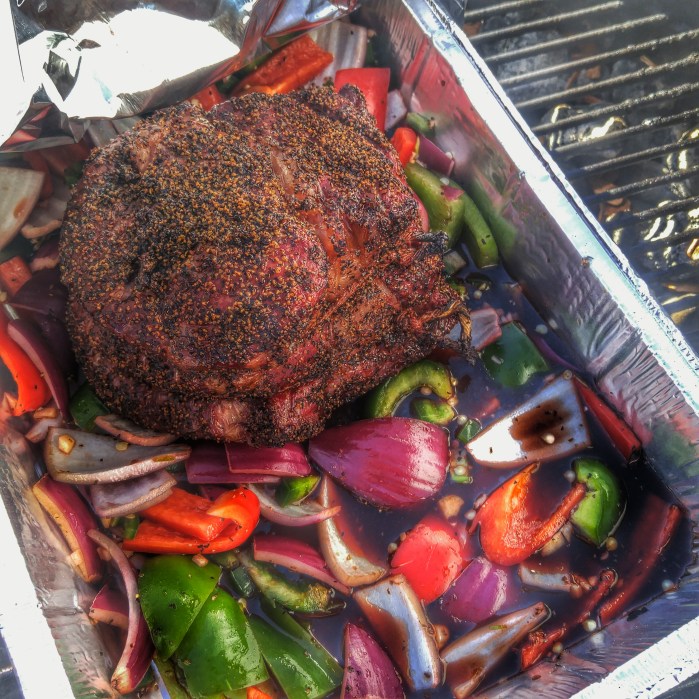
Applied Worcestershire sauce to the chuck roast and then coated with coarse salt and black pepper.
Once the pit hit 250 degrees tossed the beef on and inserted the probe.
Closed the lid and started chopping the veggies. Chopped half a green pepper, a whole red pepper, two jalapeño peppers with the seeds, three Cloves of garlic minced and a half of a red onion in
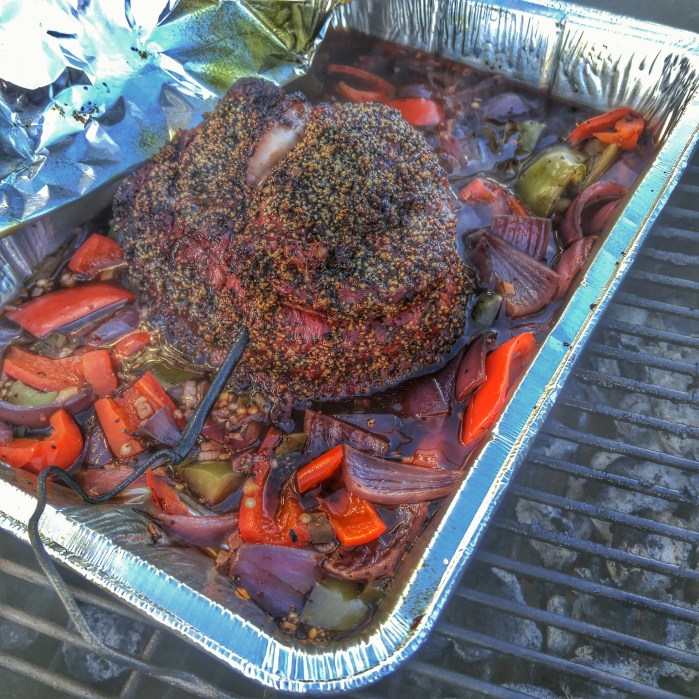
Once the beef hits 165 internal we pull it off the pit and add a half a bottle of cherry root beer and a couple of tablespoons of Worcestershire sauce to the pan with the veggies, plop the beef roast on top and seal it up in foil. Opened the bottom vent on the kettle and will let it braise til it falls apart.
After a couple of hours it hit 200 degrees internally but wasn’t pull-apart-effortlessly tender. So I covered it up until I could break it up easily.
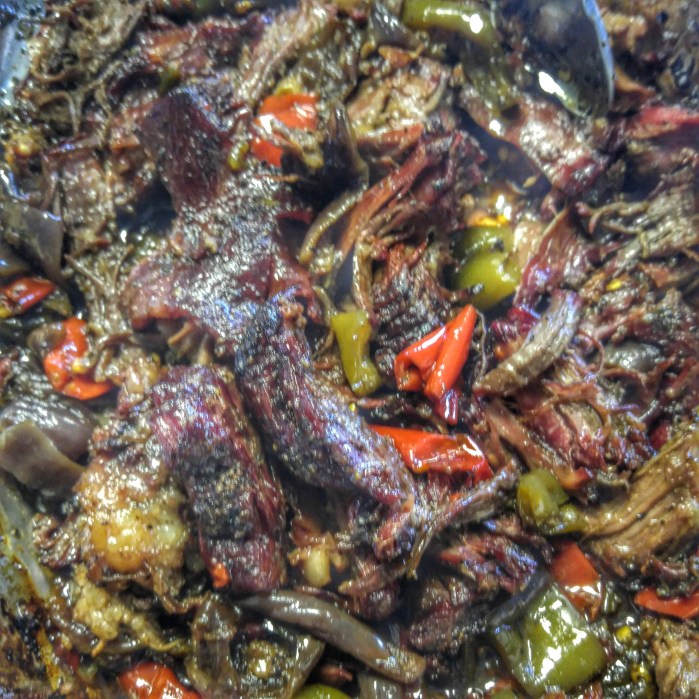
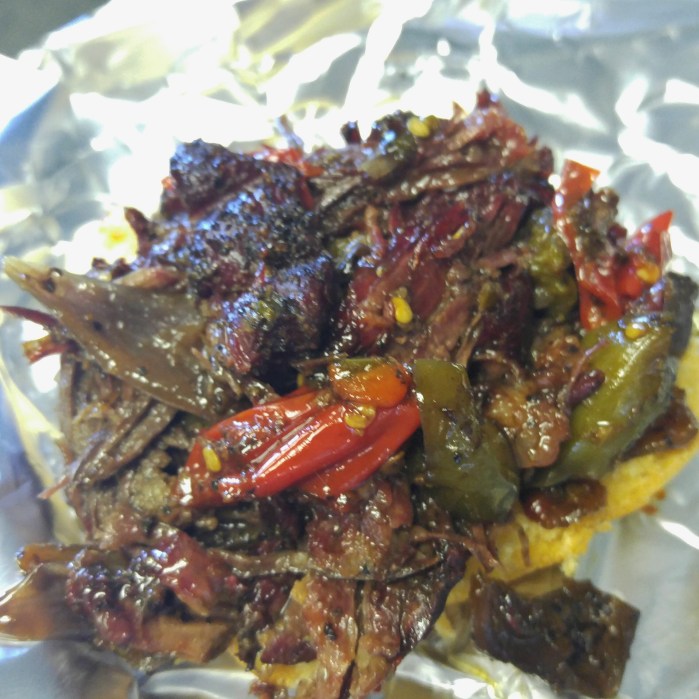
Once it broke apart easily it was shredded like you would shred pulled pork. Then left for about twenty minutes more uncovered to reduce the liquids even more.
When done, piled on top of onion rolls with a slice of pepper jack cheese and some chipotle mayo.
Delicious. The guys at the dock all raving about it. Serious heat. if the people you are cooking for won’t enjoy the heat, cut back on the jalapeno pepper.


 You can get these at the Dollar Store. They work very well to protect the unit on your remote thermometer sensor from the rain which will ruin your investment in a hurry.