Link to purchase the heat deflector plate on Amazon- https://amzn.to/2DW5Hqw
Link to purchase the aluminum drip trays/ to go containers on Amazon- https://amzn.to/2DWsse4
They are so versatile. I use them on my kettles and also in my airfryer.

Link to purchase the heat deflector plate on Amazon- https://amzn.to/2DW5Hqw
Link to purchase the aluminum drip trays/ to go containers on Amazon- https://amzn.to/2DWsse4
They are so versatile. I use them on my kettles and also in my airfryer.
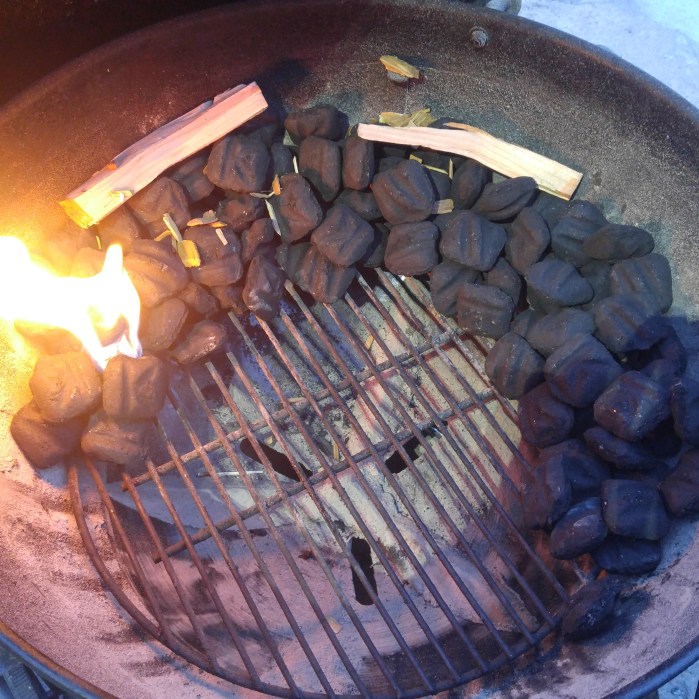
First arrange the coals around the inside perimeter of the bowl in a semicircle from 7:30 to 3:00

Next place a Weber lighter cube at the left hand start of the snake (or fuse) and get the left most coals going. Place come apple wood along the top and cherry wood chips sprinkled along the path of the snake.
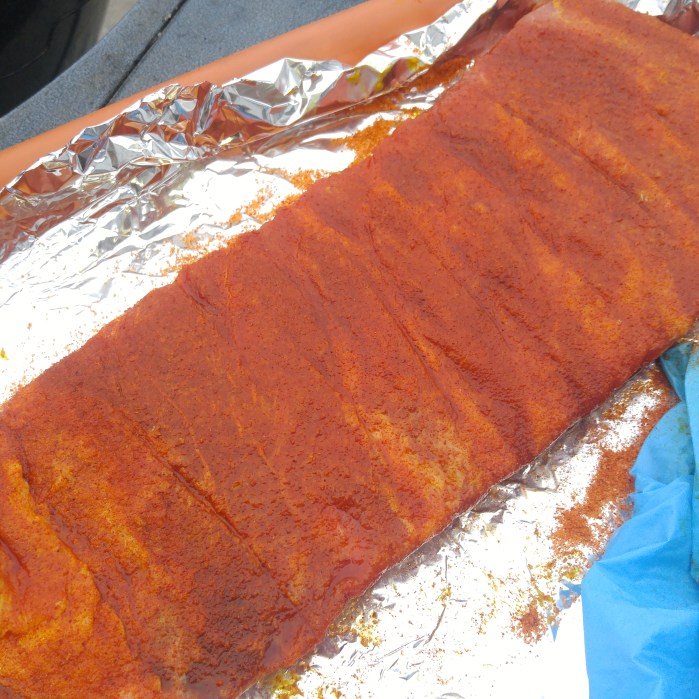
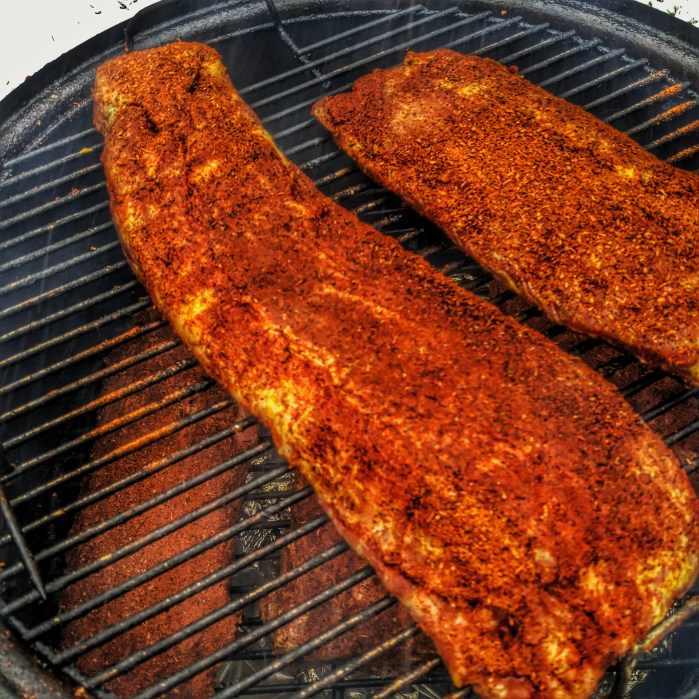
St Louis ribs have been dusted with rub for an hour or so.
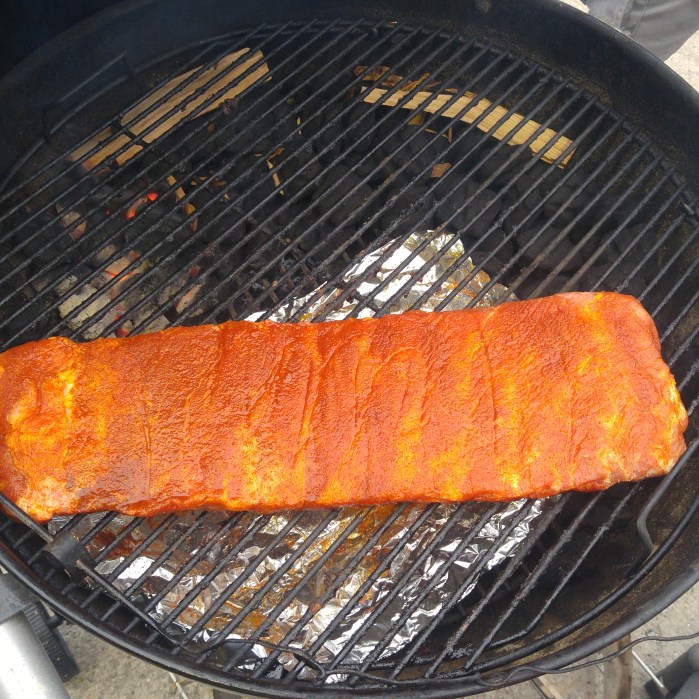
Place the foil under the grill grate and on top of the charcoal grate for an easy clean up. Once covered grill temps hit 200 degrees close the bottom vent so the handle is about one inch from being completely closed. Cover and don’t peek for about three hours when we will mop them for the first time.

Results
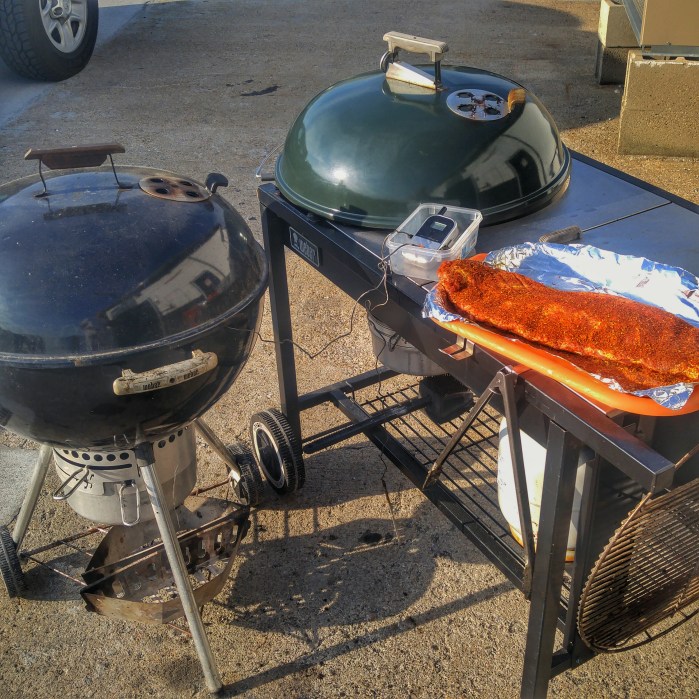
Obviously I love BBQ cooking. I love the versatility and ease of using two kettles but if I were only going to own one it would have to be a Performer. That cart just makes everything so simple and convenient. Being able to rest your tray of prepped food of hold your remote thermometer sensor makes things so simple. When you factor in the gas assist for starting your coals, to me, it’s a no-brainer to go with a Performer.
When you consider the fact that unlike gas grills , a Weber Kettle can easily last you over 20 years with the bare minimum of care and you divide out the cost of ownership over all those years, I’d recommend you buy a Performer every time. It’s only a couple hundred more and when you think that you probably only get 5 years on average out of a gas grill, the Weber Performer Charcoal grill with gas-assist will outlast a gasser by 4 times as long.
Anyway here was my set-up for some pork ribs that went on at 7:41 AM to be ready for lunch!
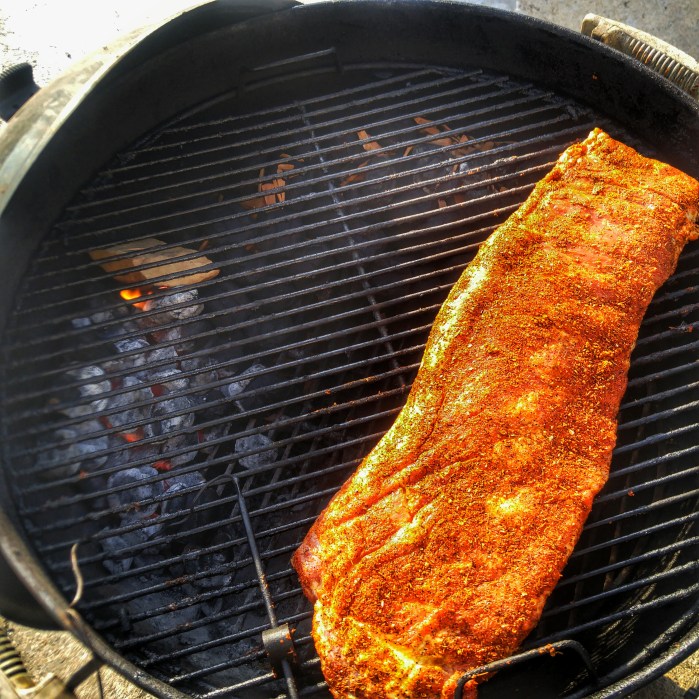
Snake method charcoal set-up with apple chunks and cherry chips. Ribs slathered with frenches yellow mustard and then rubbed with the Paul Prudhomme rub. Wait til pit temps hit 225 and then toss the ribs on offset the coals. Then let er rip. The top vent wide open bottom vent wide open. Because we are using the snake method, only a portion of the coals are hot at a time as it works it’s way around the bowl.
Results:


Pork Ribs Twice In One Week? When they’re that good, sometimes you gotta double up just to make sure you weren’t dreaming…


Normally I’m skeptical of BBQ accessories, like burger formers and jalapeno popper stands. but sometimes there are tools that work.
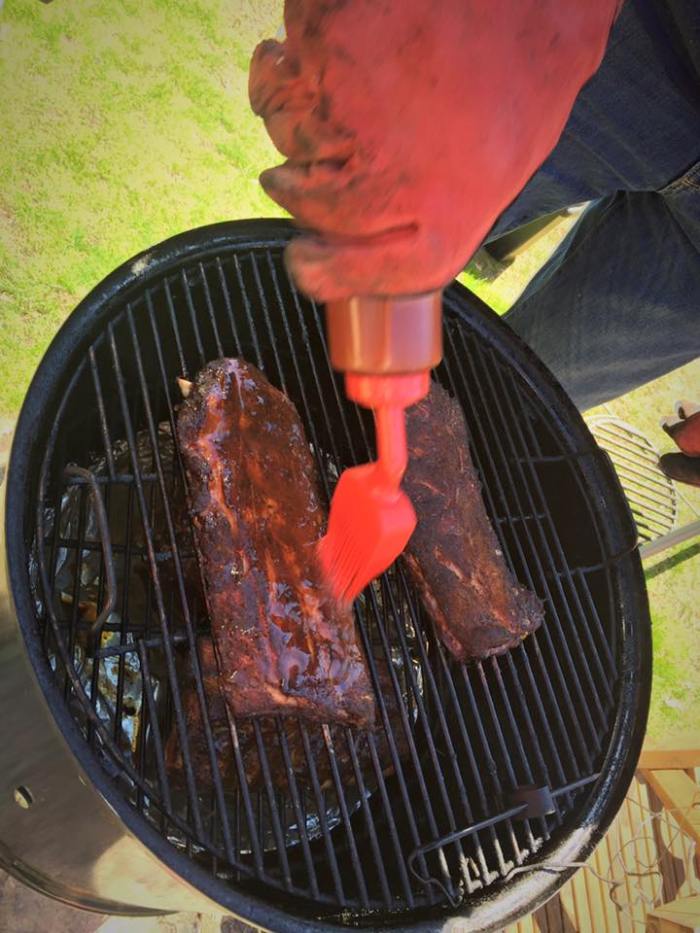
When my Kate surprised me with the Charcoal Companion basting brush I was skeptical at first. I was going to be smoking up some pork ribs that weekend when I’d put it to the test.
Normally the last 45 minutes or so on the smoker I like to spritz or baste my ribs with a mix of apple cider vinegar, BBQ sauce, water. Often times in spray bottles the BBQ sauce clumps up and doesn’t come out evenly.
This was not the case with the Charcoal Companion basting brush. I simple squeeze and just the right amount of liquid came out and the integrated silicon brush helps to spread it exactly where you want it on your ribs.
Clean up is a snap , just toss it in the dishwasher and it comes out clean as a whistle.
It will be a regular part of my grill accessory arsenal going forward. Thanks Kate for the thoughtful gift. It’s a winner. $9.97 at Home Depot

4:40AM Light The Chimney with about 12 Kingsford briquettes and set up the pit for snake method smoking using mesquite chunks and cherry wood chips.
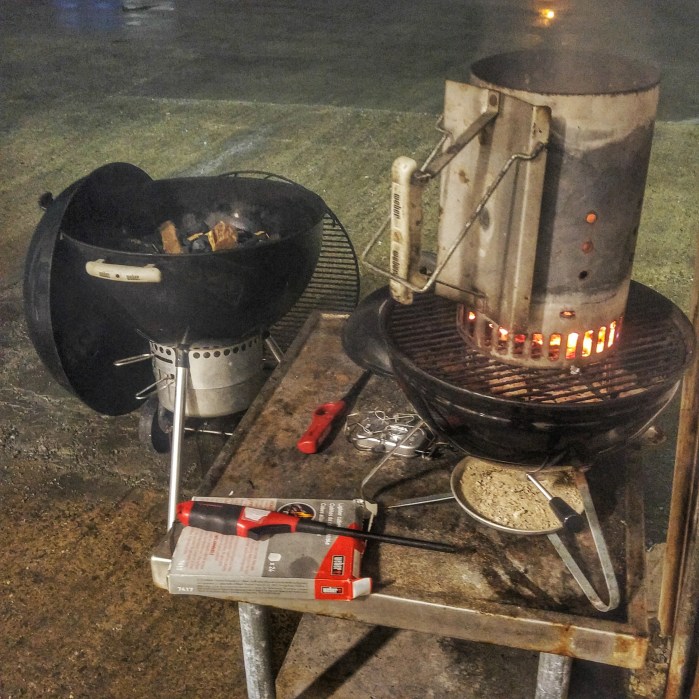
Outside conditions 39 degrees with a light drizzle.
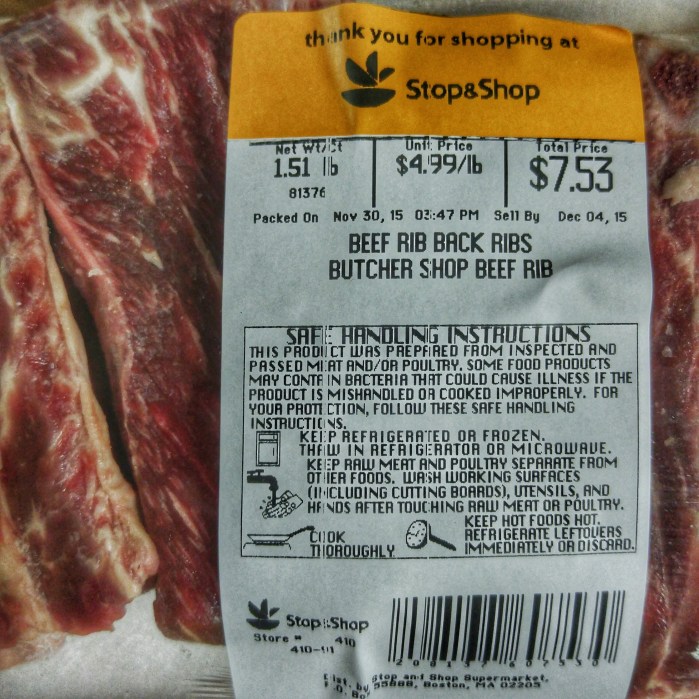
I’m trying a little something different as the beef ribs are so rich and I wanted to cut back on the salt so I put together a beef rub consisting of-
3 tbsp restaurant grind black pepper
1 tbsp onion powder
1 tbsp sugar
2 tsp granulated garlic
2 tsp ancho powder
1 tsp cayenne powder
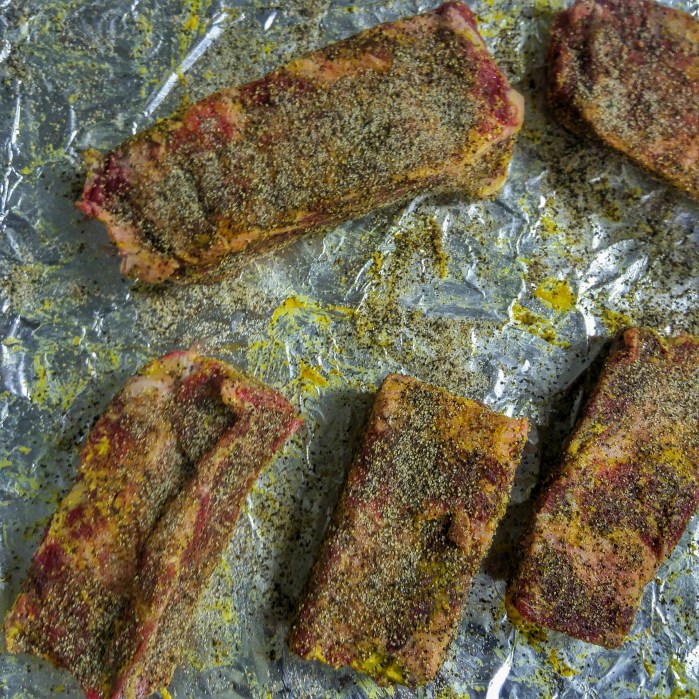
At the dollar store I picked up this $1 sugar shaker to use to disperse the rub.
First a light slather of yellow mustard for the rub adhesive and then I applied ground Himalayan salt to the ribs as if I was seasoning a steak ( a lot less salt than the 50/50 pepper salt ratio I was using before). Once the salt was on I shook on the rub using the sugar shaker.


5:20AM Ribs Hit The Kettle-

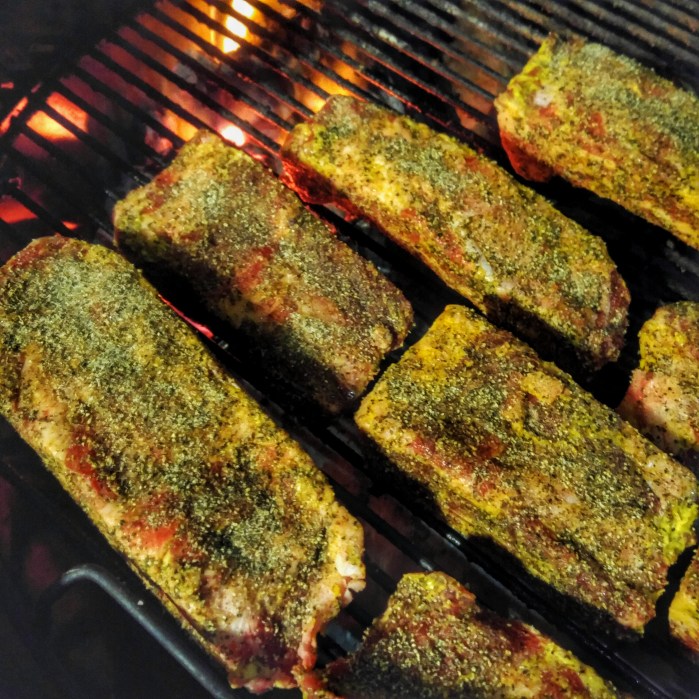
6:57 Update: Temps have fluctuated from 250- 325. I’m not sweating the temps, they’ll be done when they’re done.
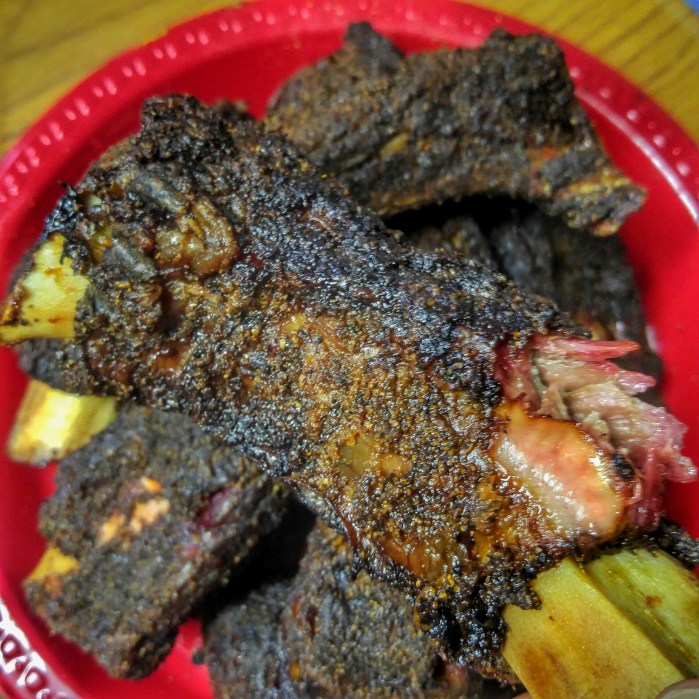
9:40AM. Probably the first time ever that I didn’t lift the lid once start to finish. The temps within the first hour varied from 250-325 but after exactly two adjustments she settled into a much tighter range of 270-289.


They were fantastic but probably could have benefited for spritzing at 20 minute intervals during the final hour. I also will absolutely use this rub again as they had a much better pepper/salt flavor.
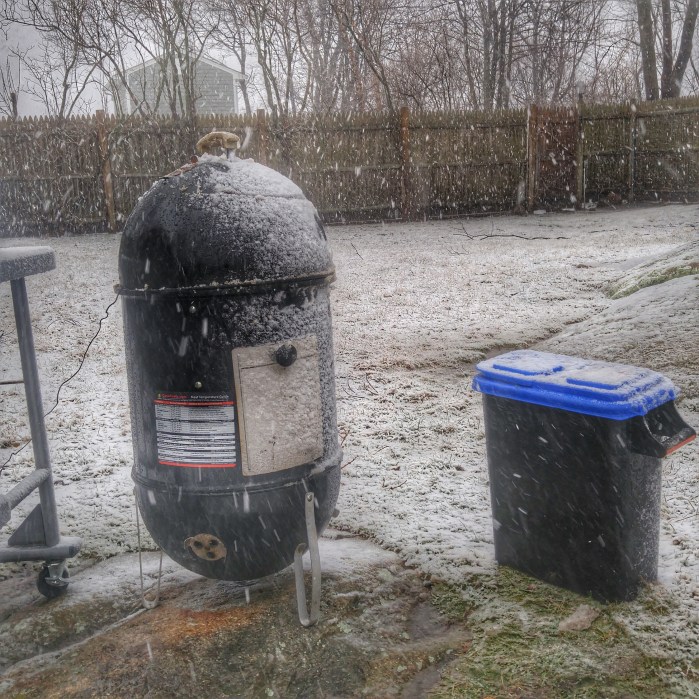
All month long I’ve been looking forward to the first Patriots playoff game to smoke up some ribs for the crew. Babyback ribs were on sale so I picked up three racks and looked at the forecast yesterday which said the rain and snow was supposed to stop between noon and 2pm today.
Well fast forward to today and there’s no rain at all, instead it’s a full on sideways huge wind snowstorm.
Not to be deterred by the weather we forge ahead!
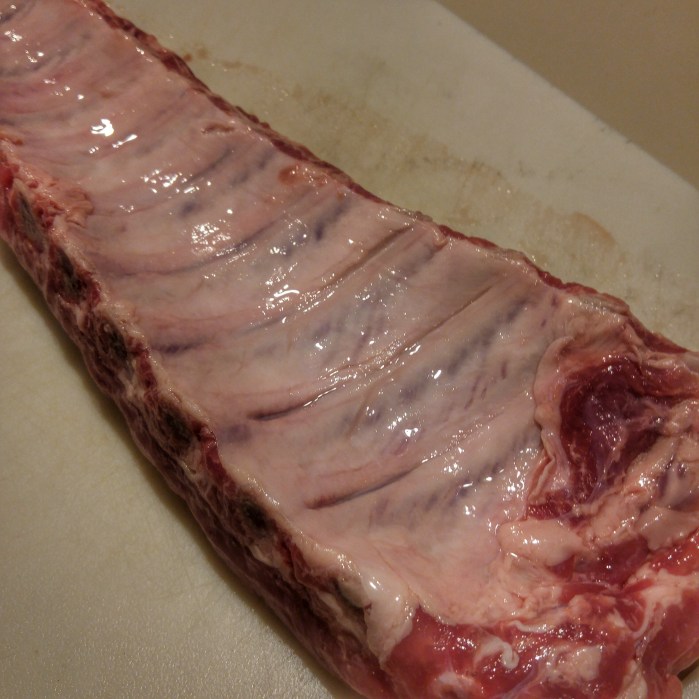
Babybacks were on sale at Stop and Shop yesterday but they didn’t have them in yet and would be frozen so I went to Market Basket, paid a little more from them but they were in the case unfrozen.

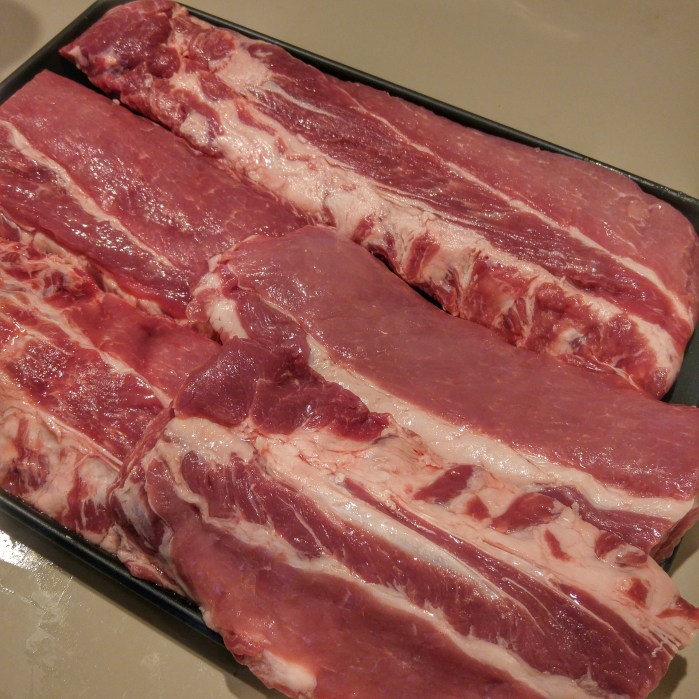
Took the ribs out of the cryovac and gave them a thorough rinse.

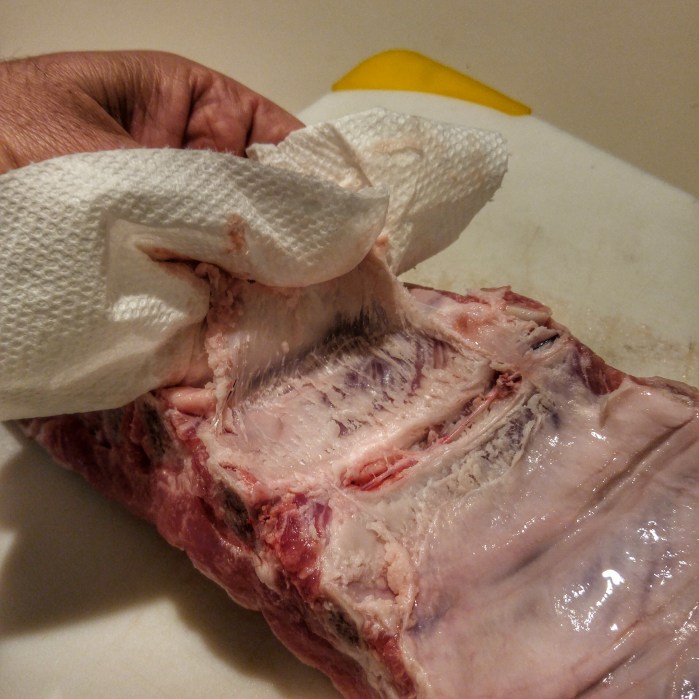
Next piercing the sinewy membrane on the bone side of the ribs and peeled off the membrane. This is not difficult at all. just carefully slide your knife under the membrane til you get to the other side and once you have enough lifted away from the meat take a paper towel to help you grip the membrane and pull it away from the rib. It may take one or two trys to get it all off but this step should not intimidate you. It’s alot easier than it looks.
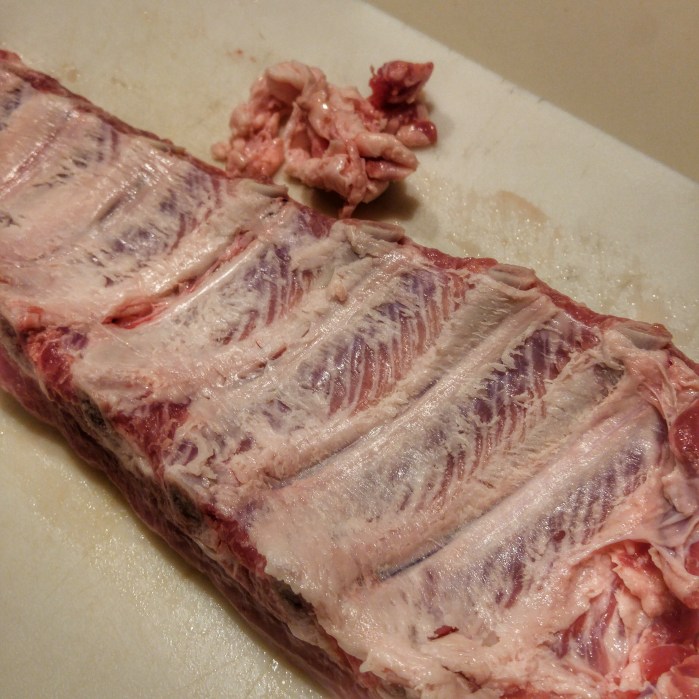
Once the membrane is off pat the ribs down with a paper towel to get them dry of any excess moisture from when you washed them.
Next slather a small amount of yellow mustard on the ribs which is used to help adhere the rub to the ribs. You won’t taste the yellow mustard it’s simply used to aid in adhering the rub so there’s no need to go out and purchase some fancy expensive mustard for this.
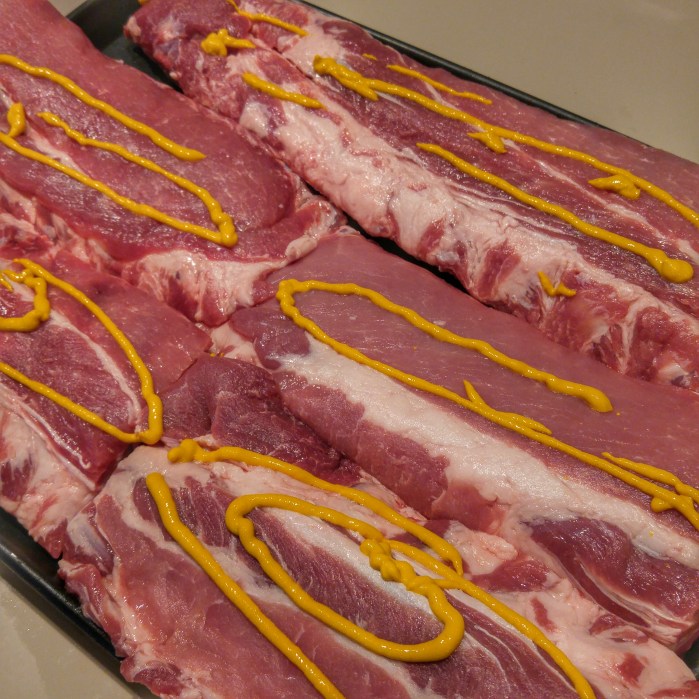

Now for the rub. I use the Paul Prudhomme rub for just about everything. It’s fantastic. Apply liberally on all sides and let the ribs rest for a couple hours.

Next to set up the Weber Smokey Mountain Smoker.
The wind is driving the snow sideways . Going out for ten minutes my sweater is completely drenched with wet snow. Took about ten minutes just to get the chimney lit.
Set up the smoker using the minion method with the charcoal basket at the bottom of the smoker hollowed out and the inside circumference of the charcoal basket lined with briquettes, cherry wood chips and apple chunks. Once the 1/3 of a chimney of briquettes got going I dumped them into the center of the charcoal basket, looking for a gradual build up in temperatures to 225-250.

So now that the pit temps hit 200 we toss the Ribs on
Luckily last weekend I bought a nice plastic cover for the Maverick remote temperature gauge/ These things don’t like to get wet and today probably would have fried the unit if it wasn’t in the plastic housing. $2.99 cents at Ocean State Job Lot was a good insurance policy for the sensor to stay dry.

Two hours in I wasn’t satisfied with the color, and the Weber Smokey Mountain had been cruising along at 225. I opened the fuel door and saw quite a bit of charcoal had been used up. Figuring we needed another two hours of heat and looking for a little more heat I fired up 2/3 a chimney of briquettes and added them to the charcoal basket. I also mixed up a container of a couple of tablespoons of Stubbs BBQ sauce, a couple of ounces of apple cider vinegar and a tablespoon of tabasco sauce and spritzed the ribs.
The snow has stopped, it’s just raw and cold out but the extra lit charcoal has helped the temps on the pit climb.
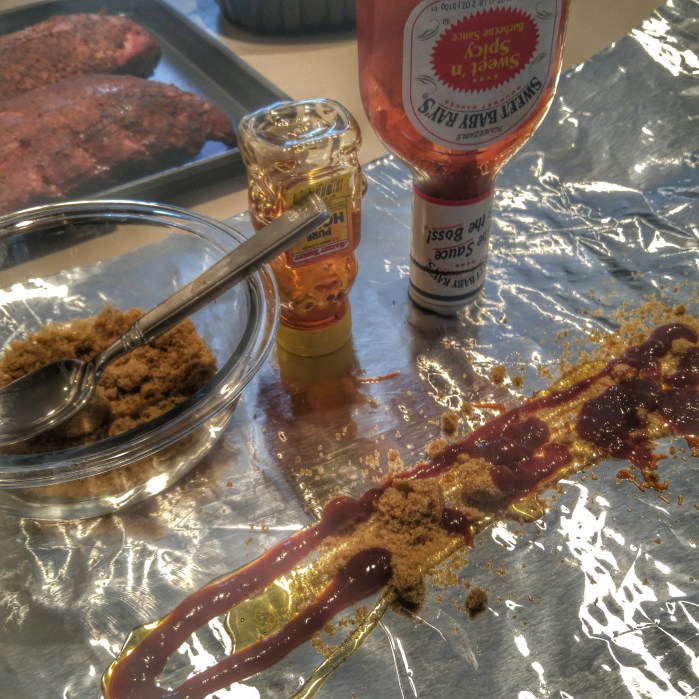
2:45PM Pull the ribs off the pit and foil them.
A drizzle of honey, a drizzle of Sweet Baby Rays and a light sprinkle of brown sugar. Ribs foiled meat side down and back on the smoker.

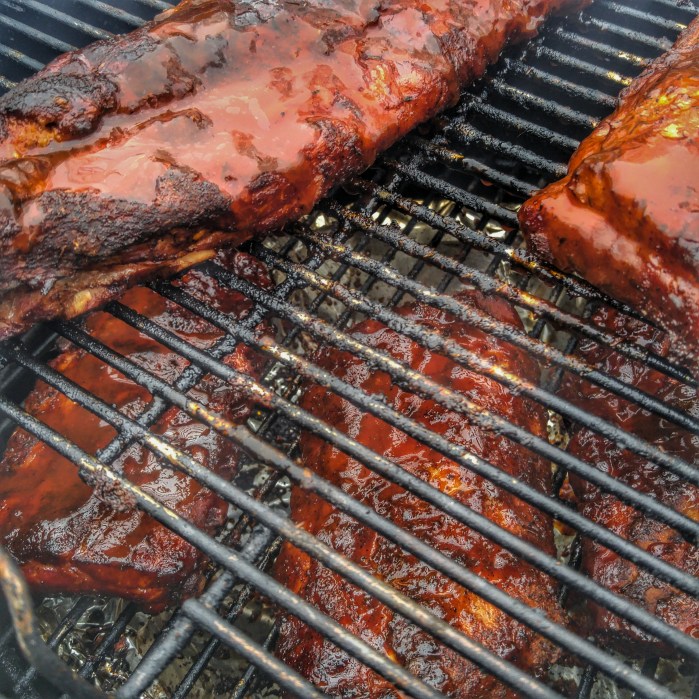
3:30 Update Unwrapped the ribs and put them back on the pit. Was careful to collect the drippings from the foil to add into the final BBQ sauce for an extra kick. Dipping my fingers into the drippings all I can say is OMG. Difficult to have patience but we’re gonna let the bark firm up for another 45 minutes or so. Pit temp is 350
3:40 Update Just gave the ribs the final spritz with a combination of the drippings from the foil, The stubbs, the tabasco sauce and apple cider vinegar mixture. Opened all the vents to try to get everything to caramelize as much as possible. Will pull off at 4:00PM
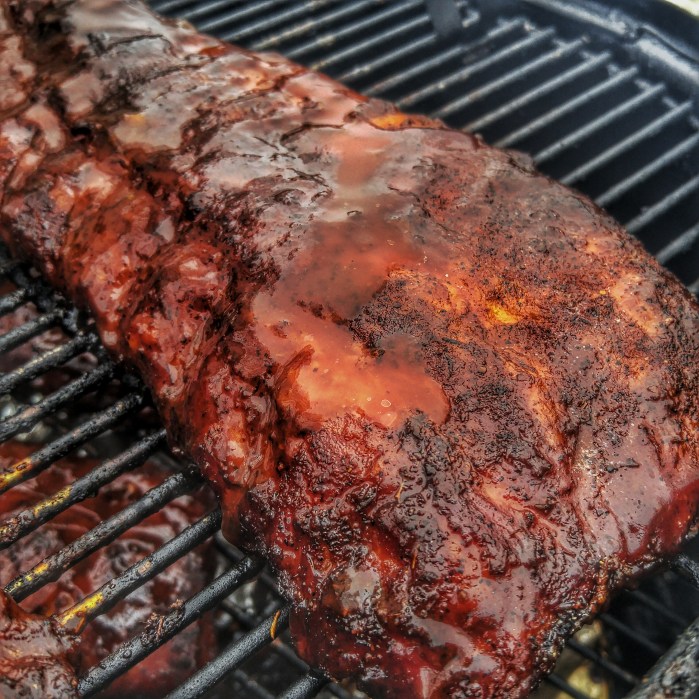
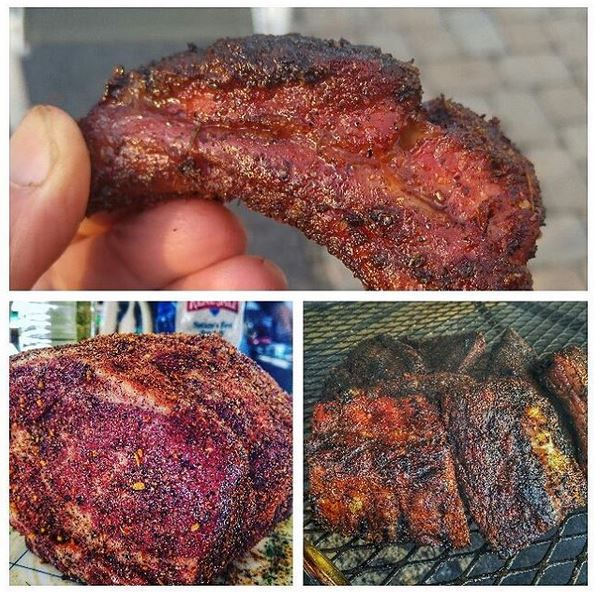
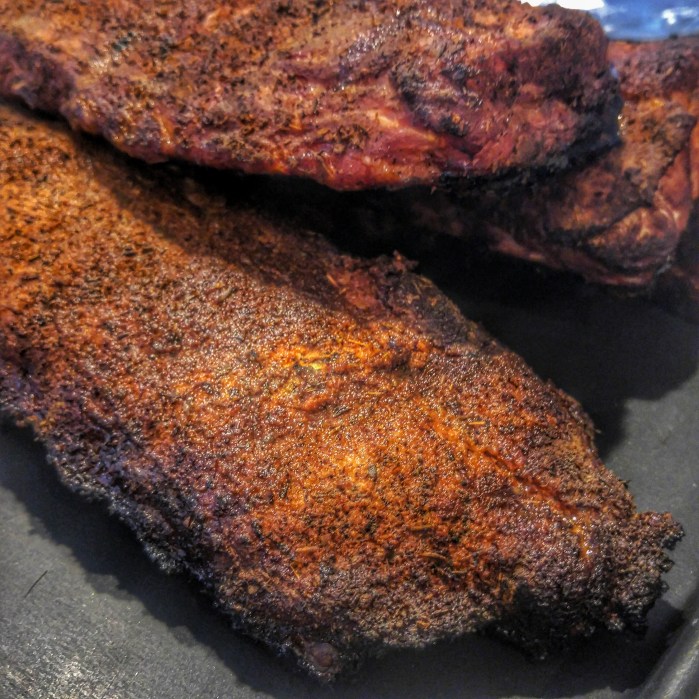
The money shot-


Follow along this morning at www.northeastbbq.com
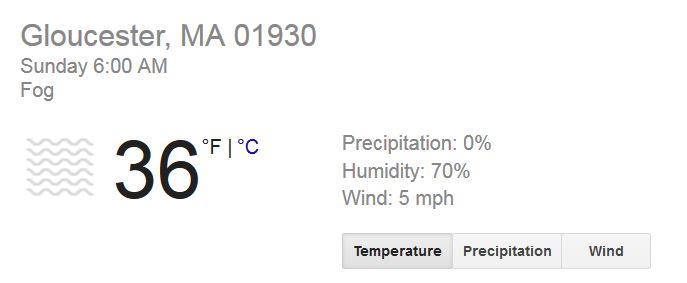
External Temp 36 Degrees
5:10AM Set Up Smoker using minion method. Looking to get a controlled temp around 275. Using Kingsford Briquettes, Apple Chunks from Russell Orchards in Ipswich MA and Cherry wood chips for smoke.
Lightly slathered ribs with Texas Pete Hot Sauce and used Paul Prudhomme Blackened Rub.
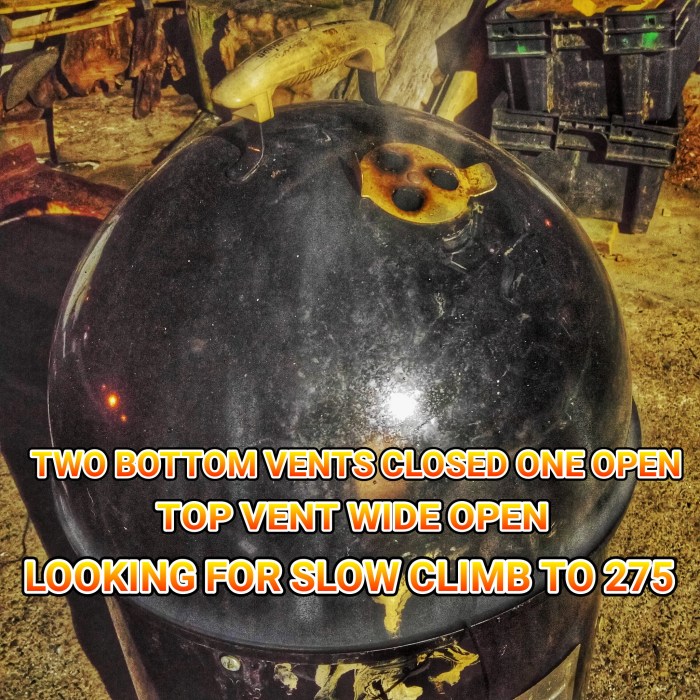
Once pit temps hit 180 degrees closed two out of the three bottom vents and left one wide open. After climbing to 200 degrees closed bottom vent a third of the way looking to not let the pit get too stoked and fight temps on the high side throughout the smoke. Aiming for 275 degrees.
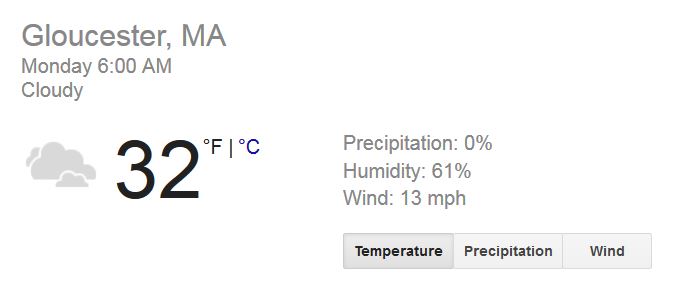
6:00AM Meat Hits The Smoker- Current Weather Conditions-

7:15AM Update Looking Good Pit Temp 250 Opened second bottom vent halfway to get pit temps up just a bit. Developing some nice color on the ribs.

Smoke billowing out makes me happy 🙂
8:15AM Update:
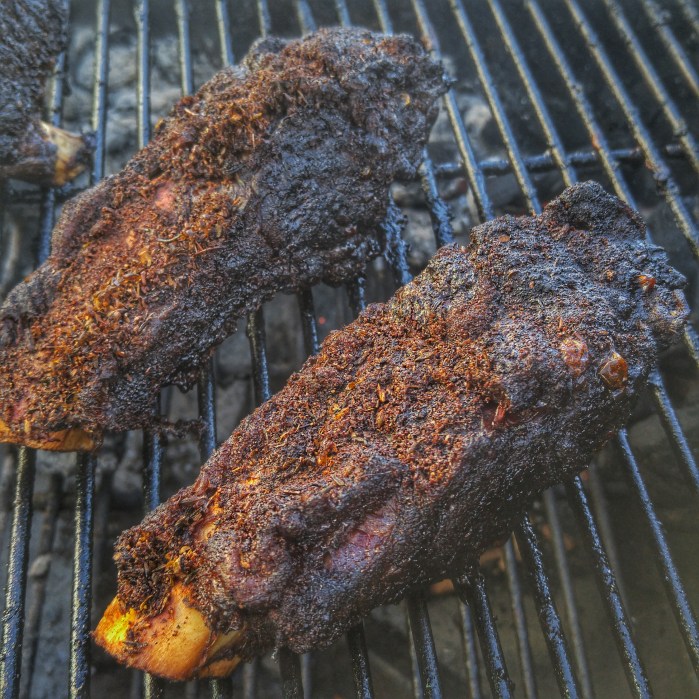
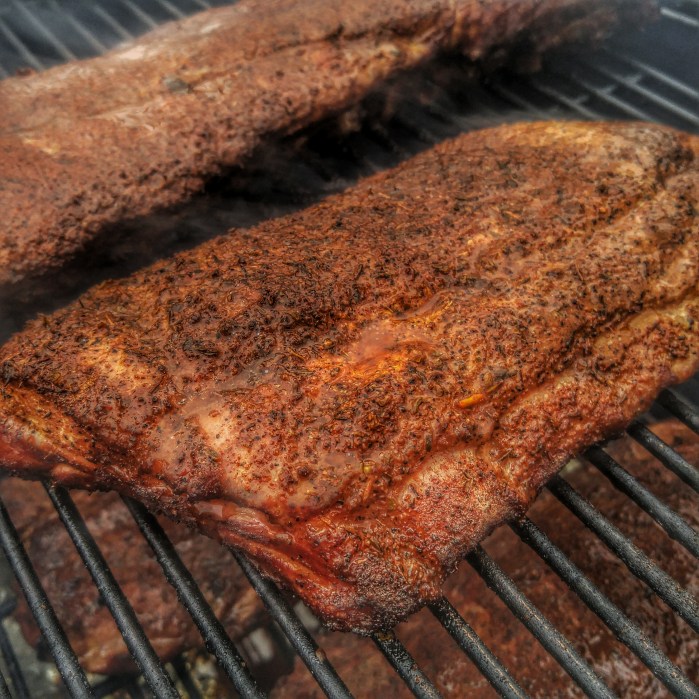
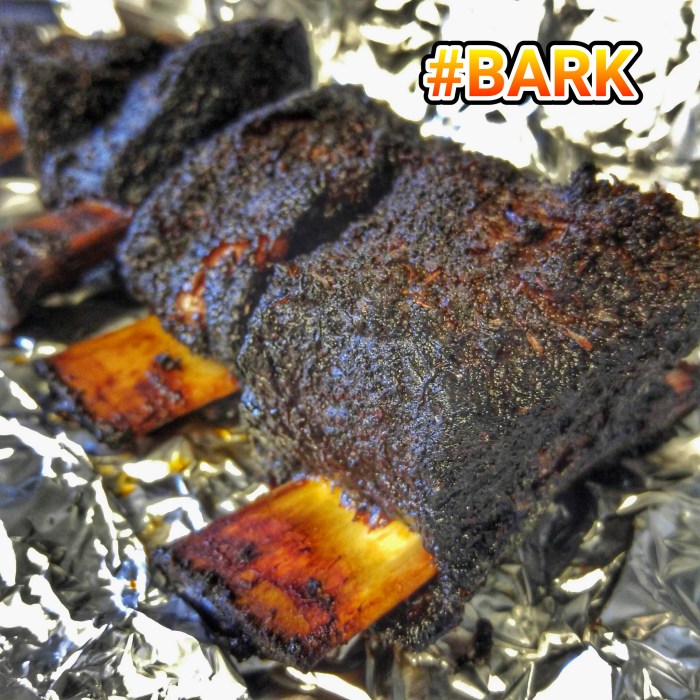
Nice Bark Forming On The Beef Ribs.

Pork Burnt Ends Ready To Come Off To Sauce

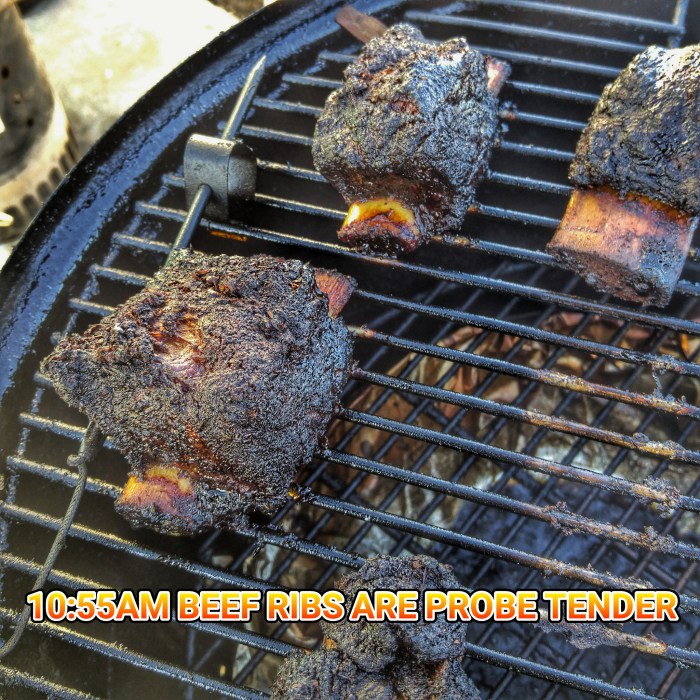
10:55AM Update beef Ribs Are Probe Tender
#Bark
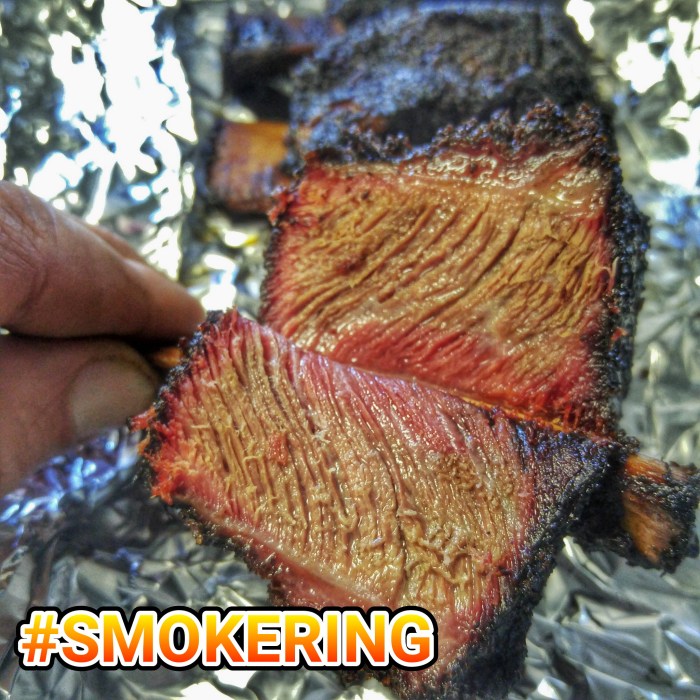
#SmokeRing
Follow along this morning at http://www.northeastbbq.com for the live updates

Current conditions-
6:21AM Vents wide open, grate temp 255
Kingsford briquettes arranged for snake method.
Cherry wood chucks and apple wood chips placed on top of the briquettes along the path of the snake.
7:42AM Update
Pit Temps have climbed to 325ish due to some large chunks of apple wood being on fire but she’s chugging along nicely. Closed bottom vent around halfway.
Nice bark forming!

Nice little pullback on the bones-

9:15AM Update temps still over 300 so I closed bottom vent completely and the top vent about 1/2 way. they’ve got the color I’m looking for. Now just need time to break down all that connective tissue and get them to probe tender. I’m looking for an effortless entry with a toothpick, like as if the toothpick was going into warm butter.

10:38AM Update
Toothpick Tender Test