
View this post on InstagramA post shared by Joey Ciaramitaro (@northeastbbq) on

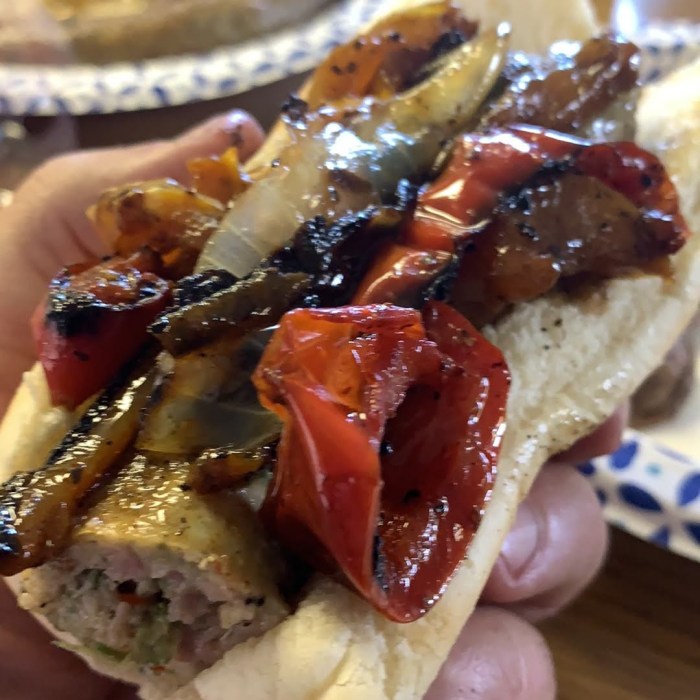
Try this- mix sriracha and mayo and slather it on your corn on the cob and cook them offset the coals 450 degrees or so for 35 minutes. Yummmmm!
Discovered a McCormick Rub that I really like. A little sweet, a little heat, nice balance.
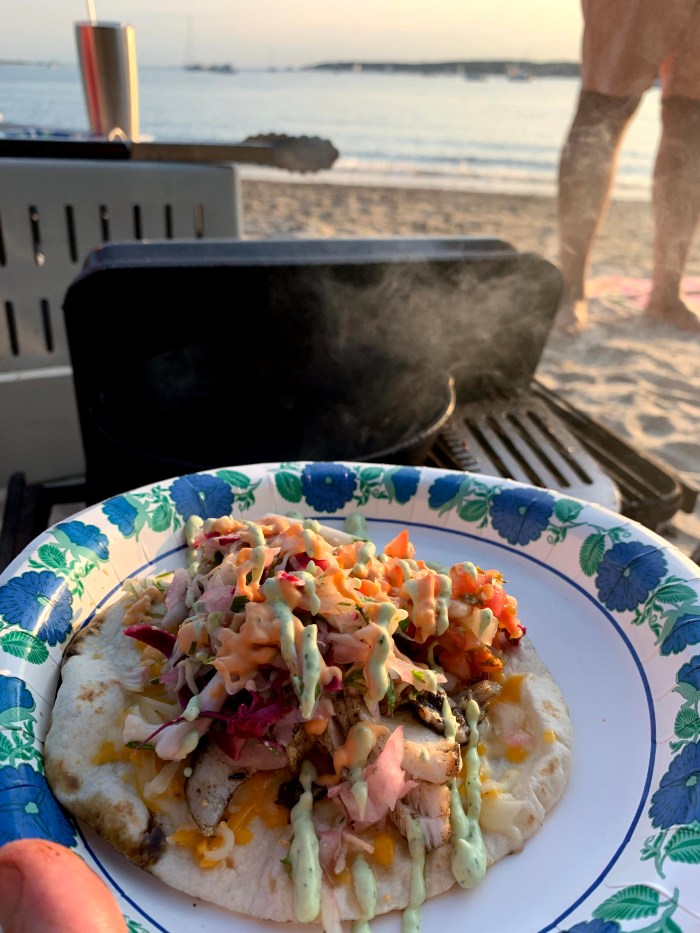
Glorious. Living a mile away from your favorite beach is pretty sweet.
What makes it sweeter is hanging with some of your favorite people and cooking incredible food while your toes are still in the sand on that very same beach.
A little EVOO and Paul Prudhomme Blackened Fish Seasoning. Cook it up on the Lodge Cast Iron skillet , toast the taco shells and add Kate’s awesome homemade slaw, avocado crema or my sriracha mayo or all that!
Heaven.


The pick up and inspection:
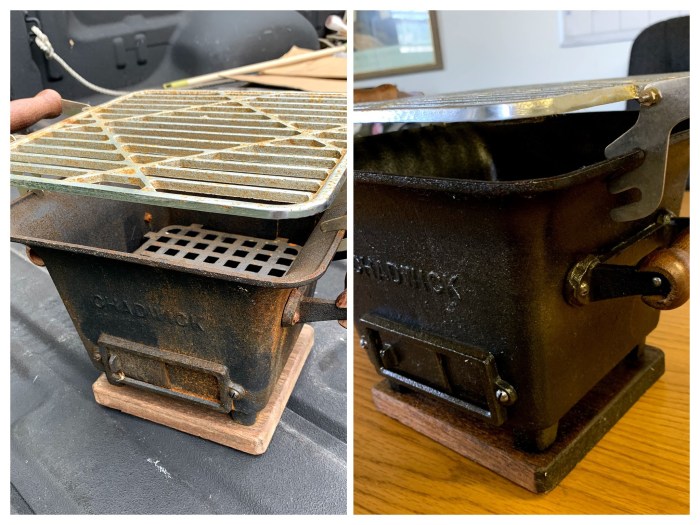
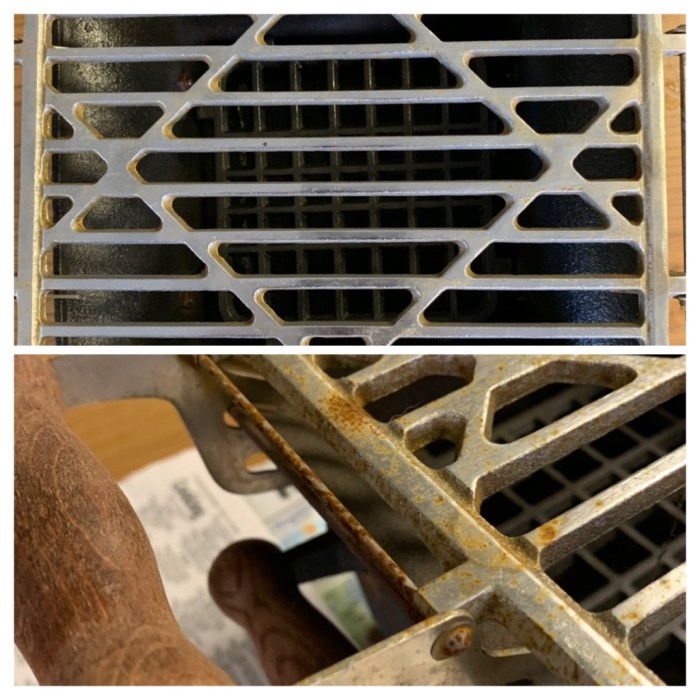
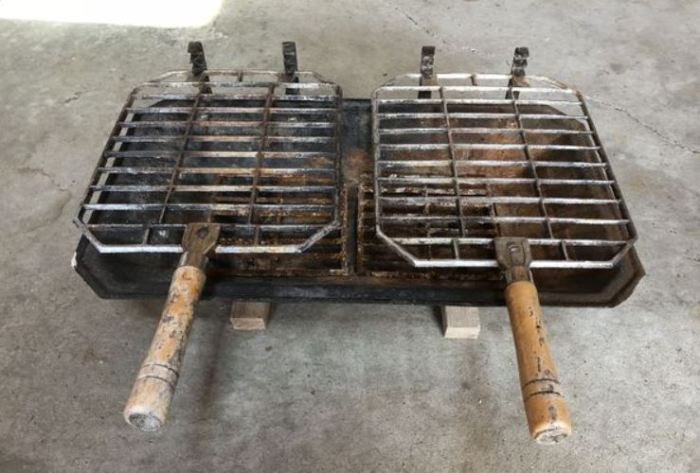
While it was obvious the hibachi had never been used, there was a fair amount of surface rust on the cooking grid, cookbox and hardware that held everything together. The wood base was dusty and faded.


Further inspection and breaking down:
The thing rod that holds the wood handles to the cooking grid had the most surface rust but all the nuts came free after hitting them with the wire brush and steel wool. Same for the nuts that held the wood base to the cook box.


Cleaning:
The tools used were steel wool, wire brush, abrasive sponge and a rag.

Started out hitting any and all surface rust with the small wire brush and then finish and get into the tight areas with the steel wool. The wood base which was dull and dusty had a nice wood grain that was exposed after cleaning with the extra fine steel wool. I was most anxious at this point to get a couple of coats of Tung Oil on it to see it come back to life. All the hardware benefited from the steel wool cleaning as well.
The surface rust on the cookbox made it look dull and after asking for advice on the excellent Facebook group “Cast Iron and Hibachi World” member Mike Clemons suggested washing with a scrub pad and Blue dishwashing detergent.


The base and handles get Tung oil:
The handles had what looked to be stain on them and the base looked untreated.
After scuffing off the dust with the steel wool and wiping off with a damp rag I applied a coating of Tung oil liberally with a rag to all the wood. after about five hours I applied a second coat which really brought out the grain. I plan to do at least two more coats or keep applying until the wood won’t take any more oil.


Lastly a light coat of vegetable oil


Before and after pics:


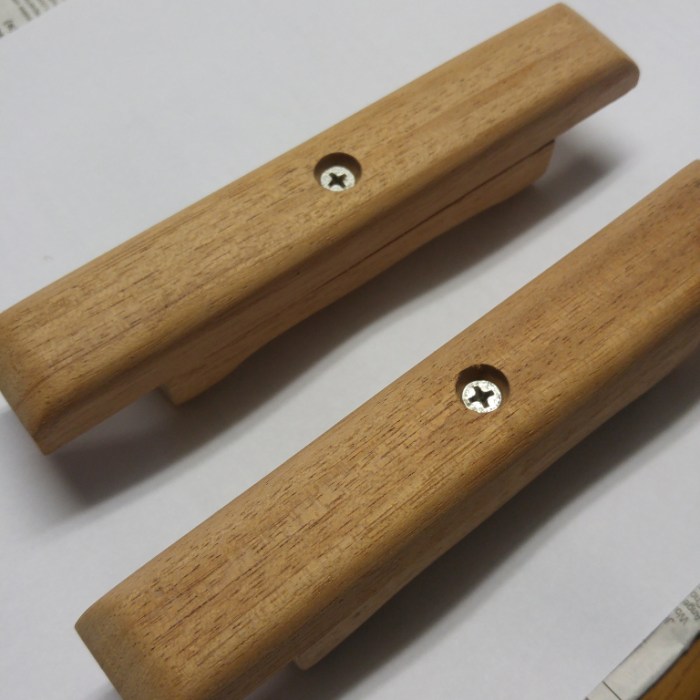
Bare Untreated Handles
Here are some photos before and after with a couple of coats of Tung Oil over the course of two days. It couldn’t be easier to apply

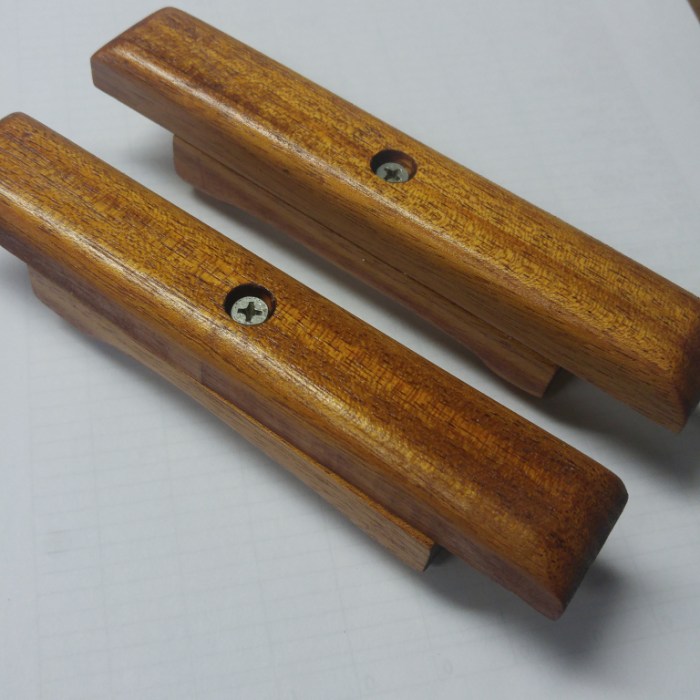
These Weber Handles that had never been treated got a two part process. Two coats of Miniwax Golden Pecan stain and then three coats of Spar Varnish. Light scuffing with some extra fine steel wool and wiping with damp rag between coats over a couple of days time.
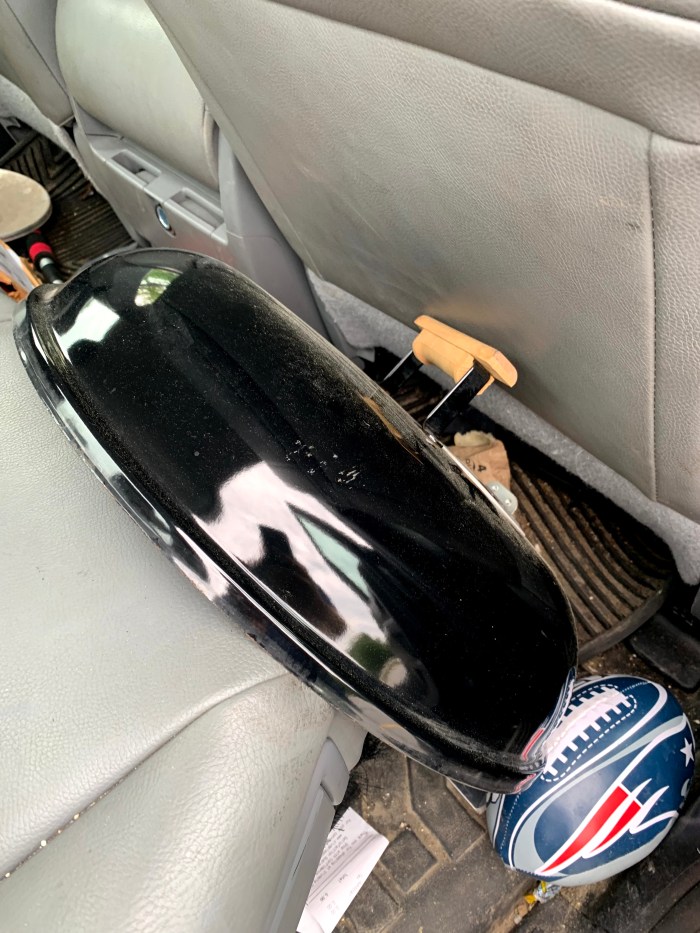
Two coats of Miniwax Golden Pecan stain
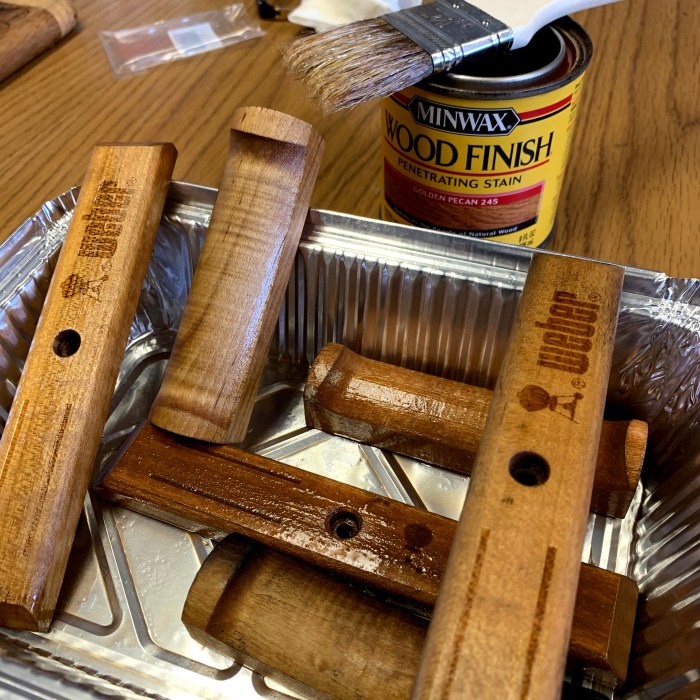
Three coats of Miniwax Helmsman Spar varnish.

After a couple of coats of Spar varnish they really pop with that wet look.
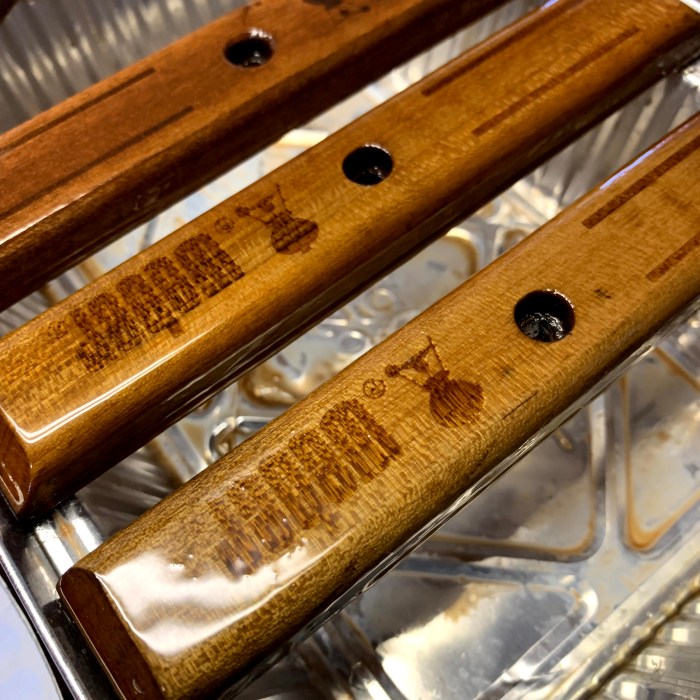
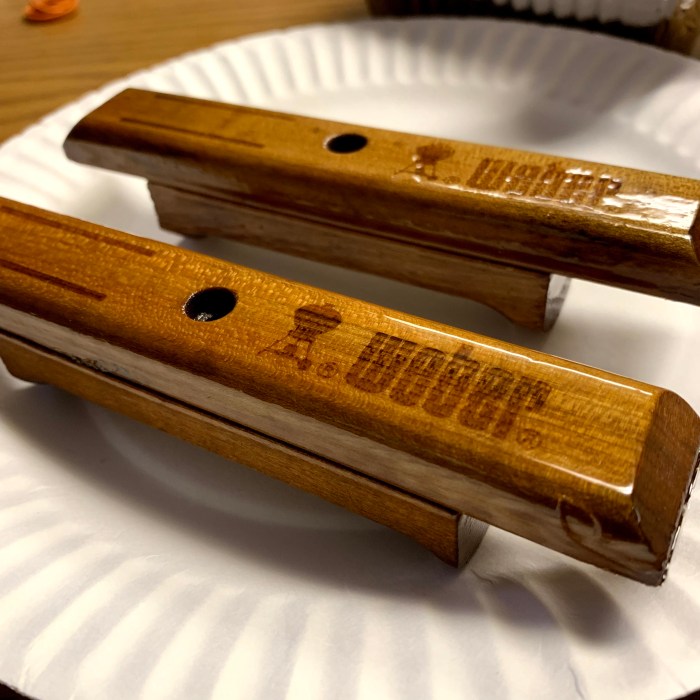
Overall I like the look slightly of the Spar urethane but the ease of application on the untreated handles with Tung Oil is pretty tough to resist.
I have an old wooden work bench that I covered with spar varnish and it’s holding up really well on my deck outdoors but it’s only been four months in direct sunlight. we will report back at the end of the season.

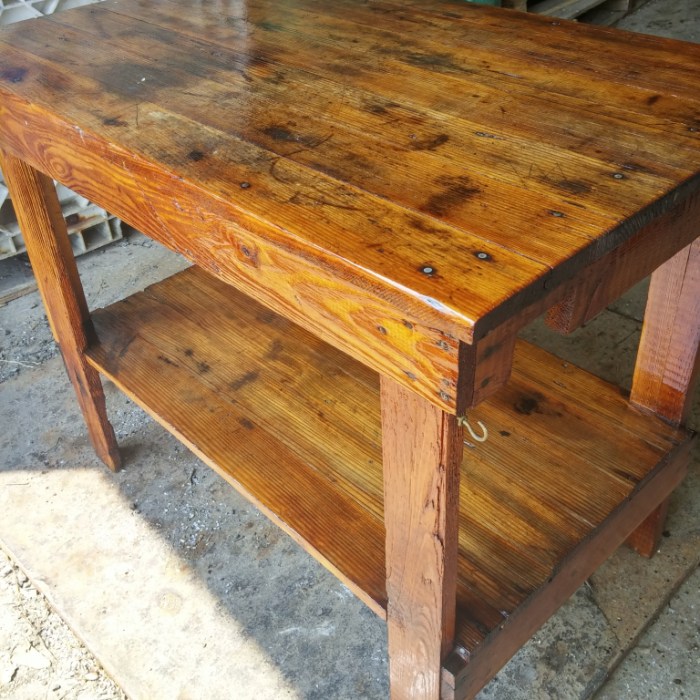
Another reason for going with the Tung oil being that the spar varnish in the sun outdoors over time will likely crack and need to be sanded to reapply whereas the Tung oil just need a rag to wipe them down with more Tung oil when they lose a little luster.
I think if I was going to have a show kettle or piece for indoors I’d go with the Spar Varnish going forward but for ease of application the Tung oil can’t be beat.

Here’s the method I stand by.
First selecting your meat- Ribeye, Porterhouse, Strip Steaks at least an inch thick preferably an inch and a half.
Place charcoal baskets on one side of the kettle, light up 2/3 a chimney of coals and once they’re glowing dump them in the baskets. At this point I’ll toss corn on the cob or russet potatoes offset the coals. I use a chunk of cherry wood or apple, if you want more intense flavors hickory or oak for smoke on top of your coals.
For corn on the cob I mix mayo and sriracha, apply liberally over the corn and then hit them with BBQ rub.
For baked potatos I pierce them put them in the microwave for five minutes then coat with olive oil and liberally top with kosher salt.
The corn and/or potatos go on the grate opposite the coals and I let them cook for about 20 minutes before I toss on the steaks because the steaks will cook faster.
For the steaks- EVOO slather and then coarse black pepper, kosher salt and garlic powder.
I cut the top vent 50% and bottom vent 50% and stick a remote temp gauge in to monitor internal temp on the steak. I like using a meat thermometer as it doesn’t fail me. I get perfect results every time.
When the steak reaches 85 degrees internally I’ll put them on a plate loosely wrapped in foil and open the lid and bottom vent to get the coals ripping for about 5 minutes. After the five minutes your coals should be glowing for the most part. The test for if you’re ready to sear is if you place your hand over (not on) the charcoal baskets, you should feel enough heat to want to pull it right away.
Now it’s time to sear the steaks. On a steak an inch thick about a minute then rotate and grill for another minute to get hashmarks then flip and the grill a minute then rotate again. I always use an instant read thermometer and when it hits 118 internal (for rare) pull the steaks off, rest them for about five minutes with a couple of pads of butter on each steak. The key is internal temp, not time. If you go by time and the steaks are 100 degrees internal they will probably be too rare for your liking. if it goes to 150 degrees you’ll be eating shoe leather. Investing in a instant read thermometer and remote thermometer are keys to becoming a way better BBQer.
The perfect temp to pull the baked potatoes is 205 degrees internal.
While the steaks are resting you can put a little char on the corn on the cob as well.
I guarantee delicious results.
Here are the tools I use-

The Weber Go-Anywhere has been around for a while.
Read this excellent post detailing the history of the Go-Anywhere on the Weber Kettle Club Website-
September 18, 2017
This history article was researched and put together by Weber Kettle Club forum member Neil_VT00
If you look at the timeline, the rectangular portable Go-Anywhere was introduced in 1979 and not a whole lot has changed since then.
What I think is genius about it and how it advanced portable charcoal cooking was how it differentiated from the popularity of the open cast iron hibachi.
Cast iron hibachis were popular in the 60s. They are heavy, they require maintenance to avoid rusting and they are open topped which limits the type of cooking to direct grilling.
My guess is that the engineers that designed the Weber Charcoal Go-Anywhere took on all of these issues by making it out of their porcelain coated steel to avoid rust issues and be a whole lot lighter to transport.
The Lodge Sportsman Cast Iron Grill has roots dating back to 1941. It’s heavy, it requires maintenance to keep from rusting and again, it does not have a lid.
I’m not saying they are not interesting or fun to cook on. I’m just saying the Weber Go-Anywhere is a whole lot more versatile.
When you light up a bunch of coals on an open hibachi you need to be cognizant of factors such as wind and how much time you have. The coals don’t get snuffed out quickly as there is not lid or vents to regulate air needed to sustain the coals being lit.
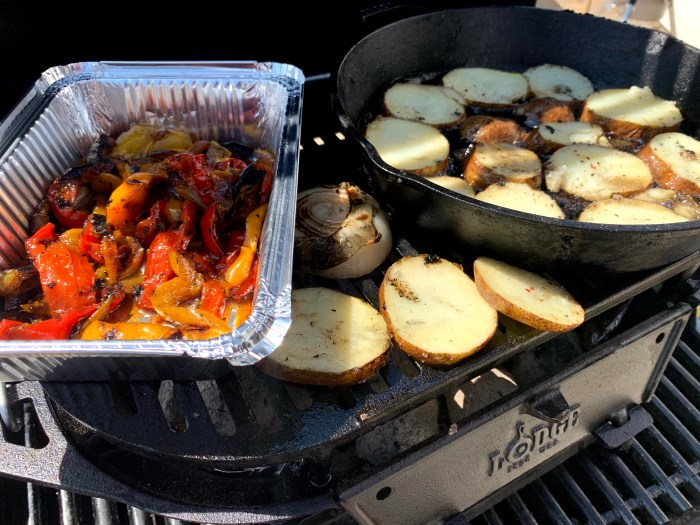
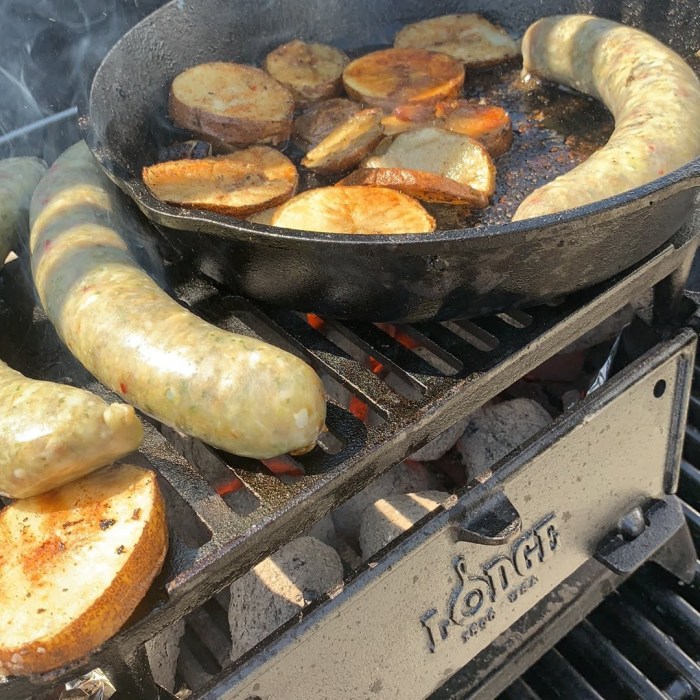
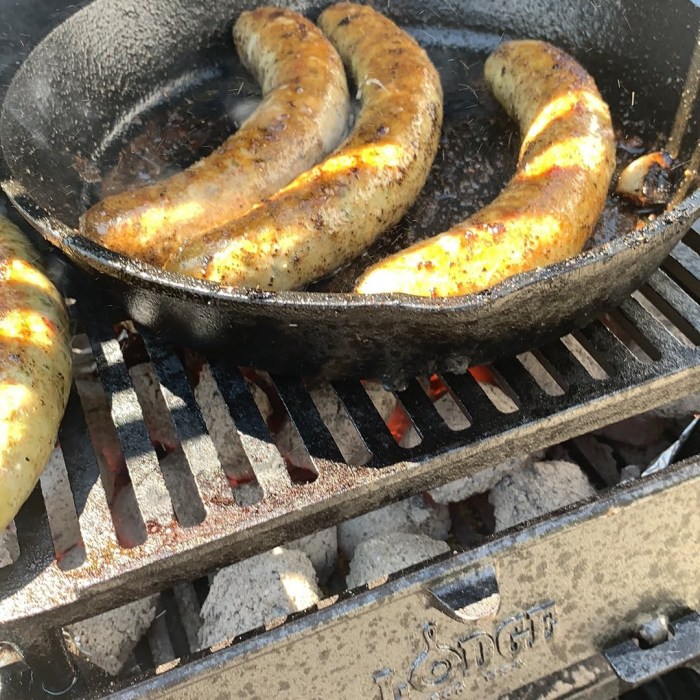
Here’s my Lodge Sportsman grill/hibachi on action at the dock-


On the Go-Anywhere the legs flip up and lock the vented lid to the base making it easy to transport. It can also be used to smoke on a small scale and regulate air flow with the vents on the bottom and in the lid. With a traditional hibachi you’re pretty much limited to open grilling.
Here are a couple of the other cast iron hibachis that I’ve collected-


