Two hours to Bristol RI and two hours back for this gorgeous 1978 Classic Weber Redhead.
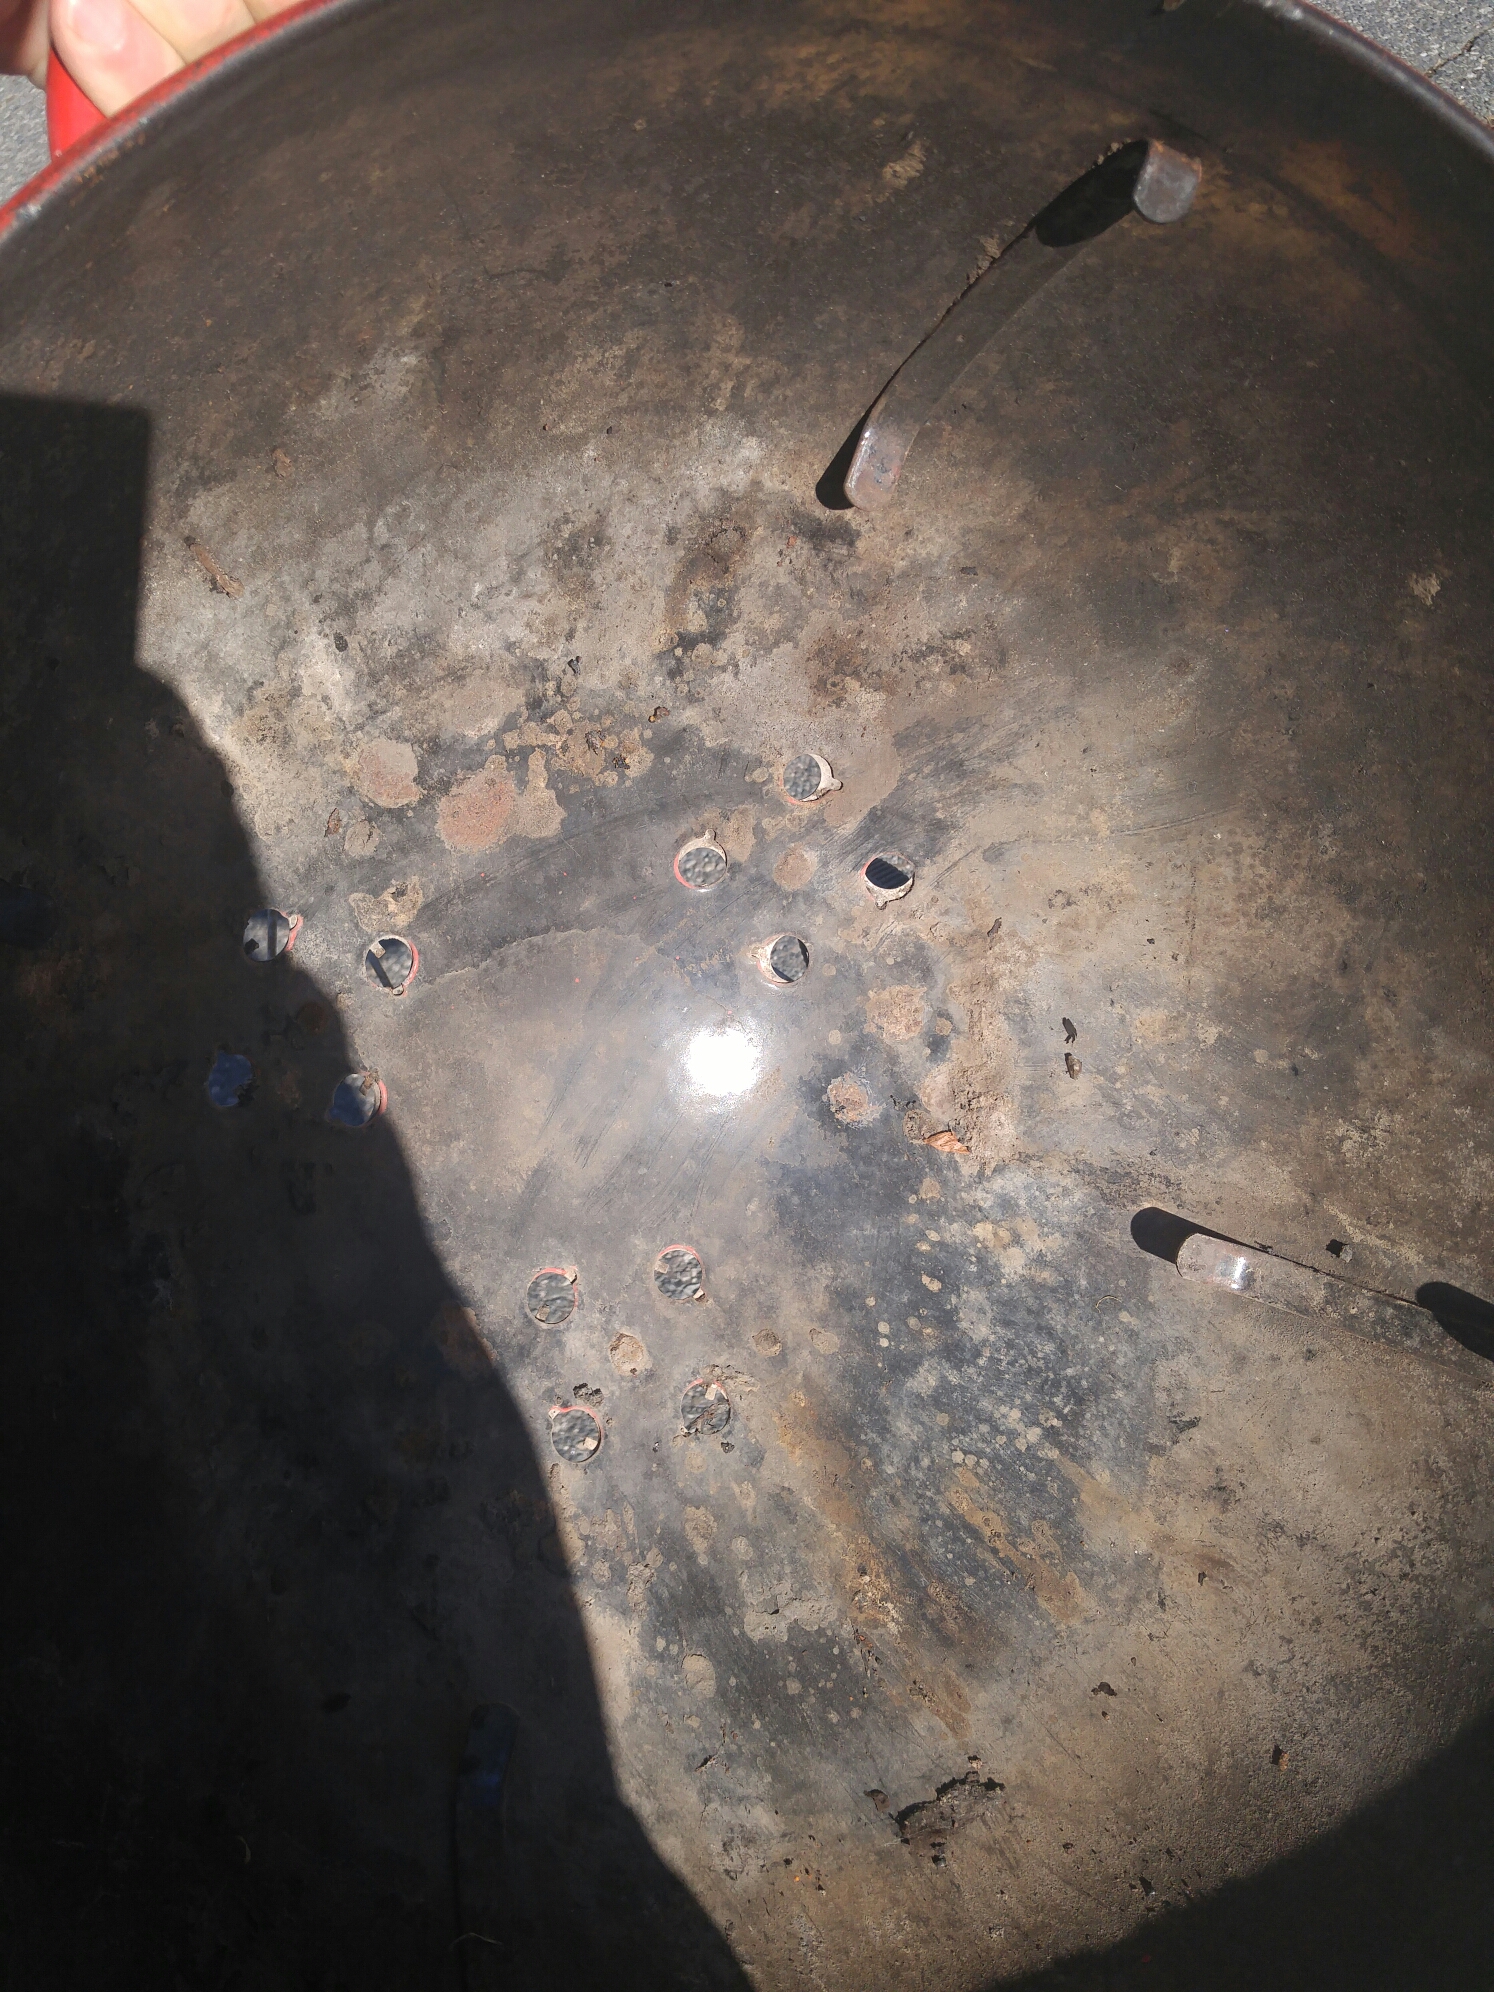
Been stored away for a while. Look at the dust!
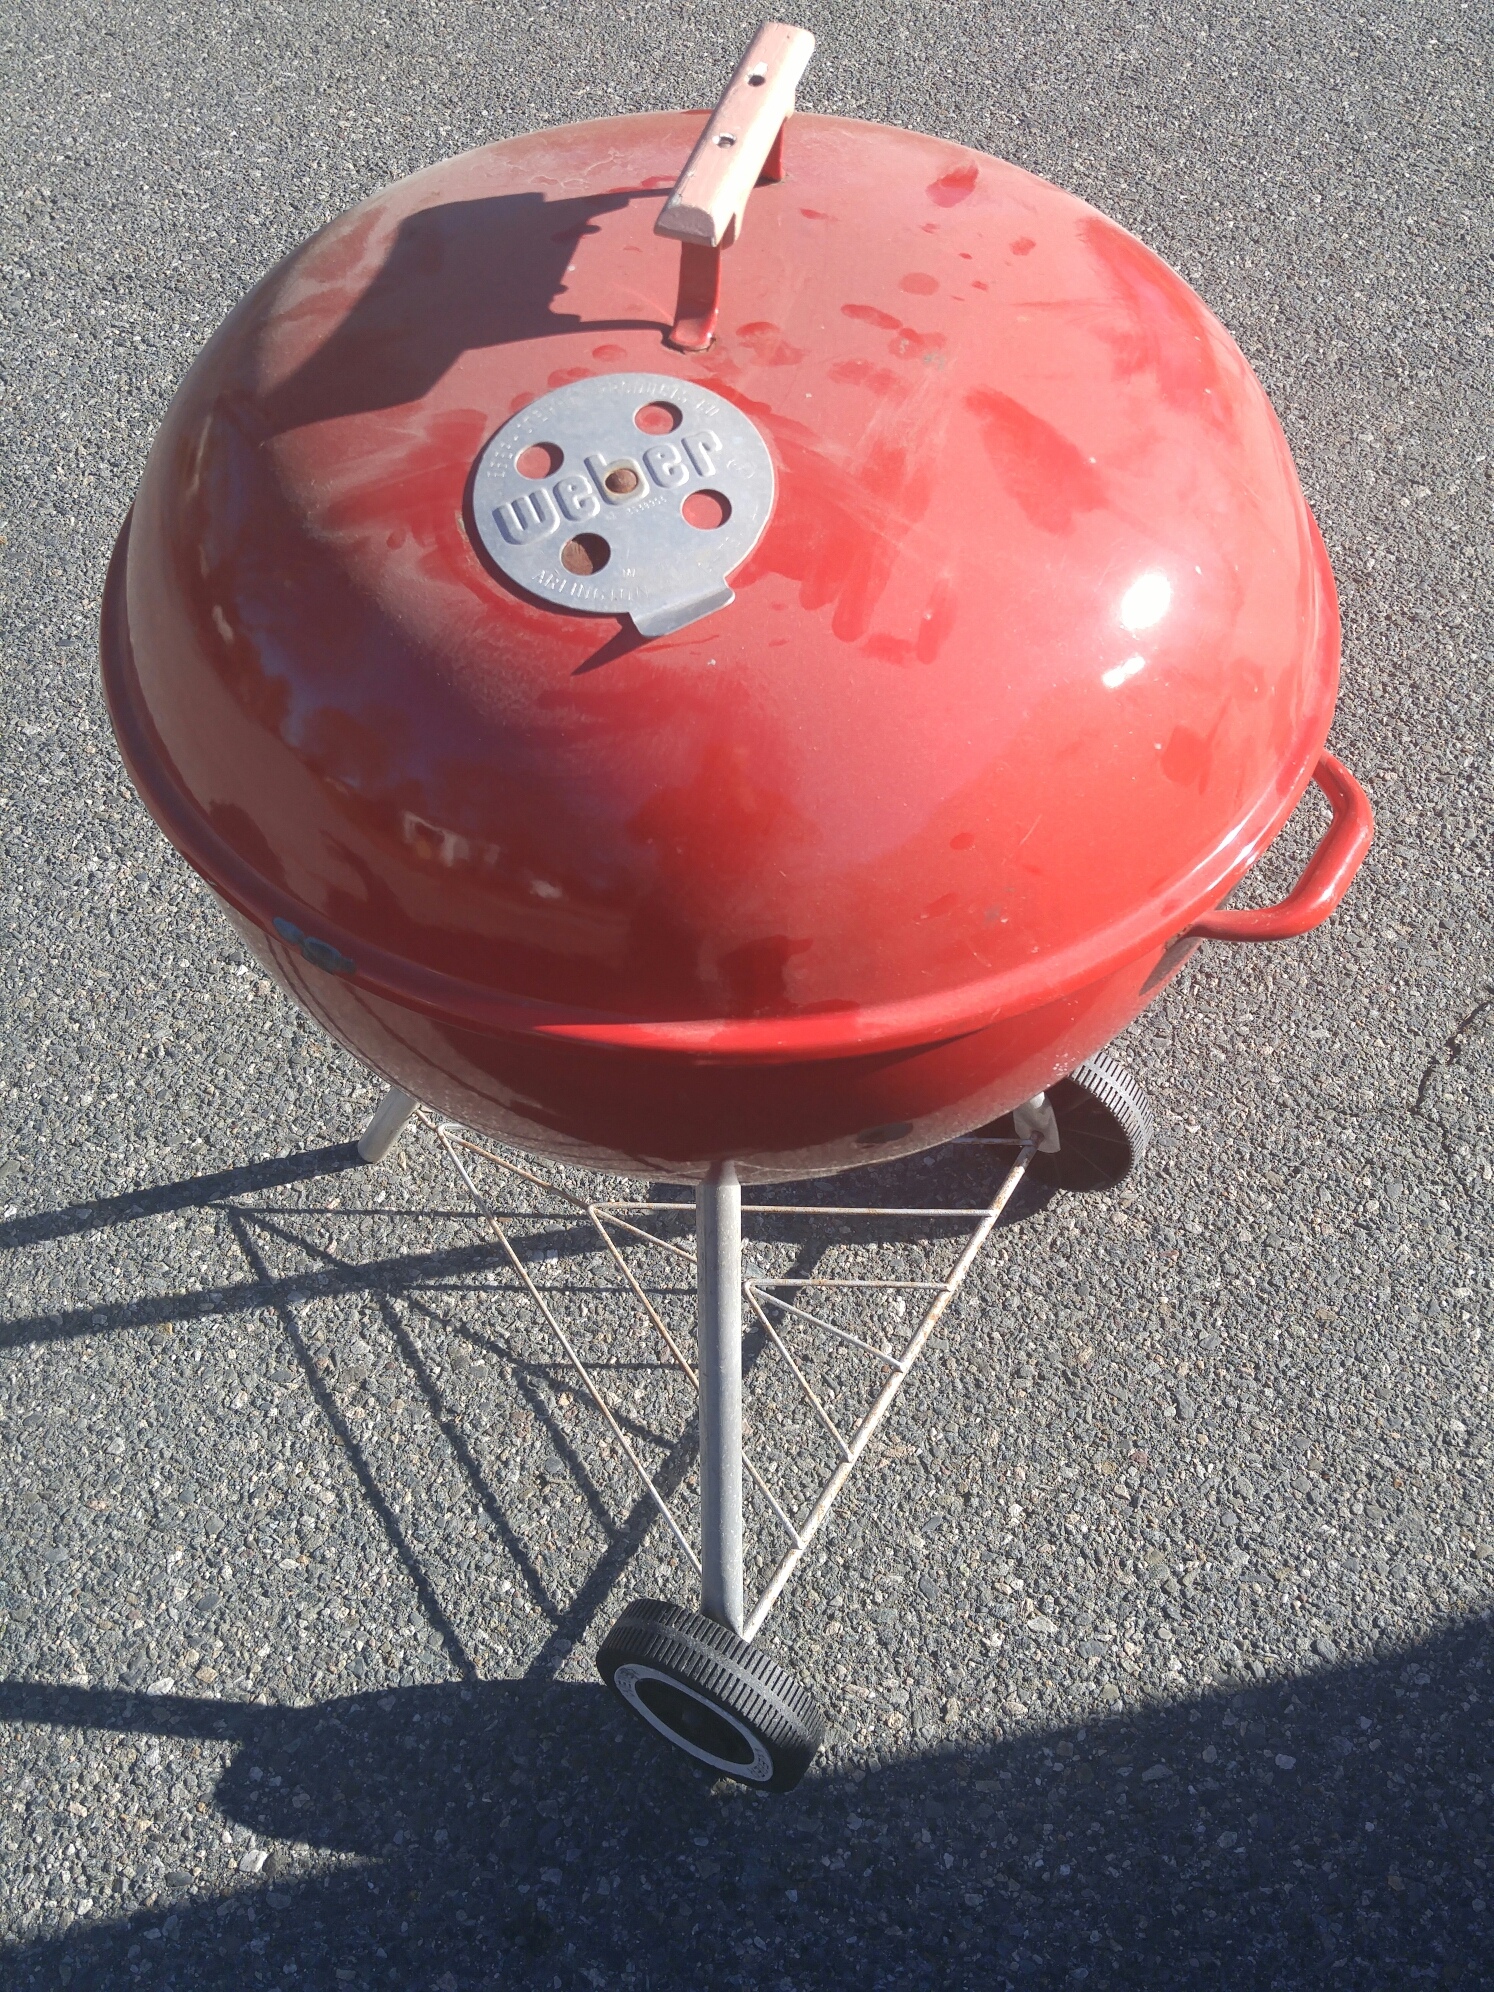
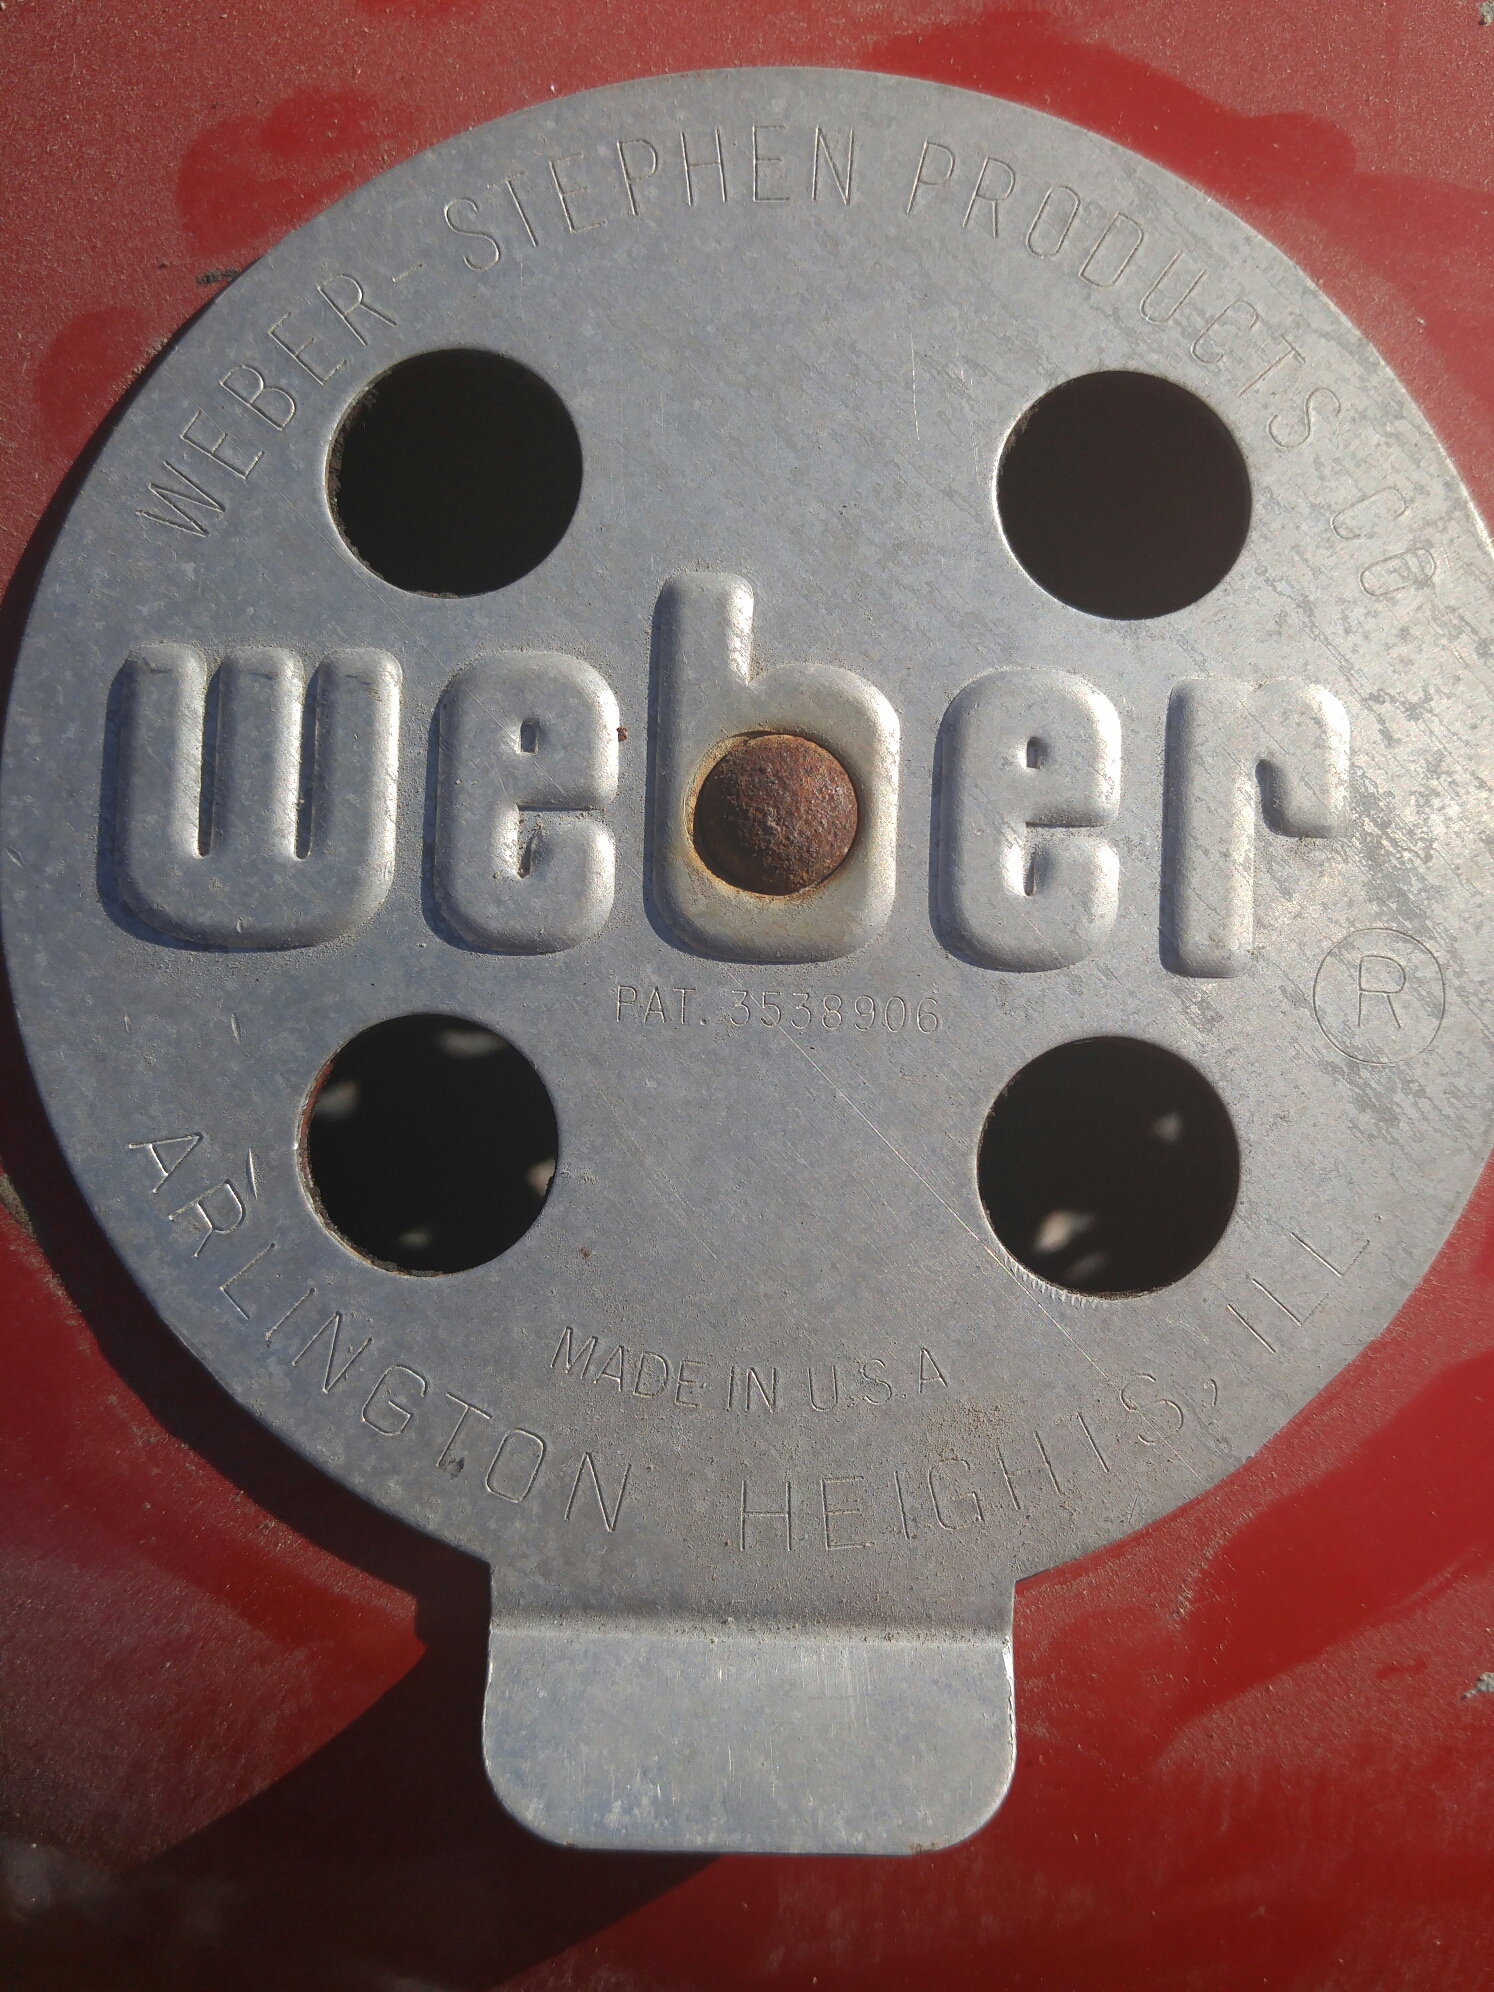
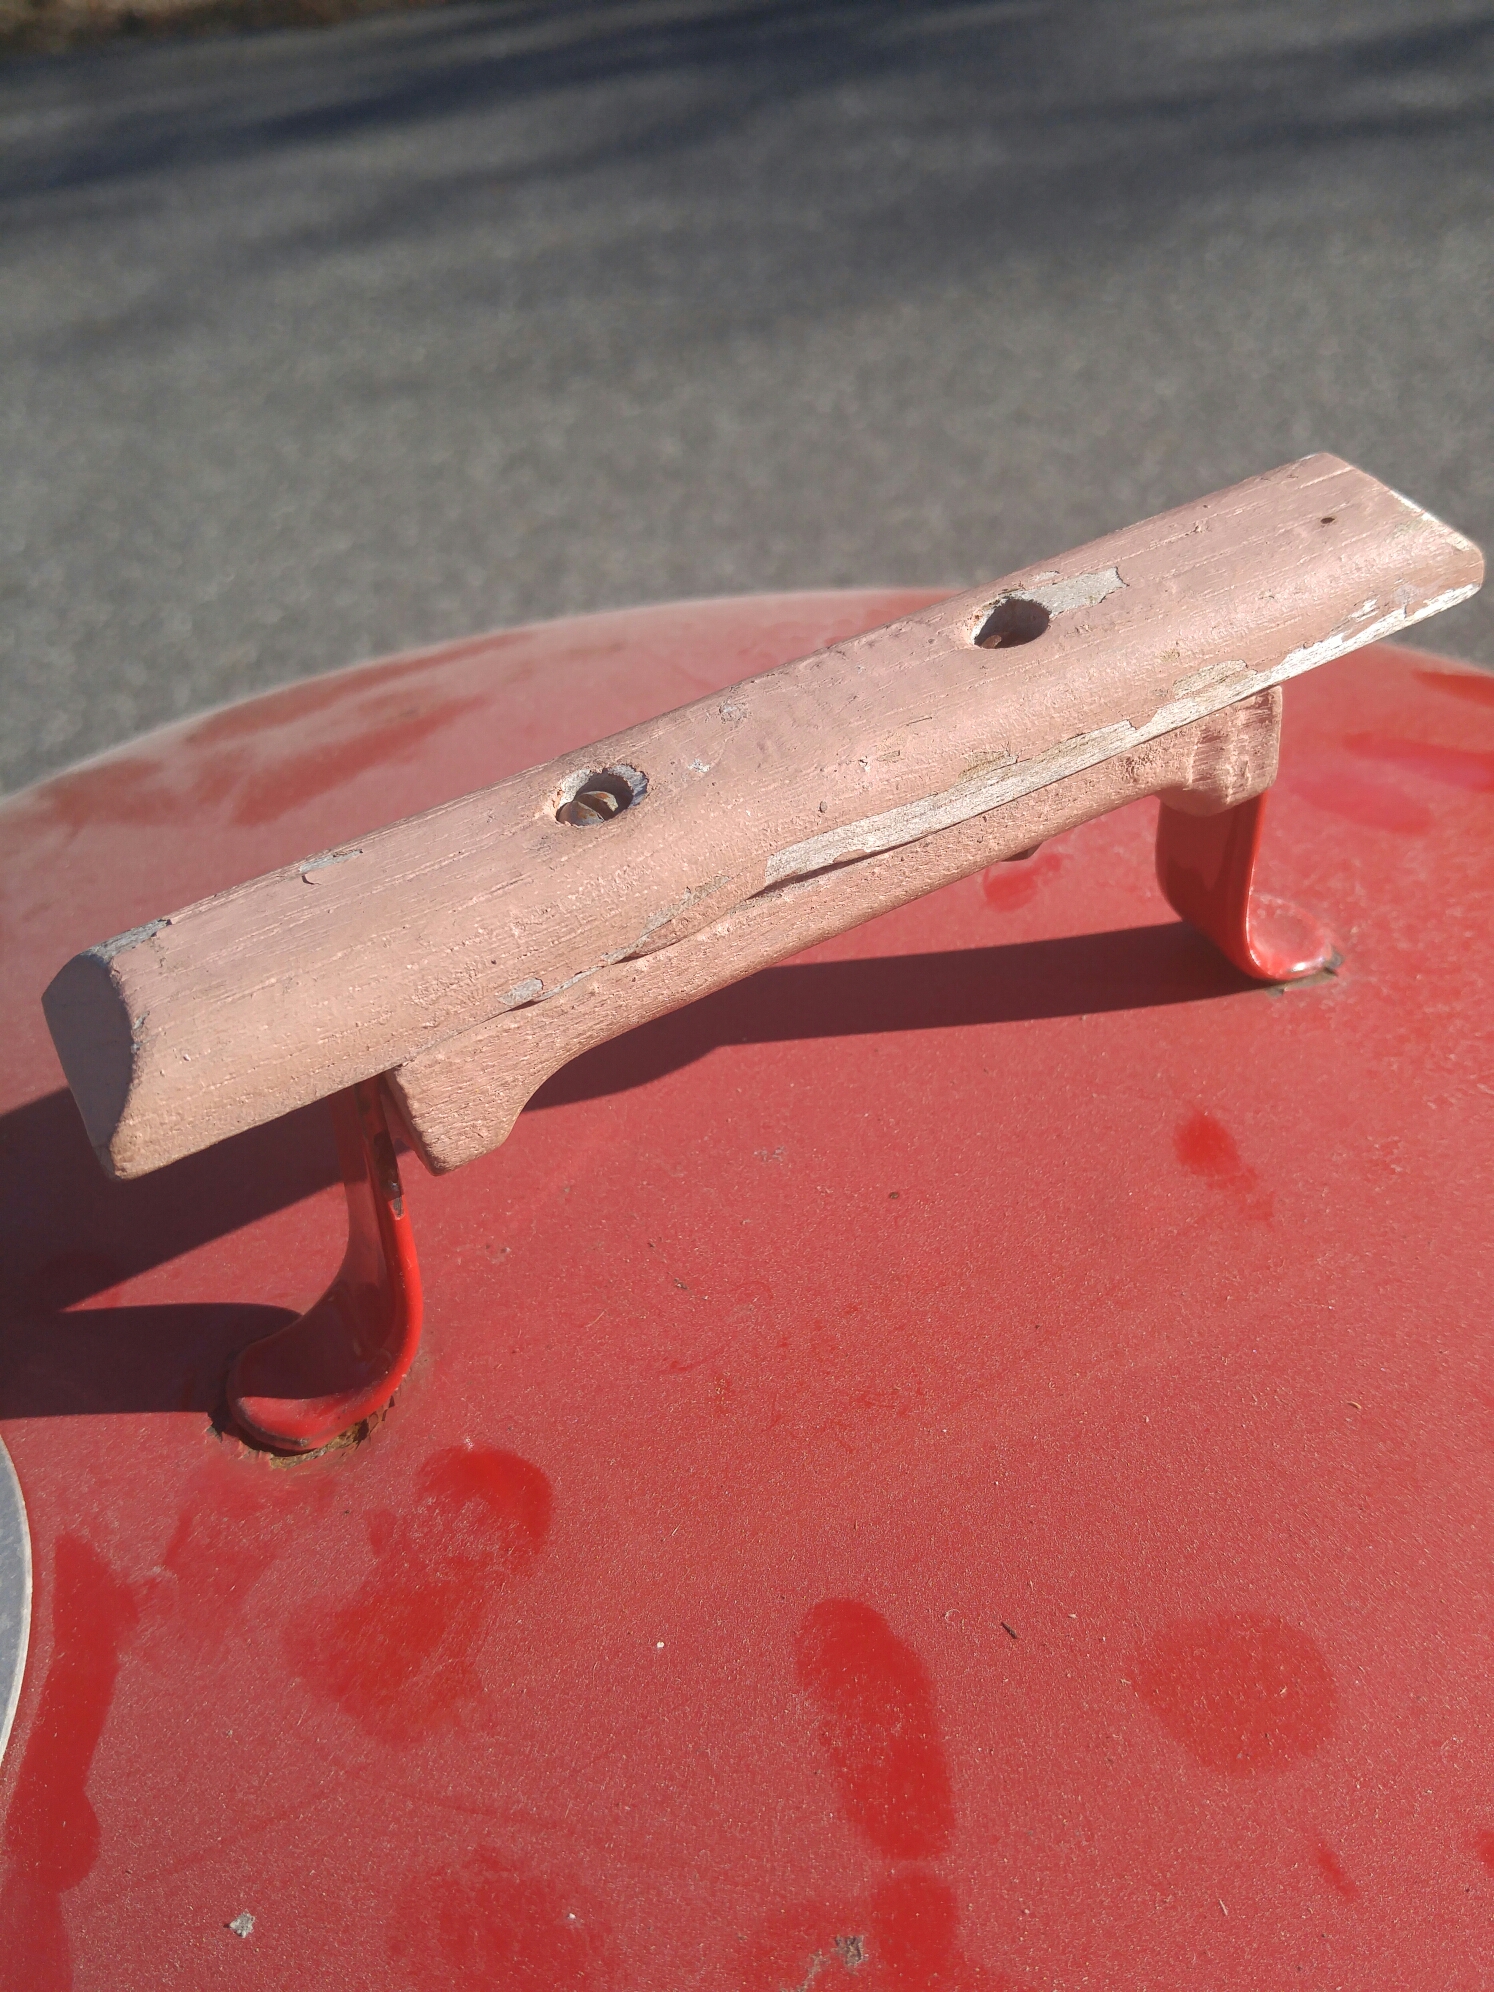
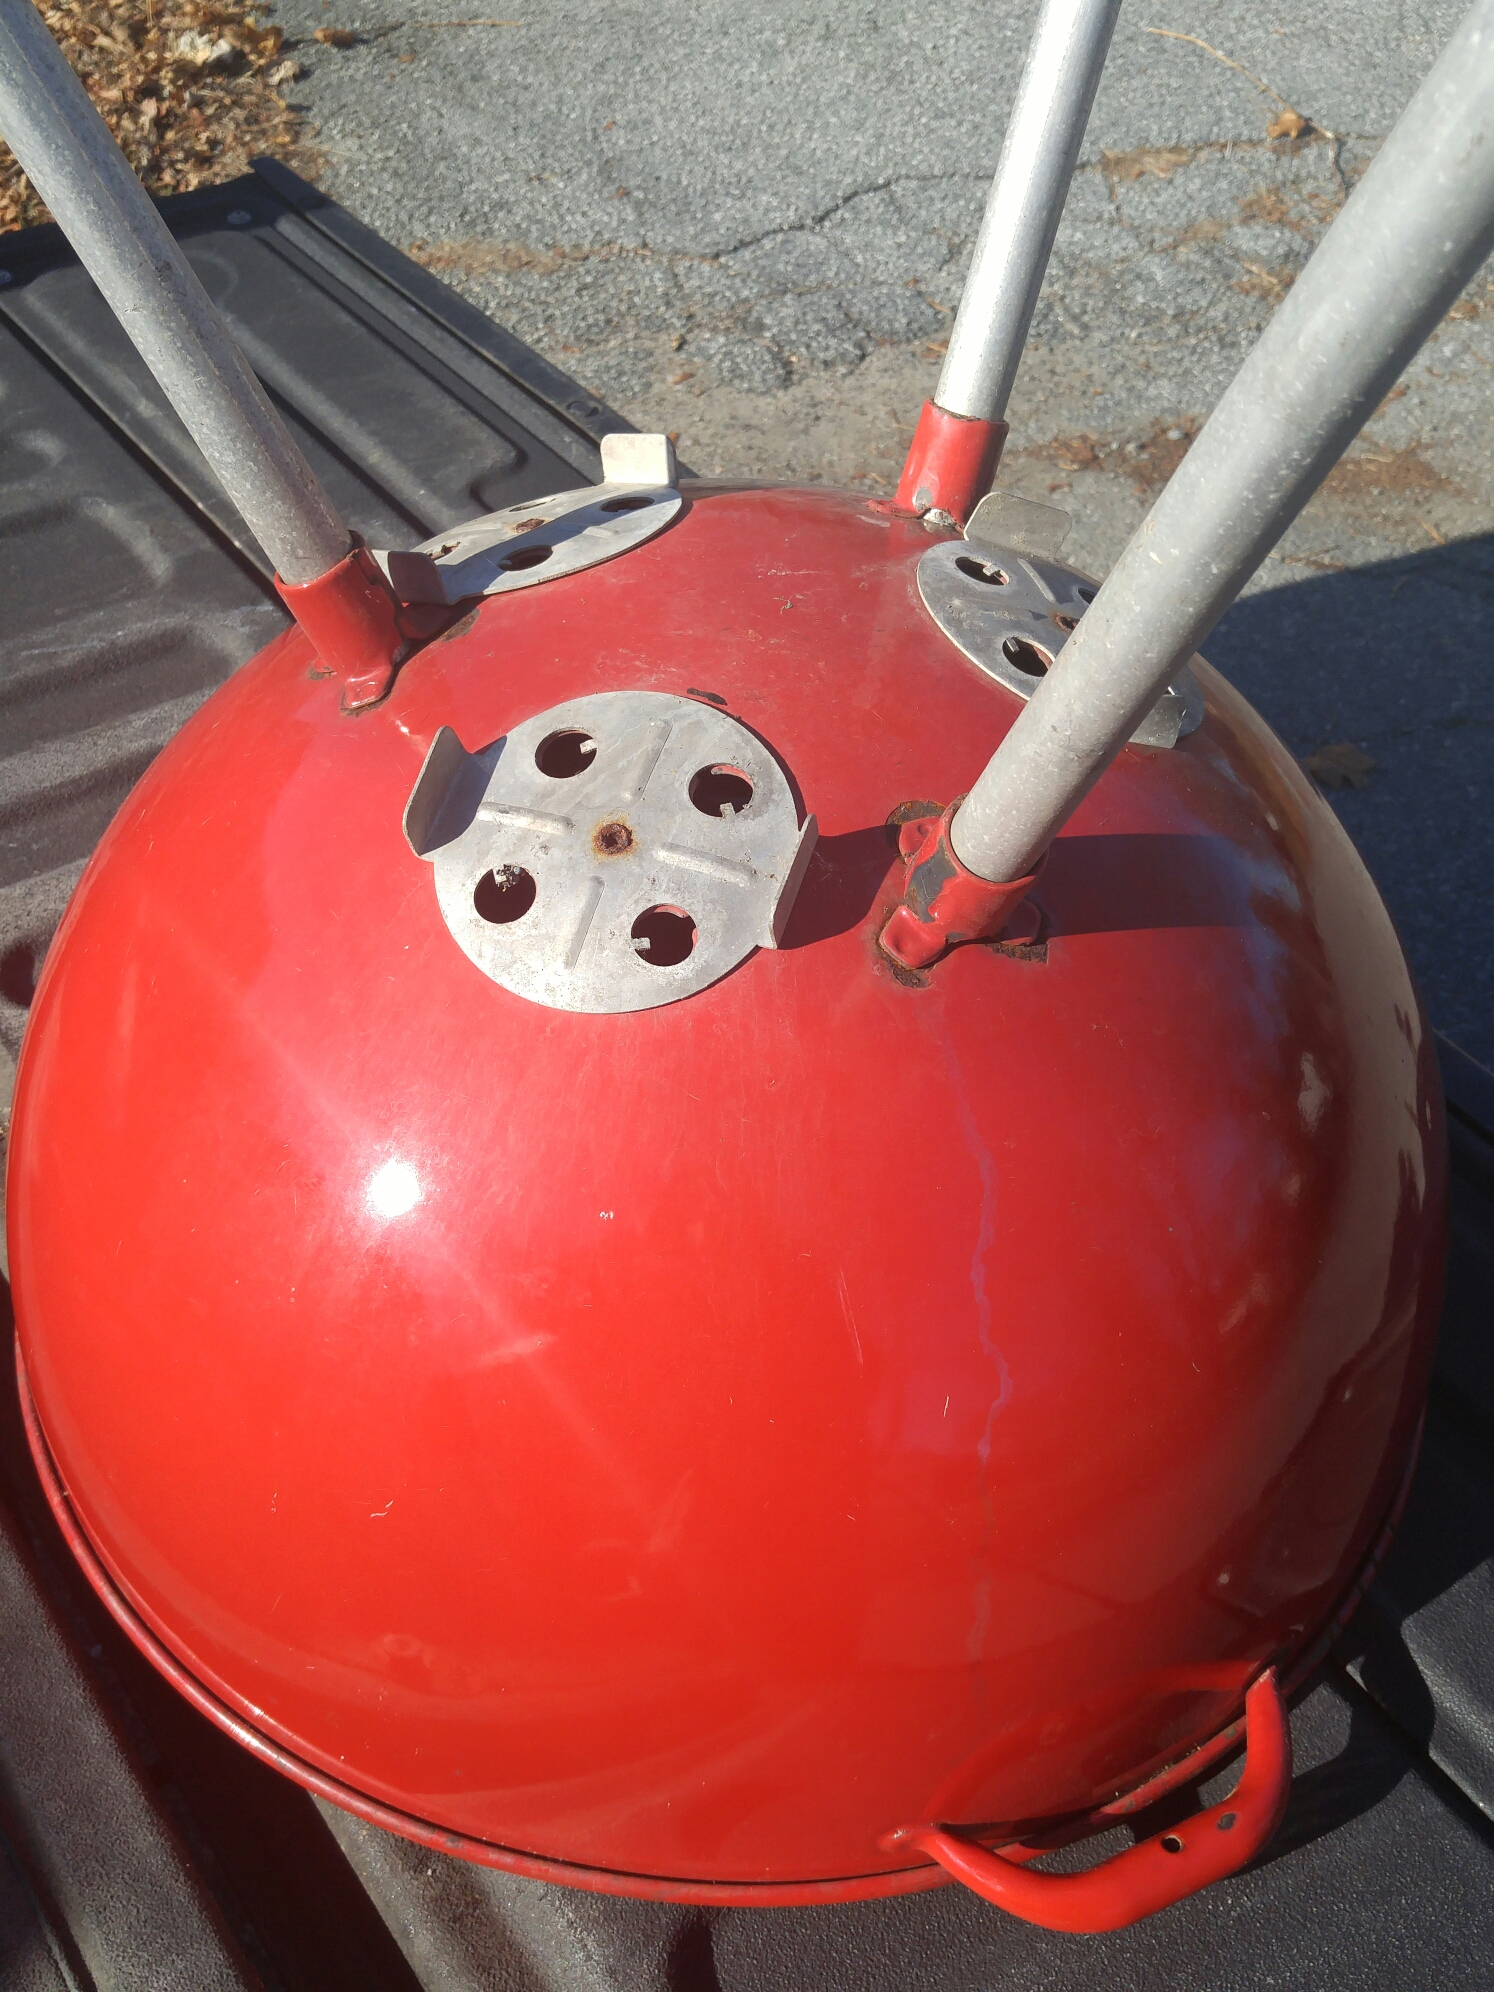
Just wait to see thus baby shine!

Two hours to Bristol RI and two hours back for this gorgeous 1978 Classic Weber Redhead.
Been stored away for a while. Look at the dust!
Just wait to see thus baby shine!
At East Gloucester Stop and Shop supermarket this morning and these frozen pizzas were on sale. They looked good and because I’m always trying to discover more things to prepare on the kettle i thought I’d give it a shot. I didn’t have access to a pizza stone at the dock so this is how it’s going down-
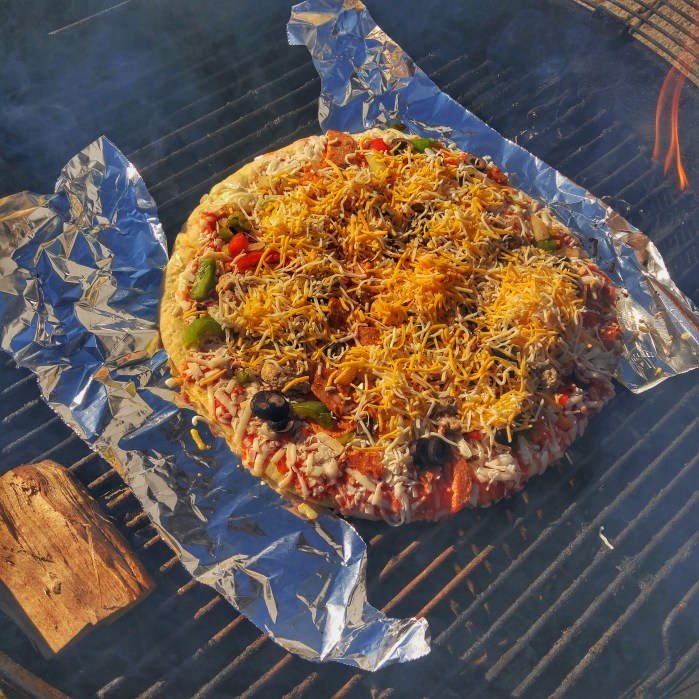
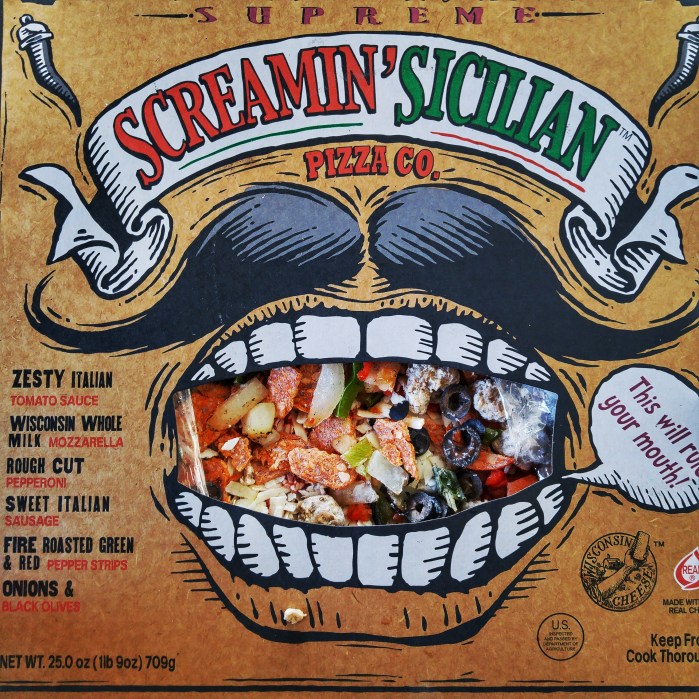
Starting out with a Sreamin’ Sicilian Frozen Pizza.
Fire up the kettle with a heaping chimney full of coals and the charcoal baskets pushed wide apart so we can place the pizza in the middle for indirect cooking. A chunk of cherry for smoke. also a couple of slivers of foil to guard the edges of the pizza from where they would be over the charcoal baskets so the pizza won’t burn.

Tossed the frozen pizza on and added a generous amount of extra shredded cheese-

Set the timer for 18 minutes. I’ll report back.
So 18 minutes later and its done-
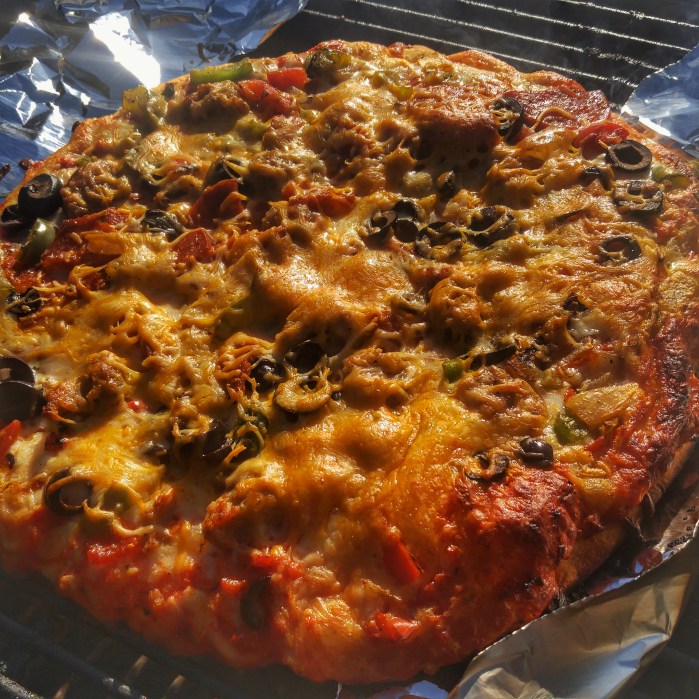
I’d say its a 5 on a scale from 1-10. If we didn’t live in a community full of awesome Italian bakeries and pizzerias it would probably score a little higher. Anywhere else like say the Midwest it’s probably a 6.5.
Edible, and just OK but I won’t be seeking it out any time soon to do again.
Stuffed with Jalapenos, Salsa, Chopped Red Onion, Shredded Mexican Cheese and Wrapped In Bacon!

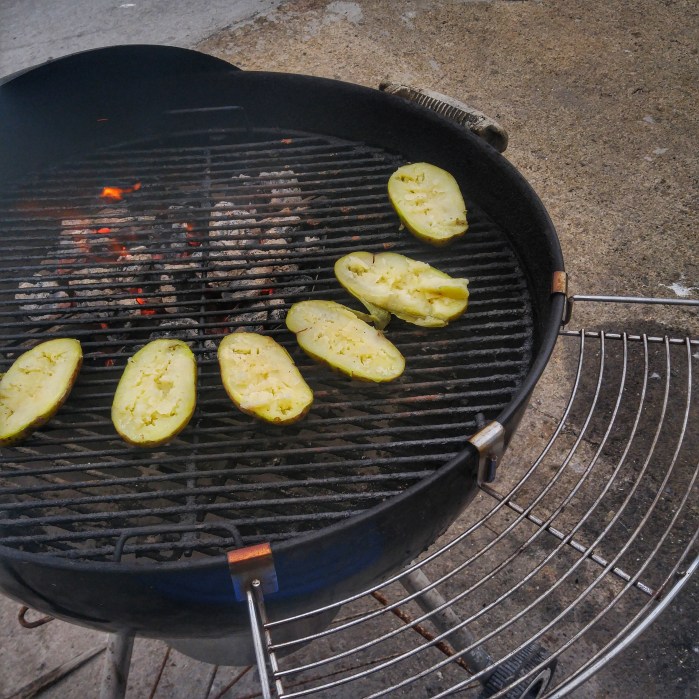
Three medium russet potatos pierced and microwaved for three minutes on each side. then cut in half, broken up a little by inserting a fork and twisting. Then coated with peanut oil and adding a dusting of coarse salt. Placed offset a full chimney of briquettes in the charcoal baskets on the opposite side of the grill.
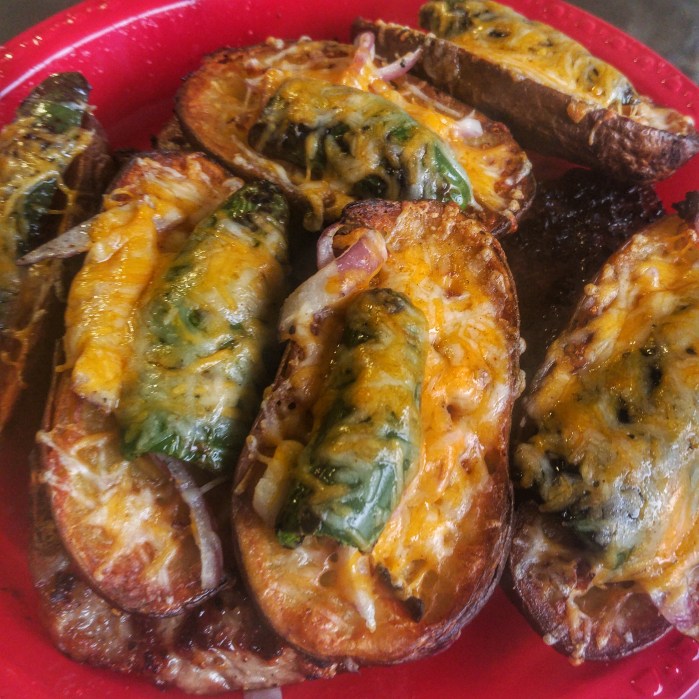
Close lid and come back 30 minutes later. Rebrush on some peanut oil and put a little char on some jalapeno halves. Place some chopped up onions on the potato crisps.


Next place the charred jalapeno halves on the potatos and cover with shredded Mexican cheese. cover and let the cheese melt in.

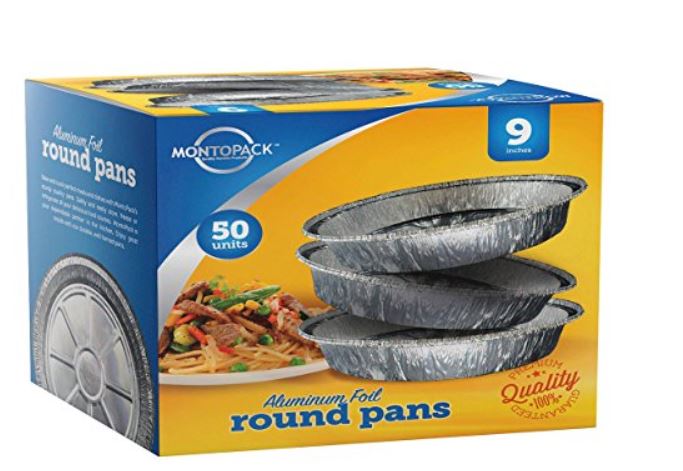
Got a box of 50 of these for $12.99 on Amazon, way cheaper than what you get at the supermarket. The cheapest alternatives I see at the Supermarket are a dollar or more per disposable pan. These come out to less than 24 cents per pan. Here’s the link on Amazon
Here they are in use with the potato volcanos-

As you can see the foil pans are saving a messy clean up from the dripping melted cheese and bacon fat.

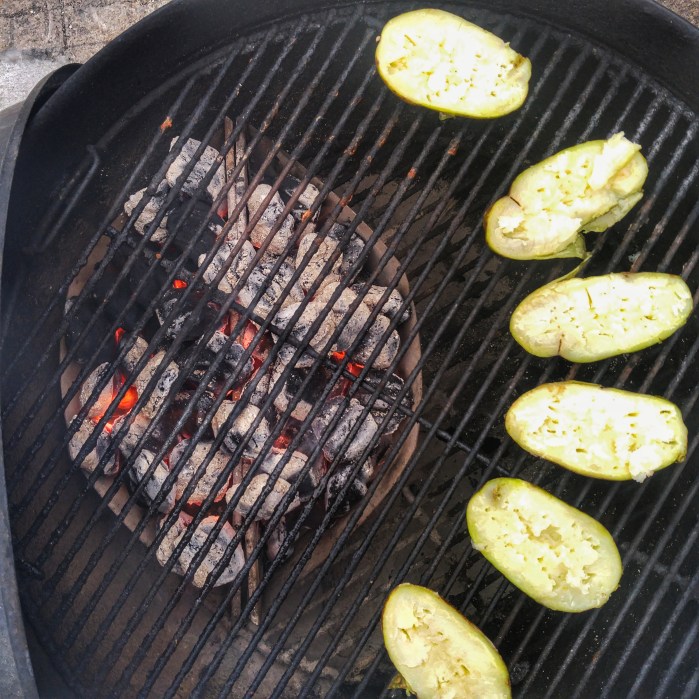
First wrapped the russet potatos in tin foil and tossed them right on the hot lump charcoal.

After 10 minutes flip the potatos on the other side and let them go for another 10. Once the potatos are done, unwrap them and put them to the side and put a little char on your core and seeded jalepenos.

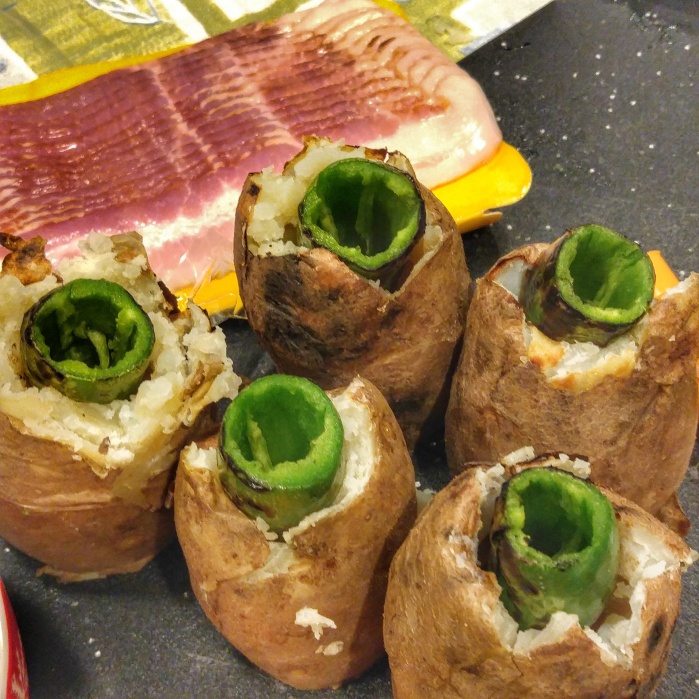
Next cut a flat bottom off your baked potatos and then cut a criss-crossed section off the top which is the entry point for hollowing the potatos out.

Next insert your charred jalapenos into the hollowed out baked potato.

Stuff a stick of your favorite cheese in the jalapeno. You can use whatever cheese you like.
I chose cheddar sticks but you can use shredded too or even cream cheese.
then wrap with bacon starting with the bottom and stretching the bacon a bit to help it stick as you wrap. You can also use toothpicks to secure the bacon to the potato


When placing on the grill cook them offset the coals.
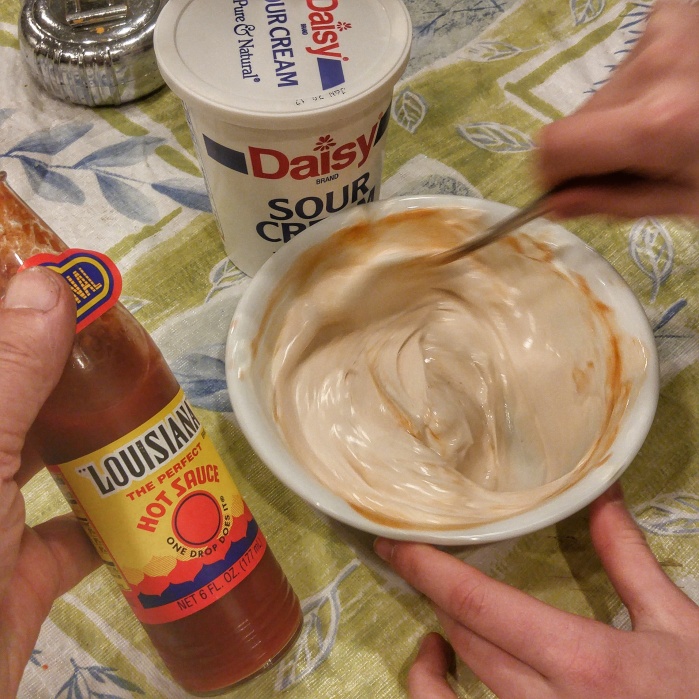
Here’s my daughter Eloise helping me make the Volcano sauce which consists of sour cream mixed with hot sauce and you can sprinkle in some cayenne pepper. You just keep adding and mixing til you get to the heat you want.
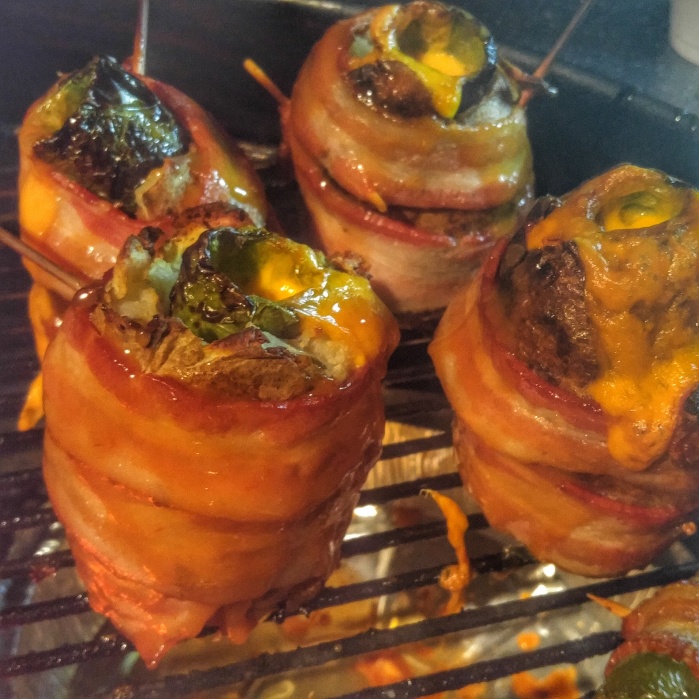
After 20 minutes offset turn the potatos on the grill so the side that was facing away from the coals now face the coals and slather on a bit of your favorite BBQ sauce.
Once they are crisped up take them off and dollop on the volcano sauce. Watch it drip down and the cut in and enjoy.

I saw variations on this recipe on YouTube-
https://www.youtube.com/user/BBQFOOD4U/about
The video with the pimped Smokey Joe is now online here:

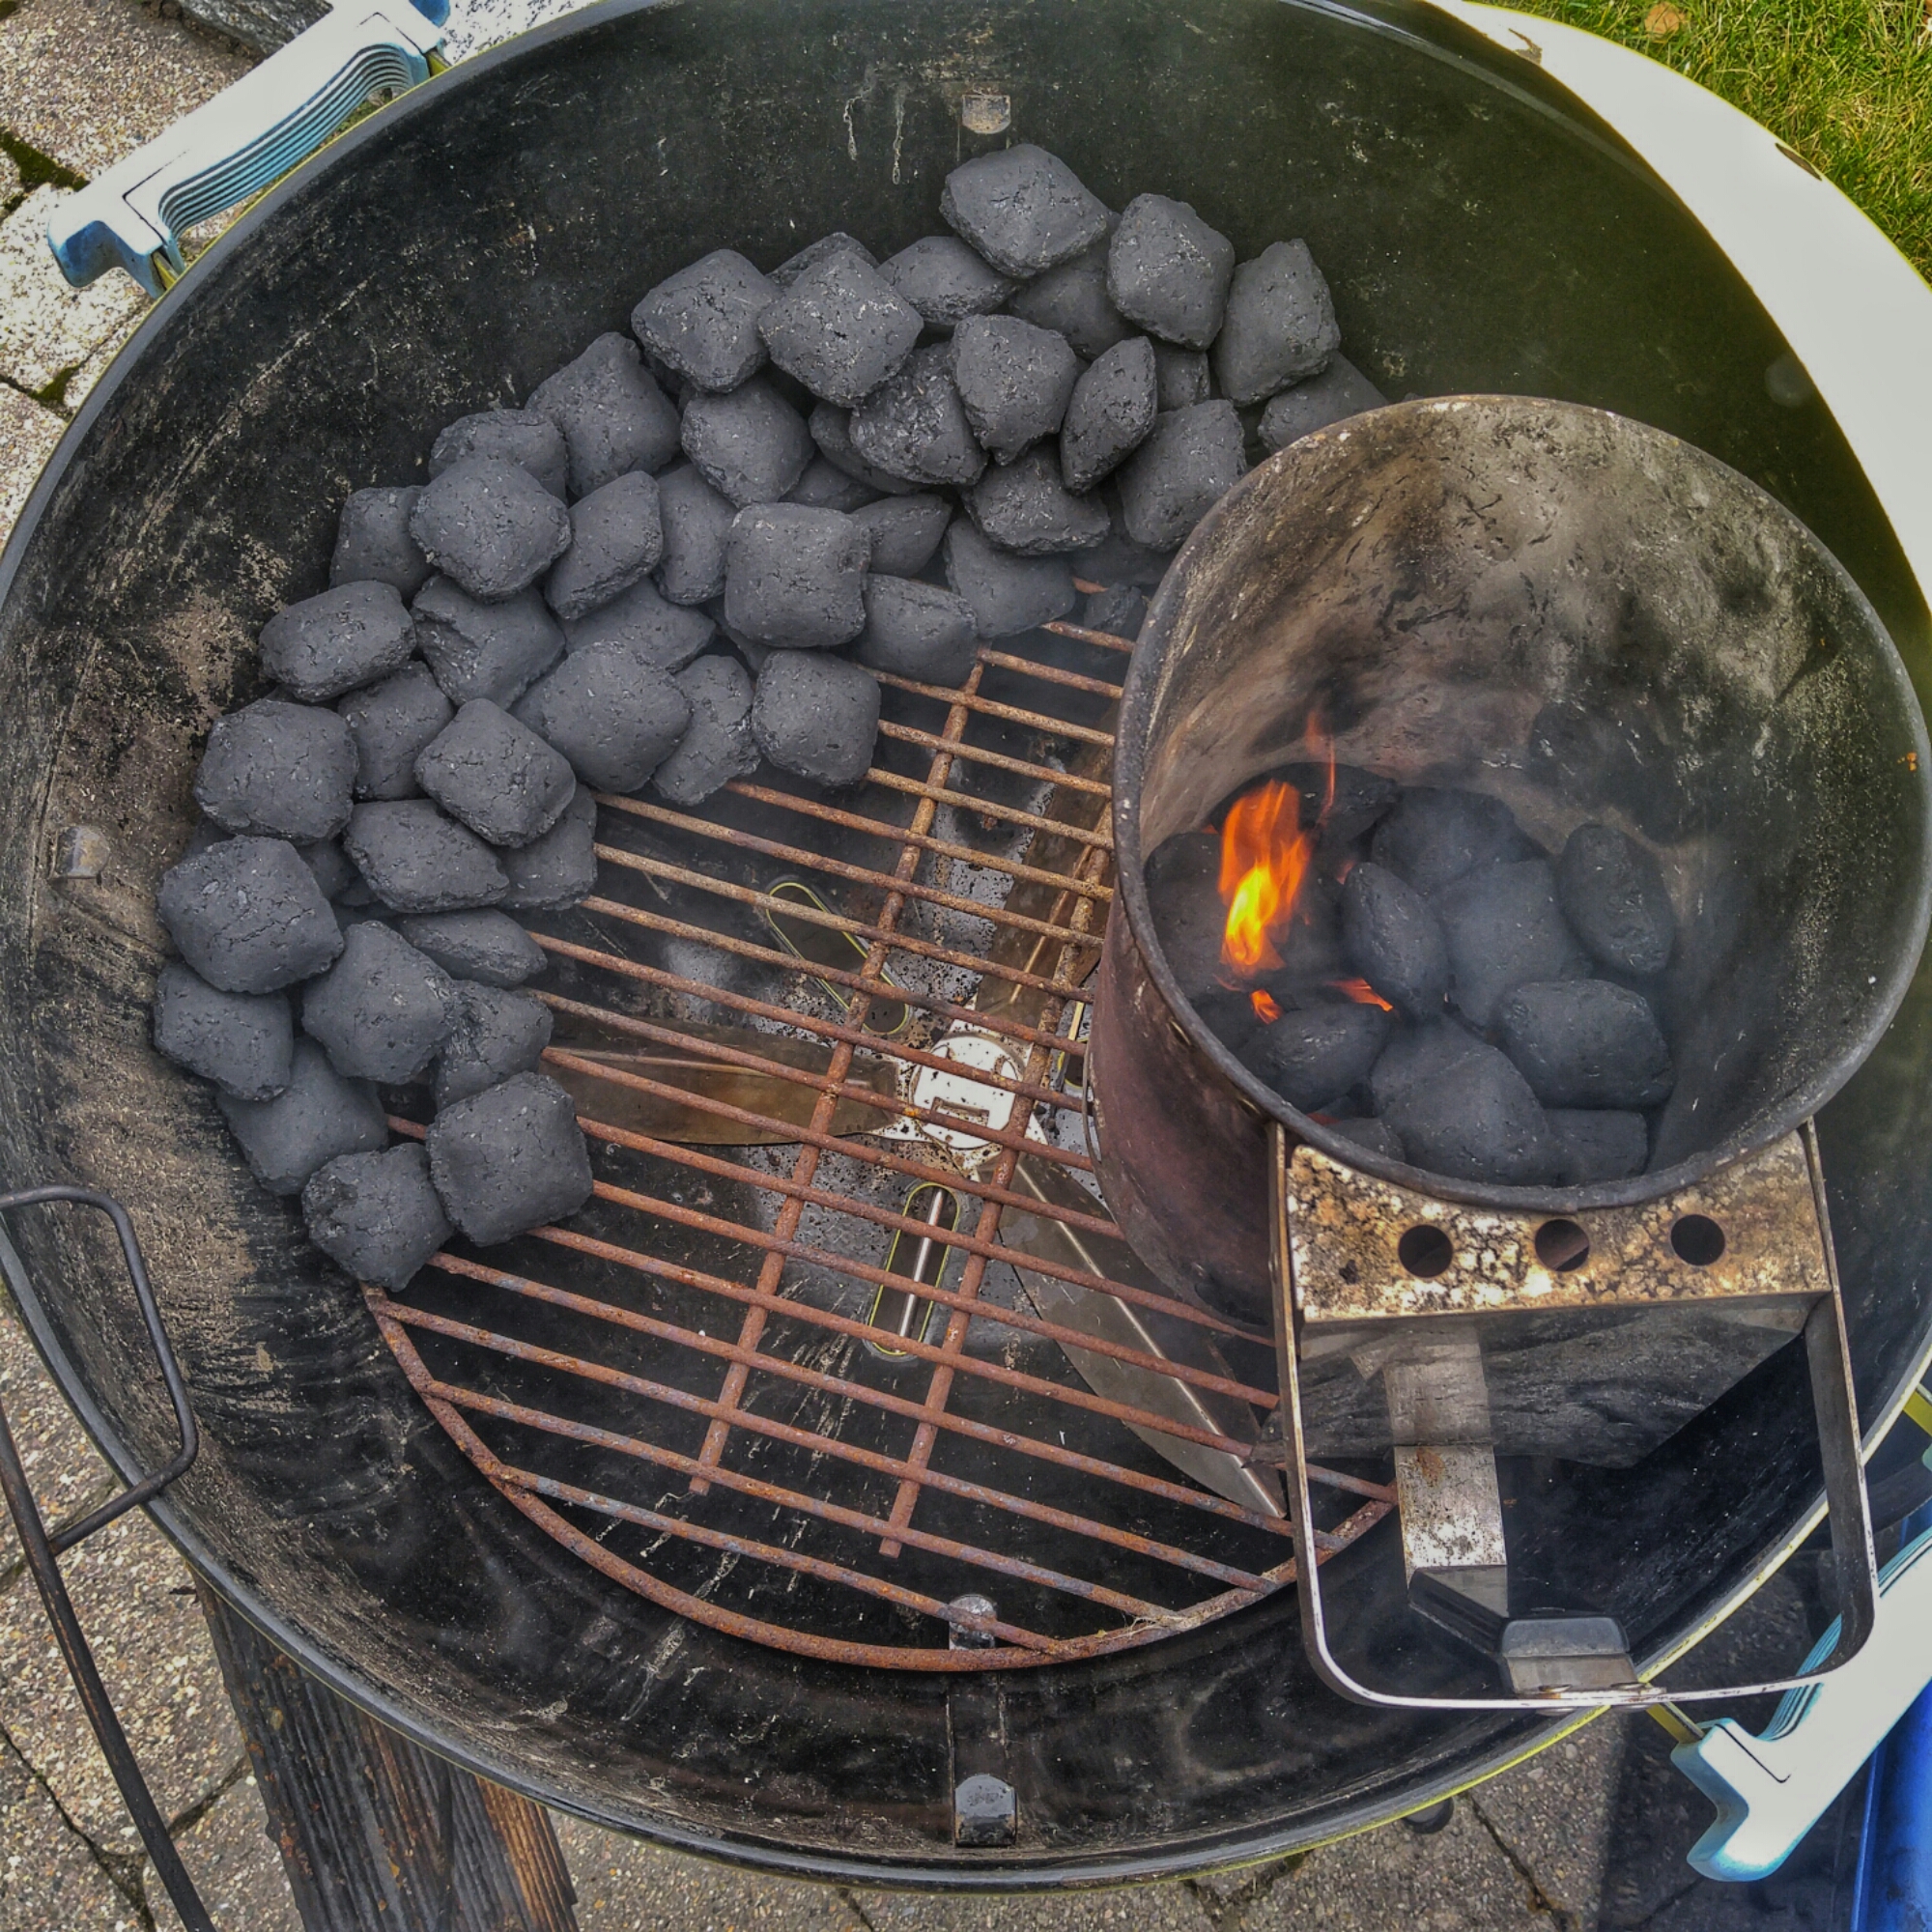
Set up the kettle for snake method cooking where we light about a dozen briquettes and once they are going we put them on the start of the fuse or snake and let the coals work their way around the bowl for a low and slow cook rather than what you’d do with a steak, searing it directly over high heat.
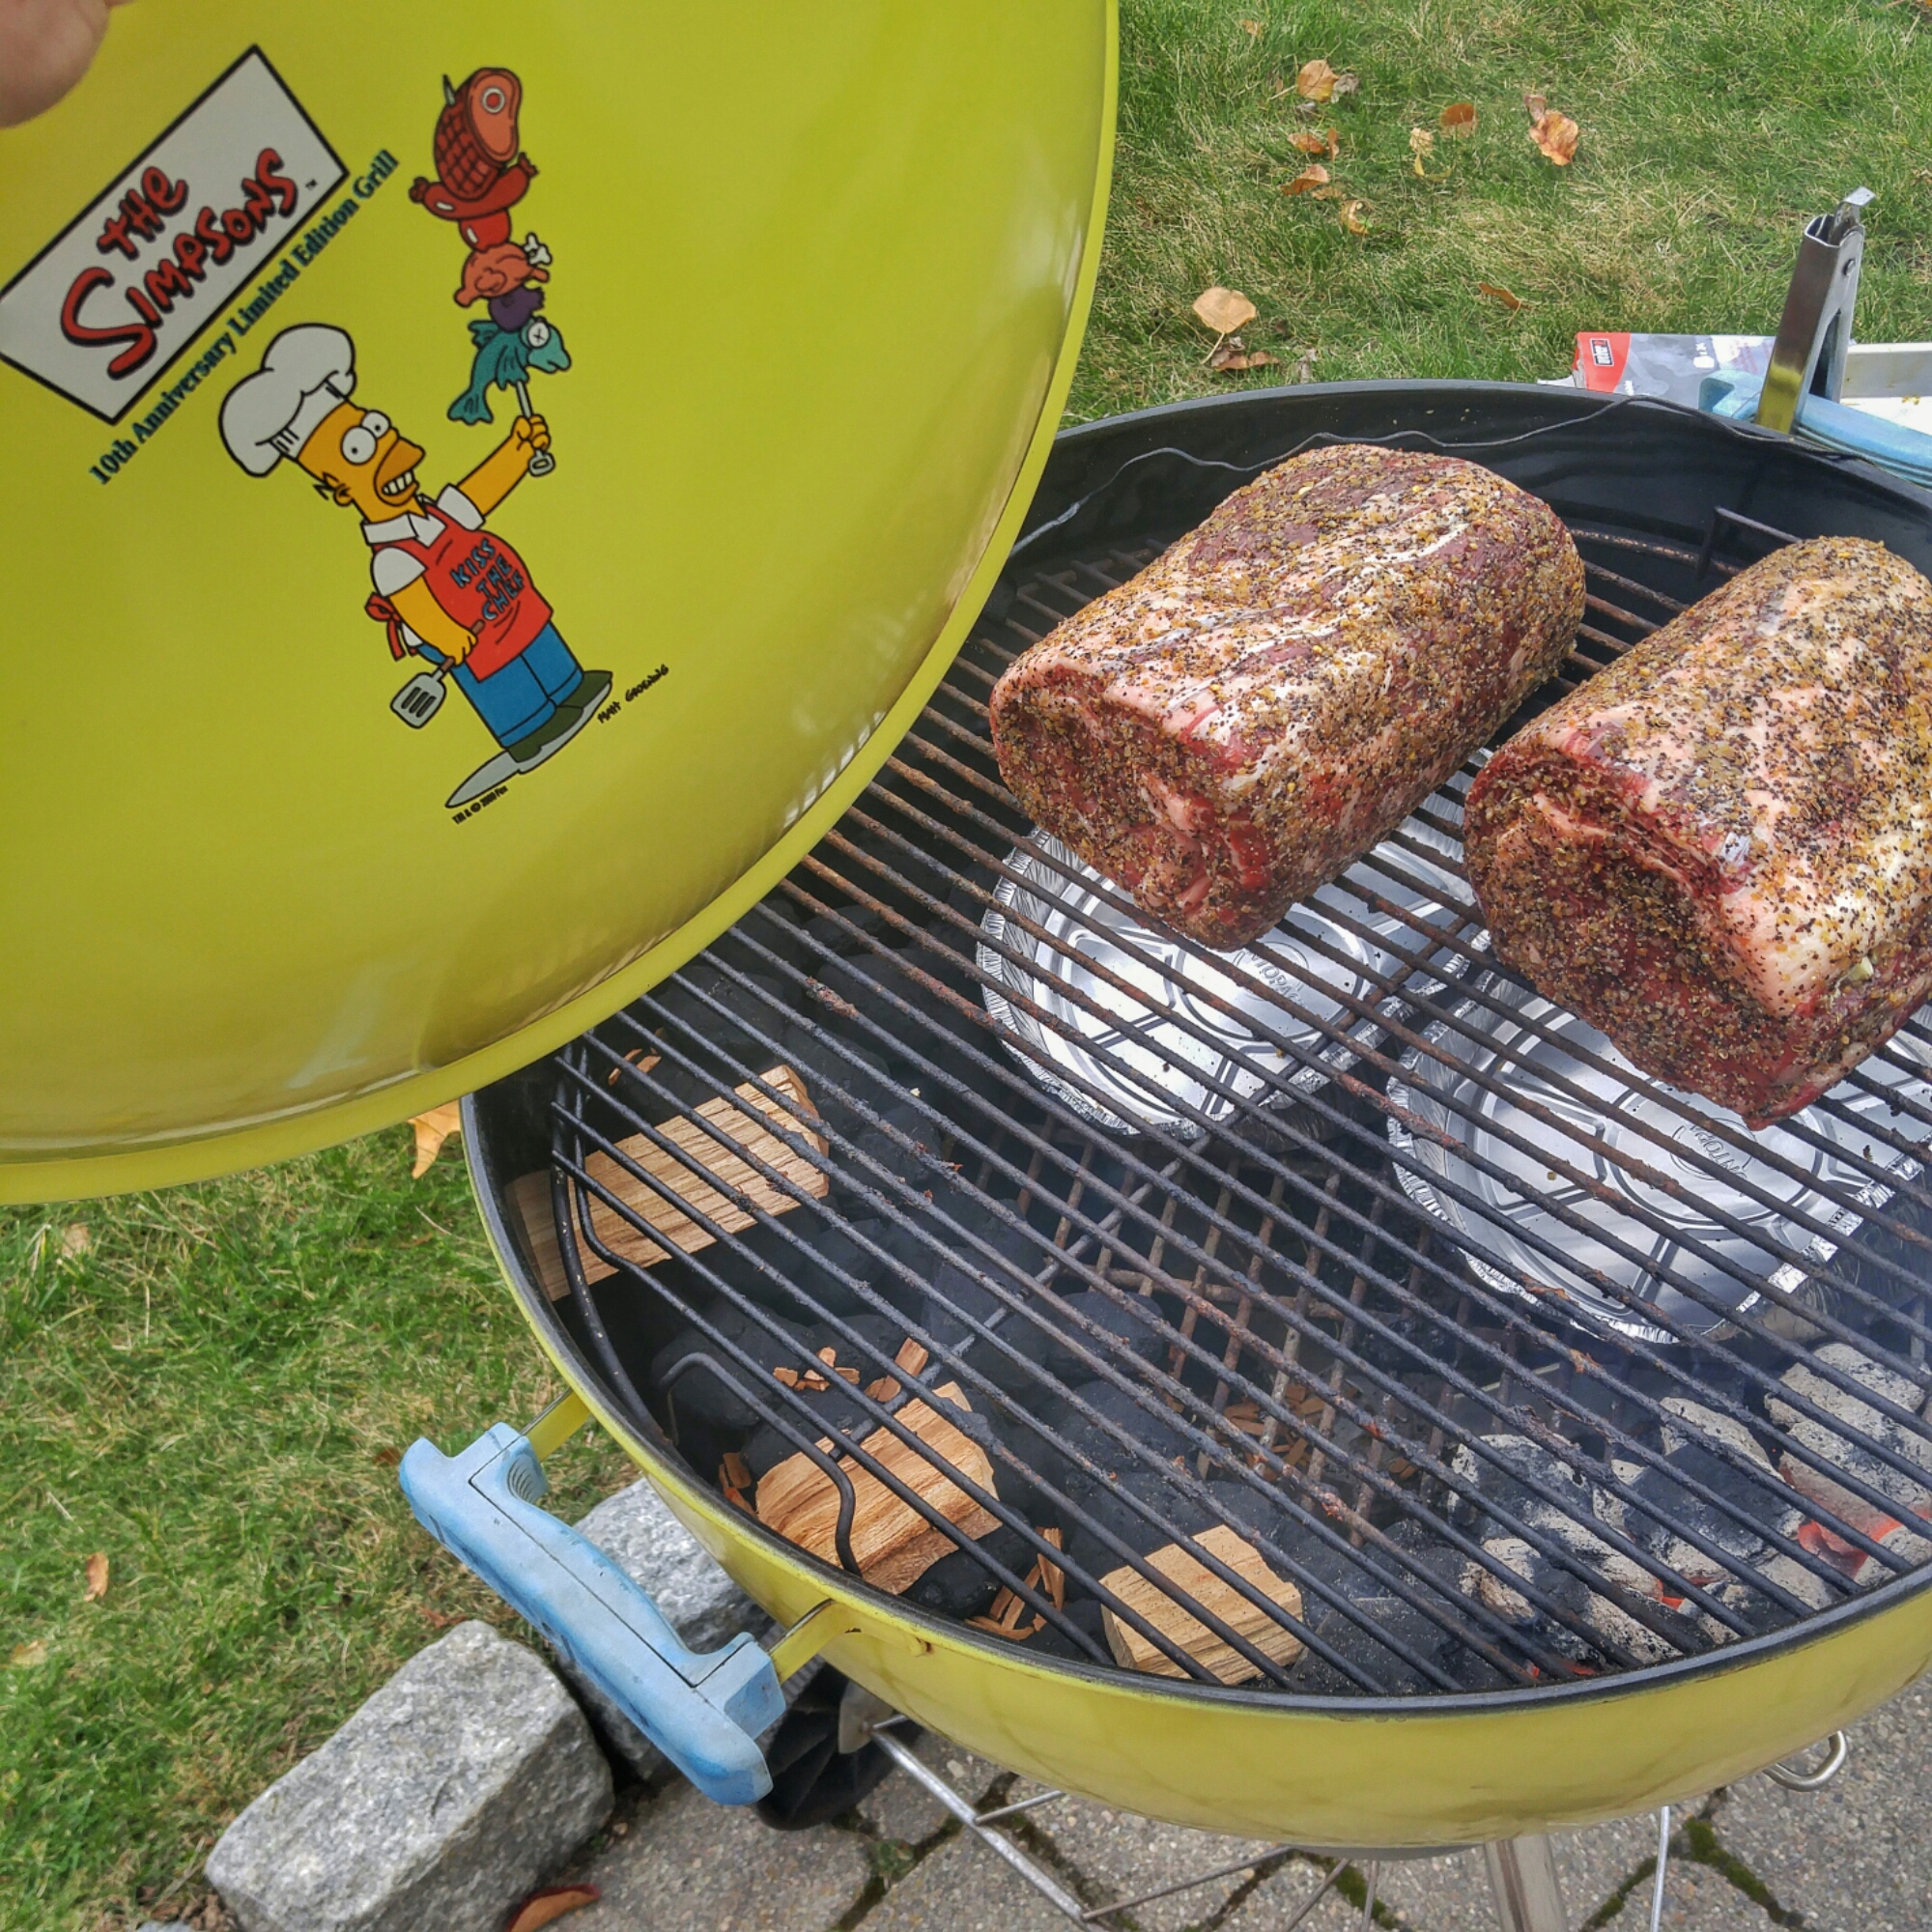
To prepare the roasts, I slathered them with EVOO and cut six slits in the top of each roast, inserting cloves of garlic. Then a generous rubbing of Montreal steak seasoning all over. Placing the roasts over tin pans to collect the drippings for gravy offset of the coals and also adding about a cup of water to each pan to keep a moist cooking environment inside the kettle.
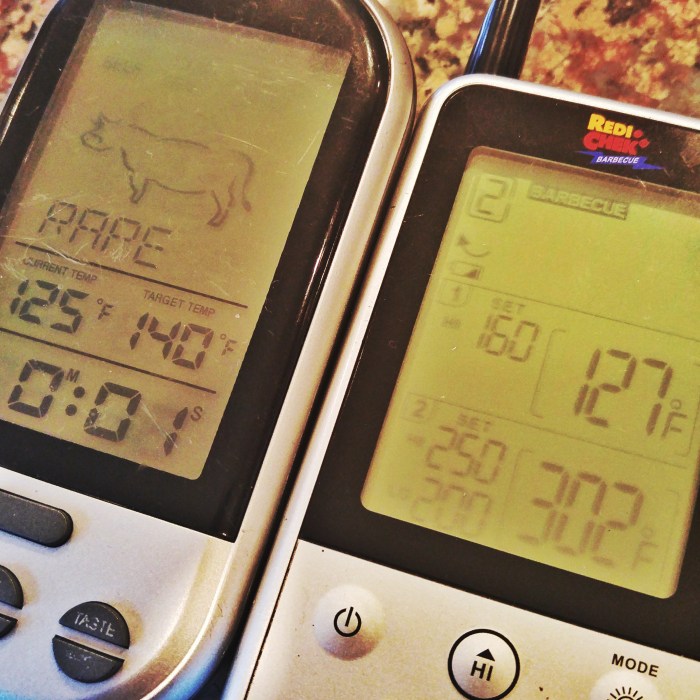
Apple chunks and cherry wood chips for smoke. Key is the temperature probes that will tell us the temp inside the kettle and more importantly the temps inside each roast. We’re looking to cook at a grate temp about 275 degrees and pull the roasts off when they hit 125 internally for a nice rare roast.
The Roasts Go on at 9:49AM:

Haven’t had to adjust the vents once, this is because of the snake method. Only so many coals are going at a time as it works it’s way around the bowl. For this cook 95% of the time grate temp was between 264-279.
We’re starting to get some nice color at this point but we’ve got a ways to go.
12:27 We’ve got the temps right where we want them and she’s looking spectacular-

At this point we take out the temp probes and give each roast a slow roll directly over the coals to firm up that outer bark ring and then onto the platter under a very loose foil tent.

Let it rest for an hour and collected any of the juices that ran out for the gravy. Just what we were looking for- edge to edge pink! No gray outer ring. A perfectly even cook.

This is a really easy cook. Just follow the pictures above and you can do this easily too.

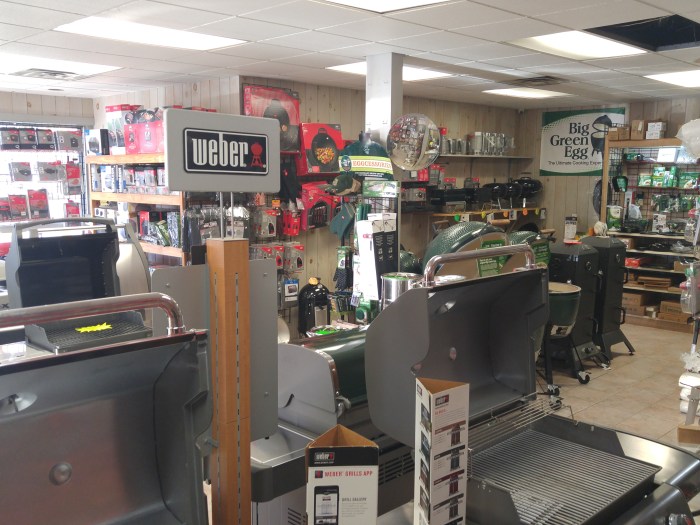
Do you know we have probably the most knowledgeable and well stocked Grill Store on the North Shore right here in Gloucester MA? Better than any of the Big Box stores by a mile.
Go into one of the big box stores I dare you and see if they can pull out a parts catalog from 2000 for your classic grill you’re trying to find parts for. Ain’t gonna happen. But you know what? Foster’s has warehouses full of parts and inventory and they have guys like Billy and Boots that can help you locate it.

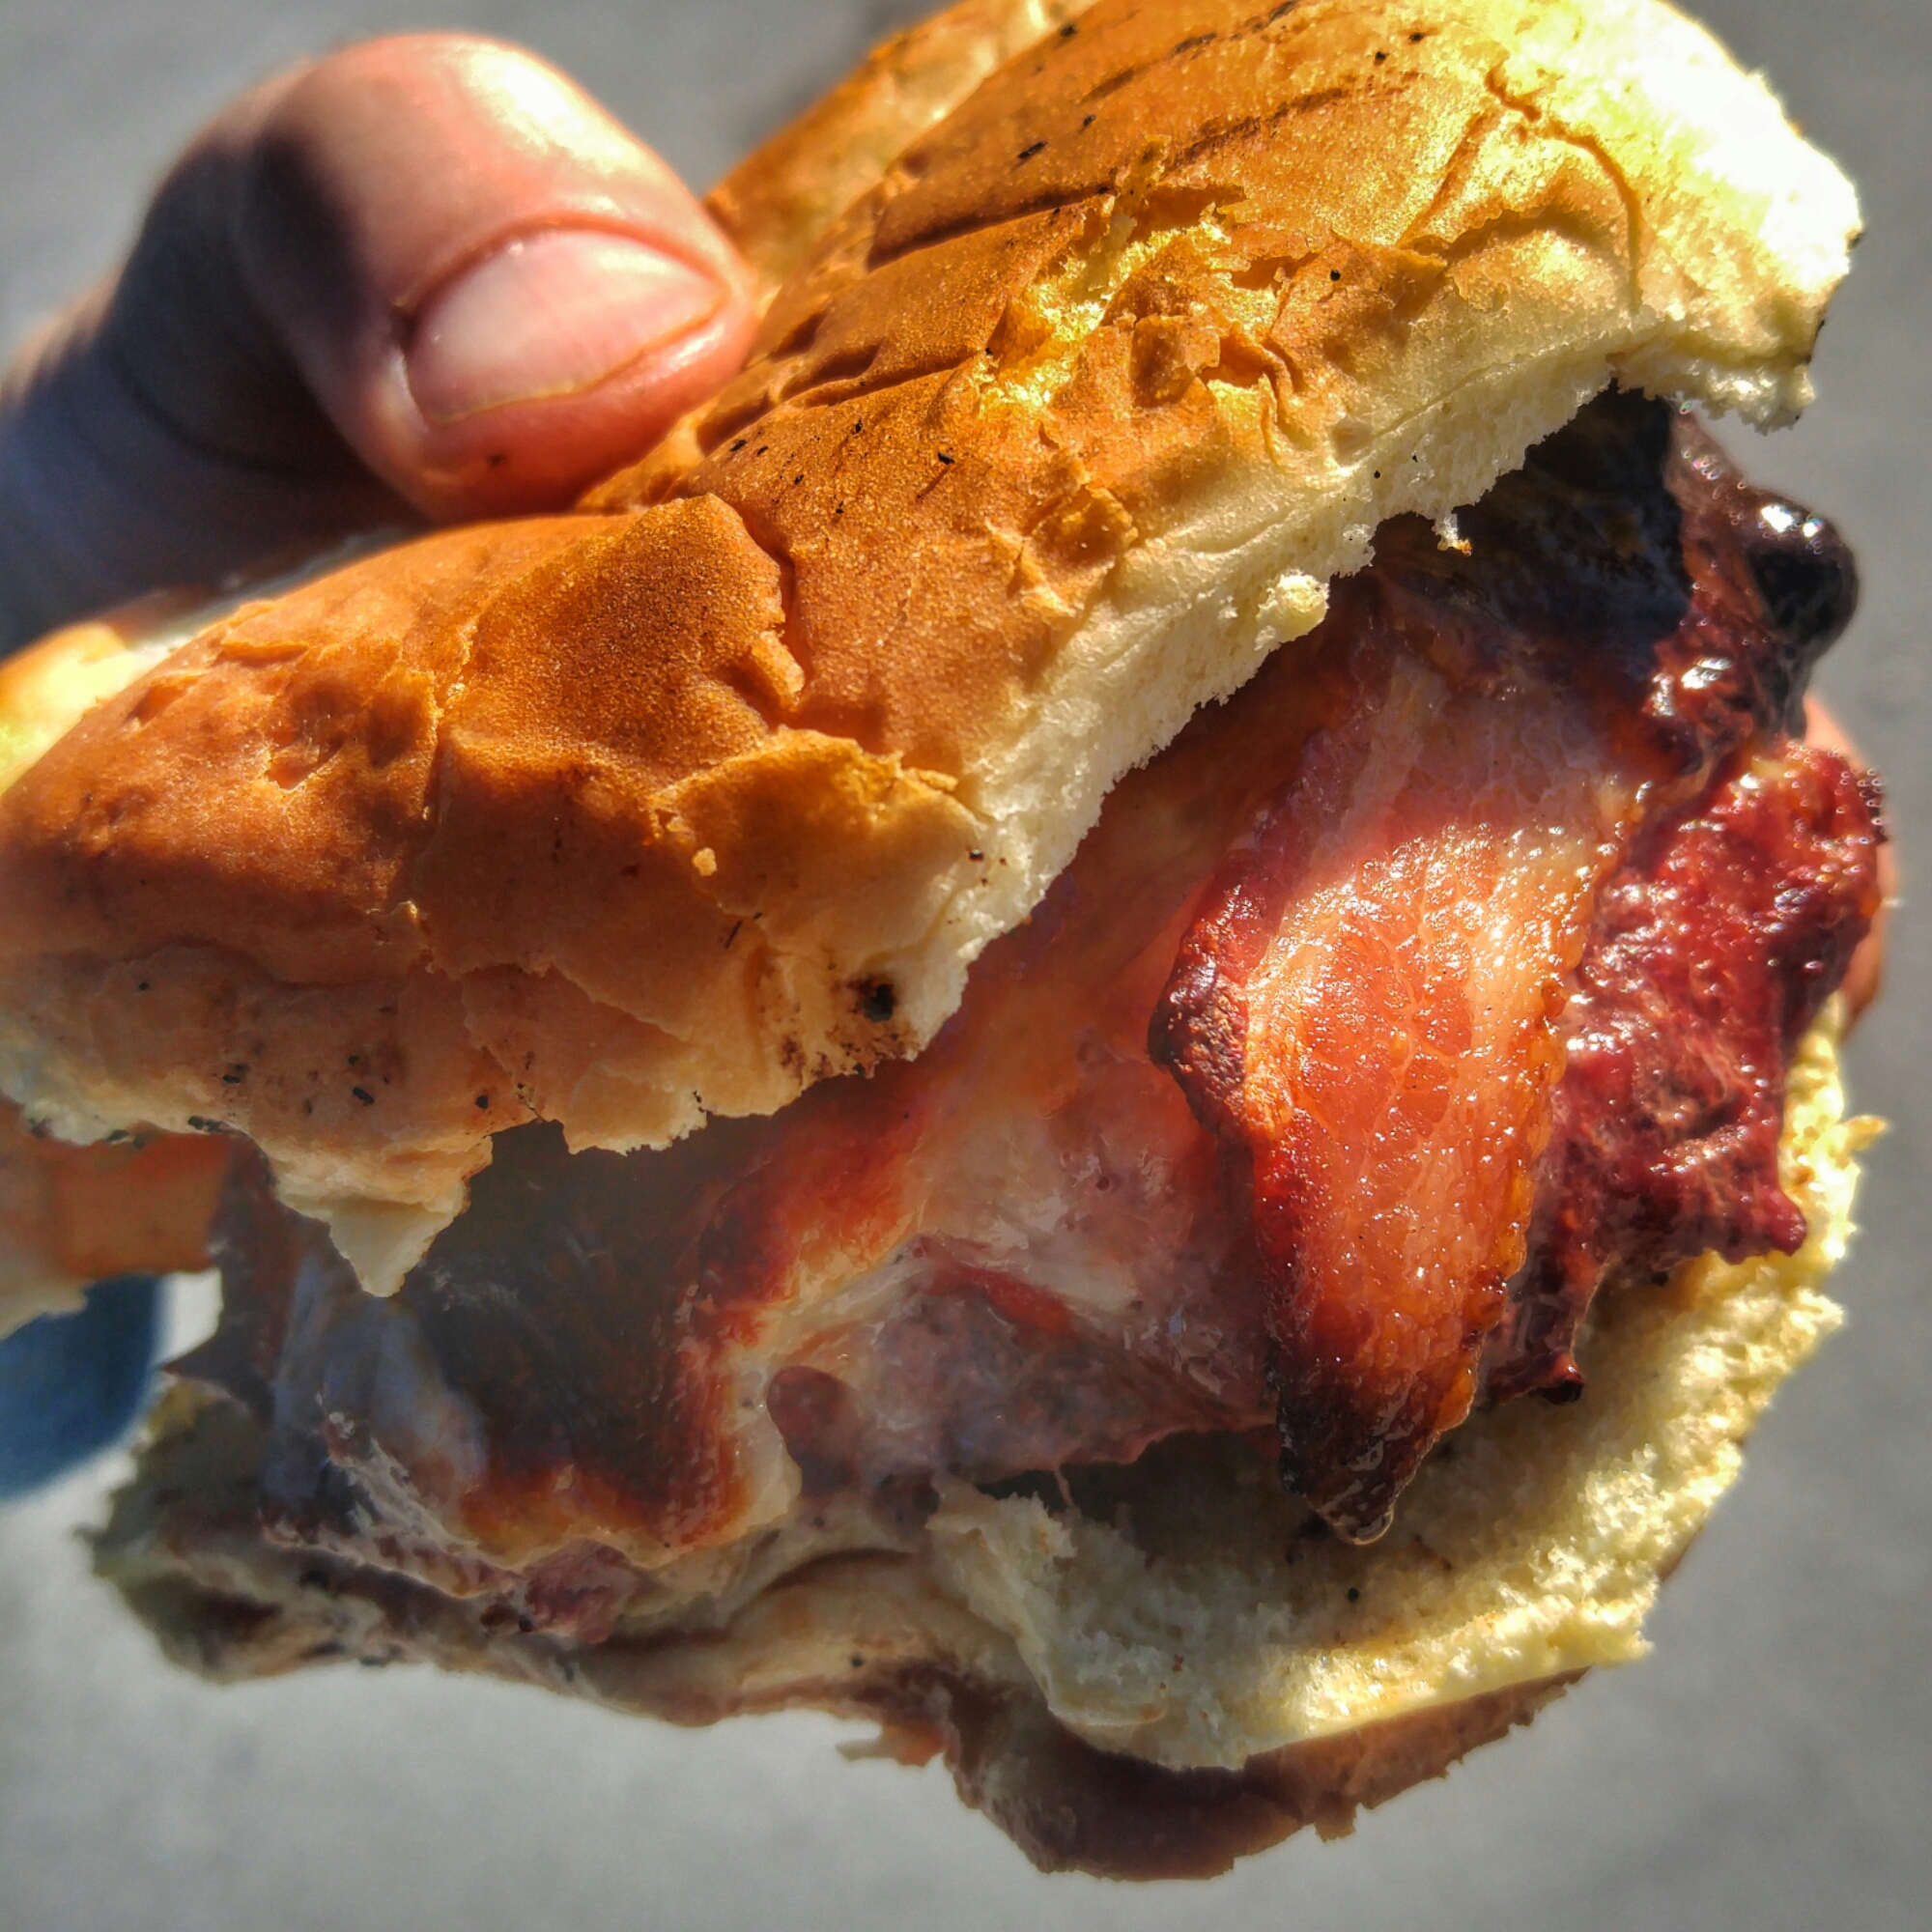
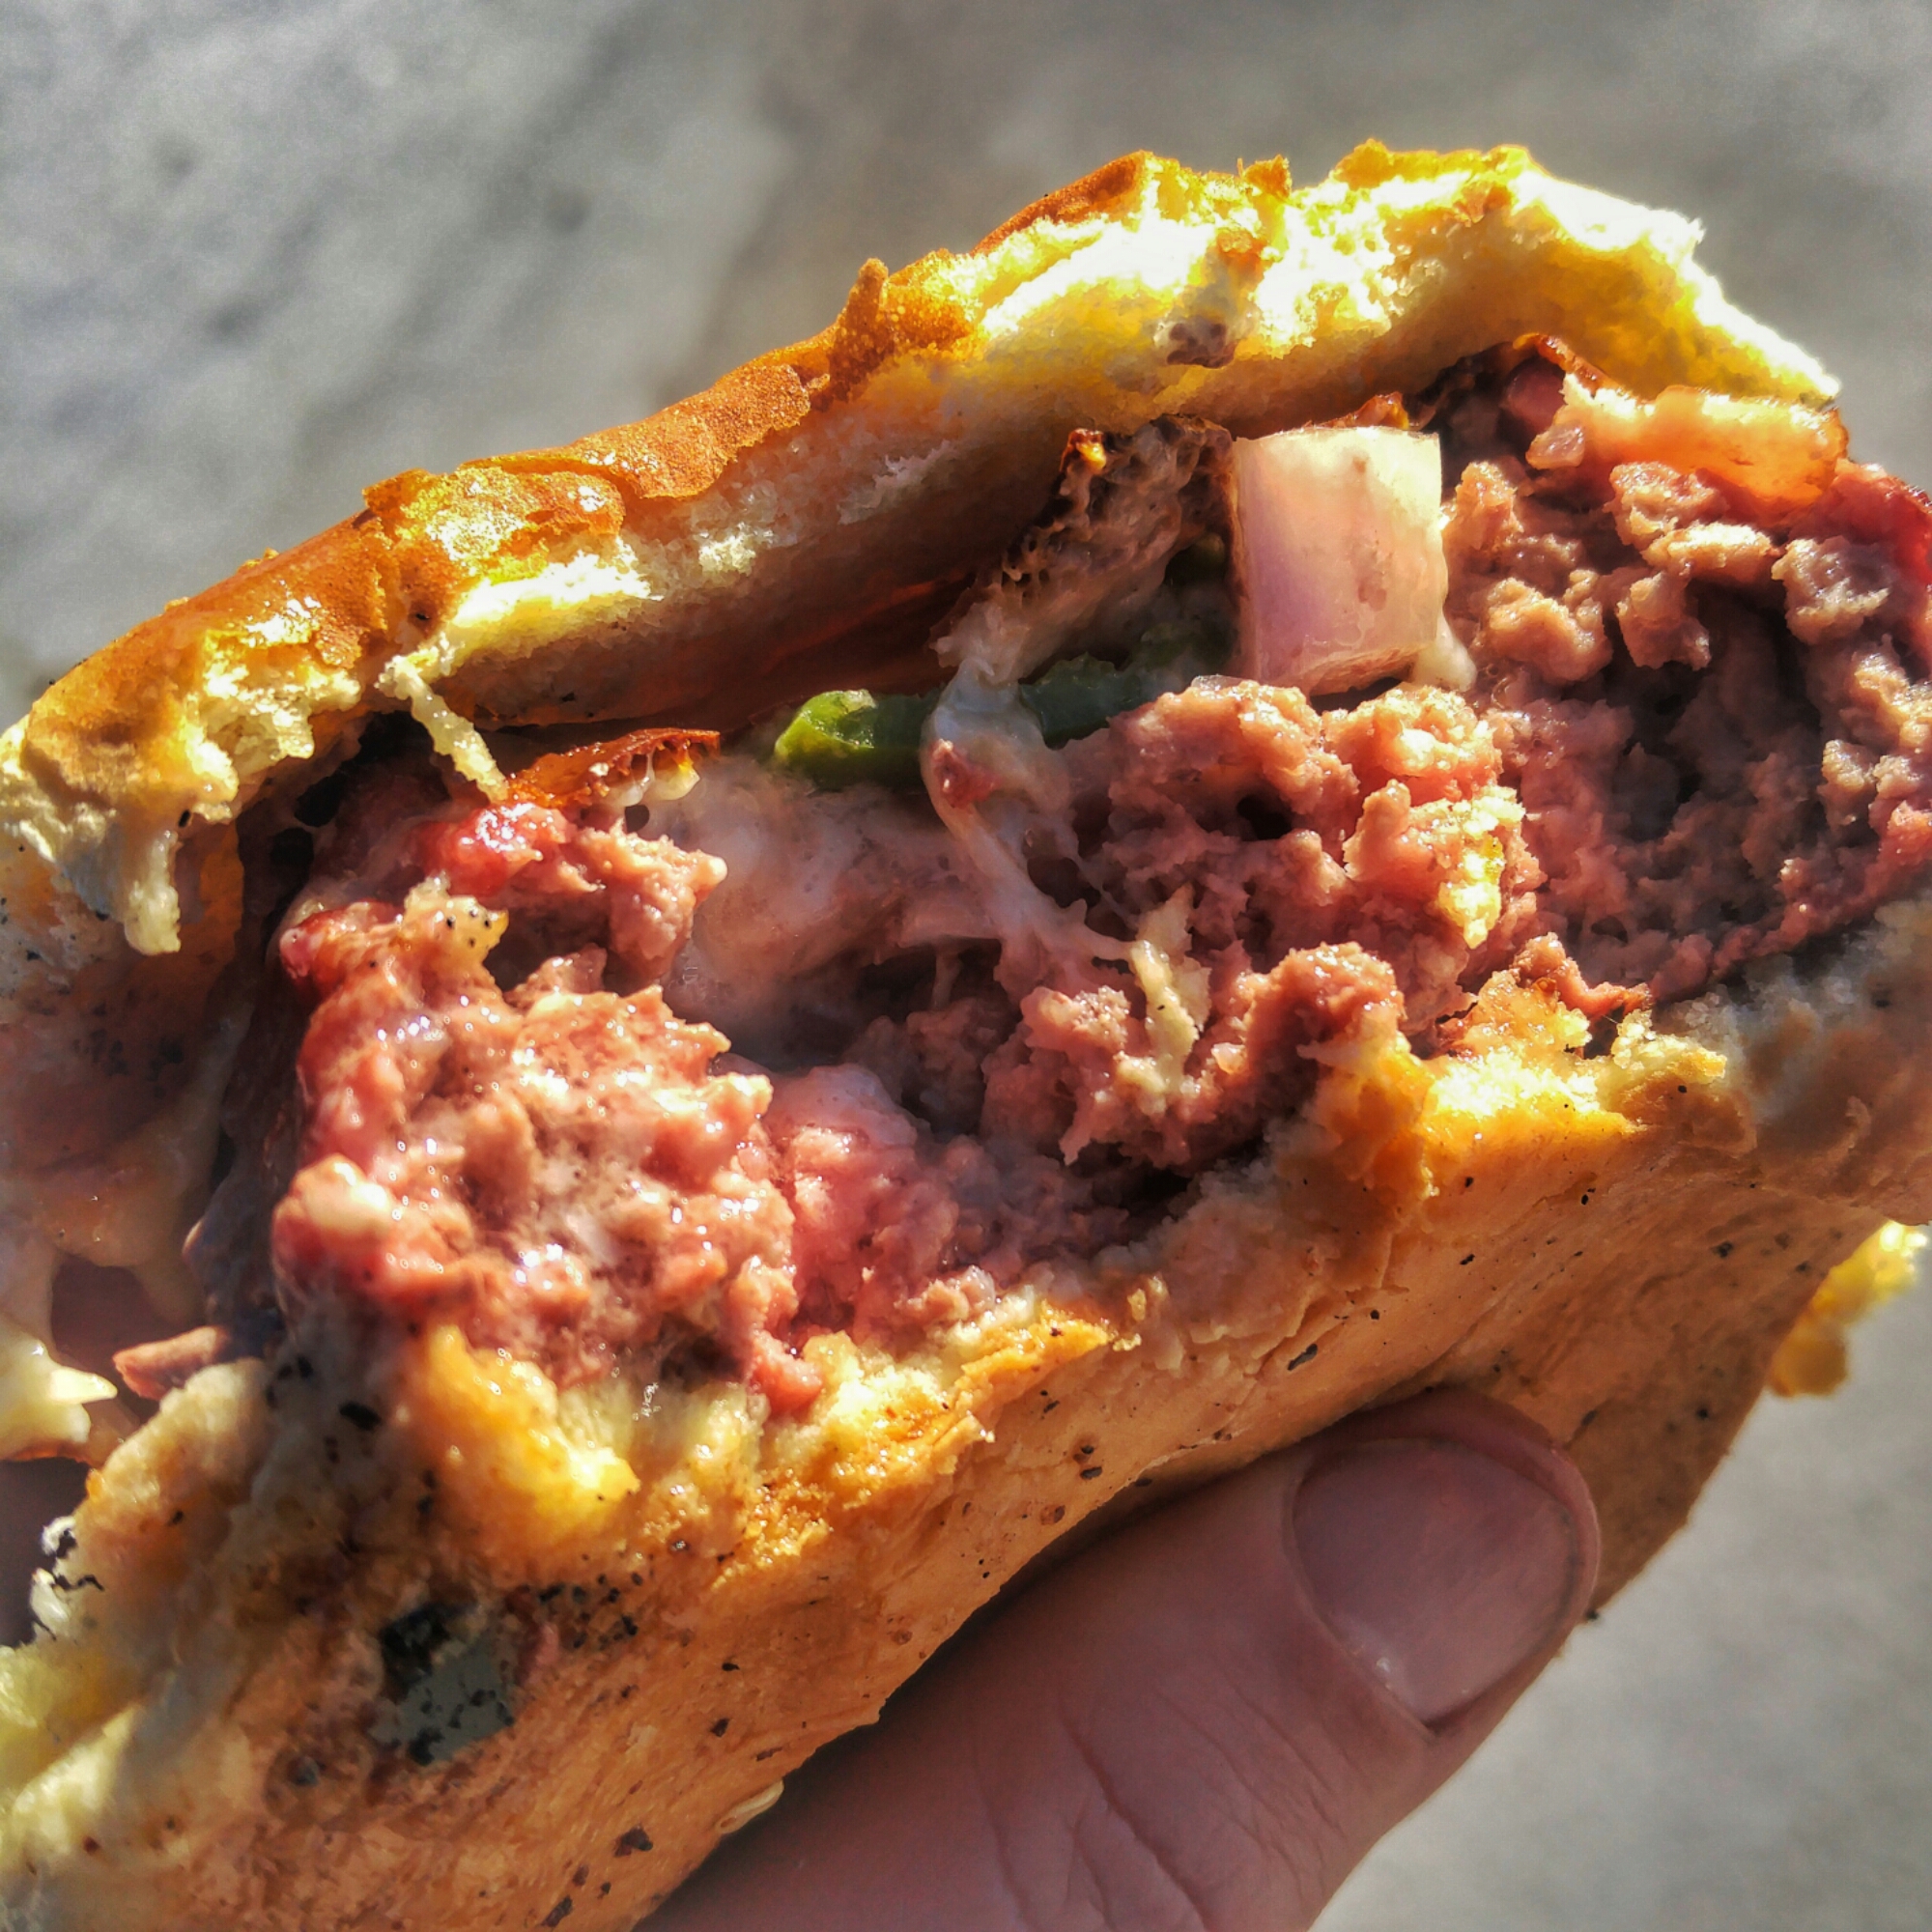
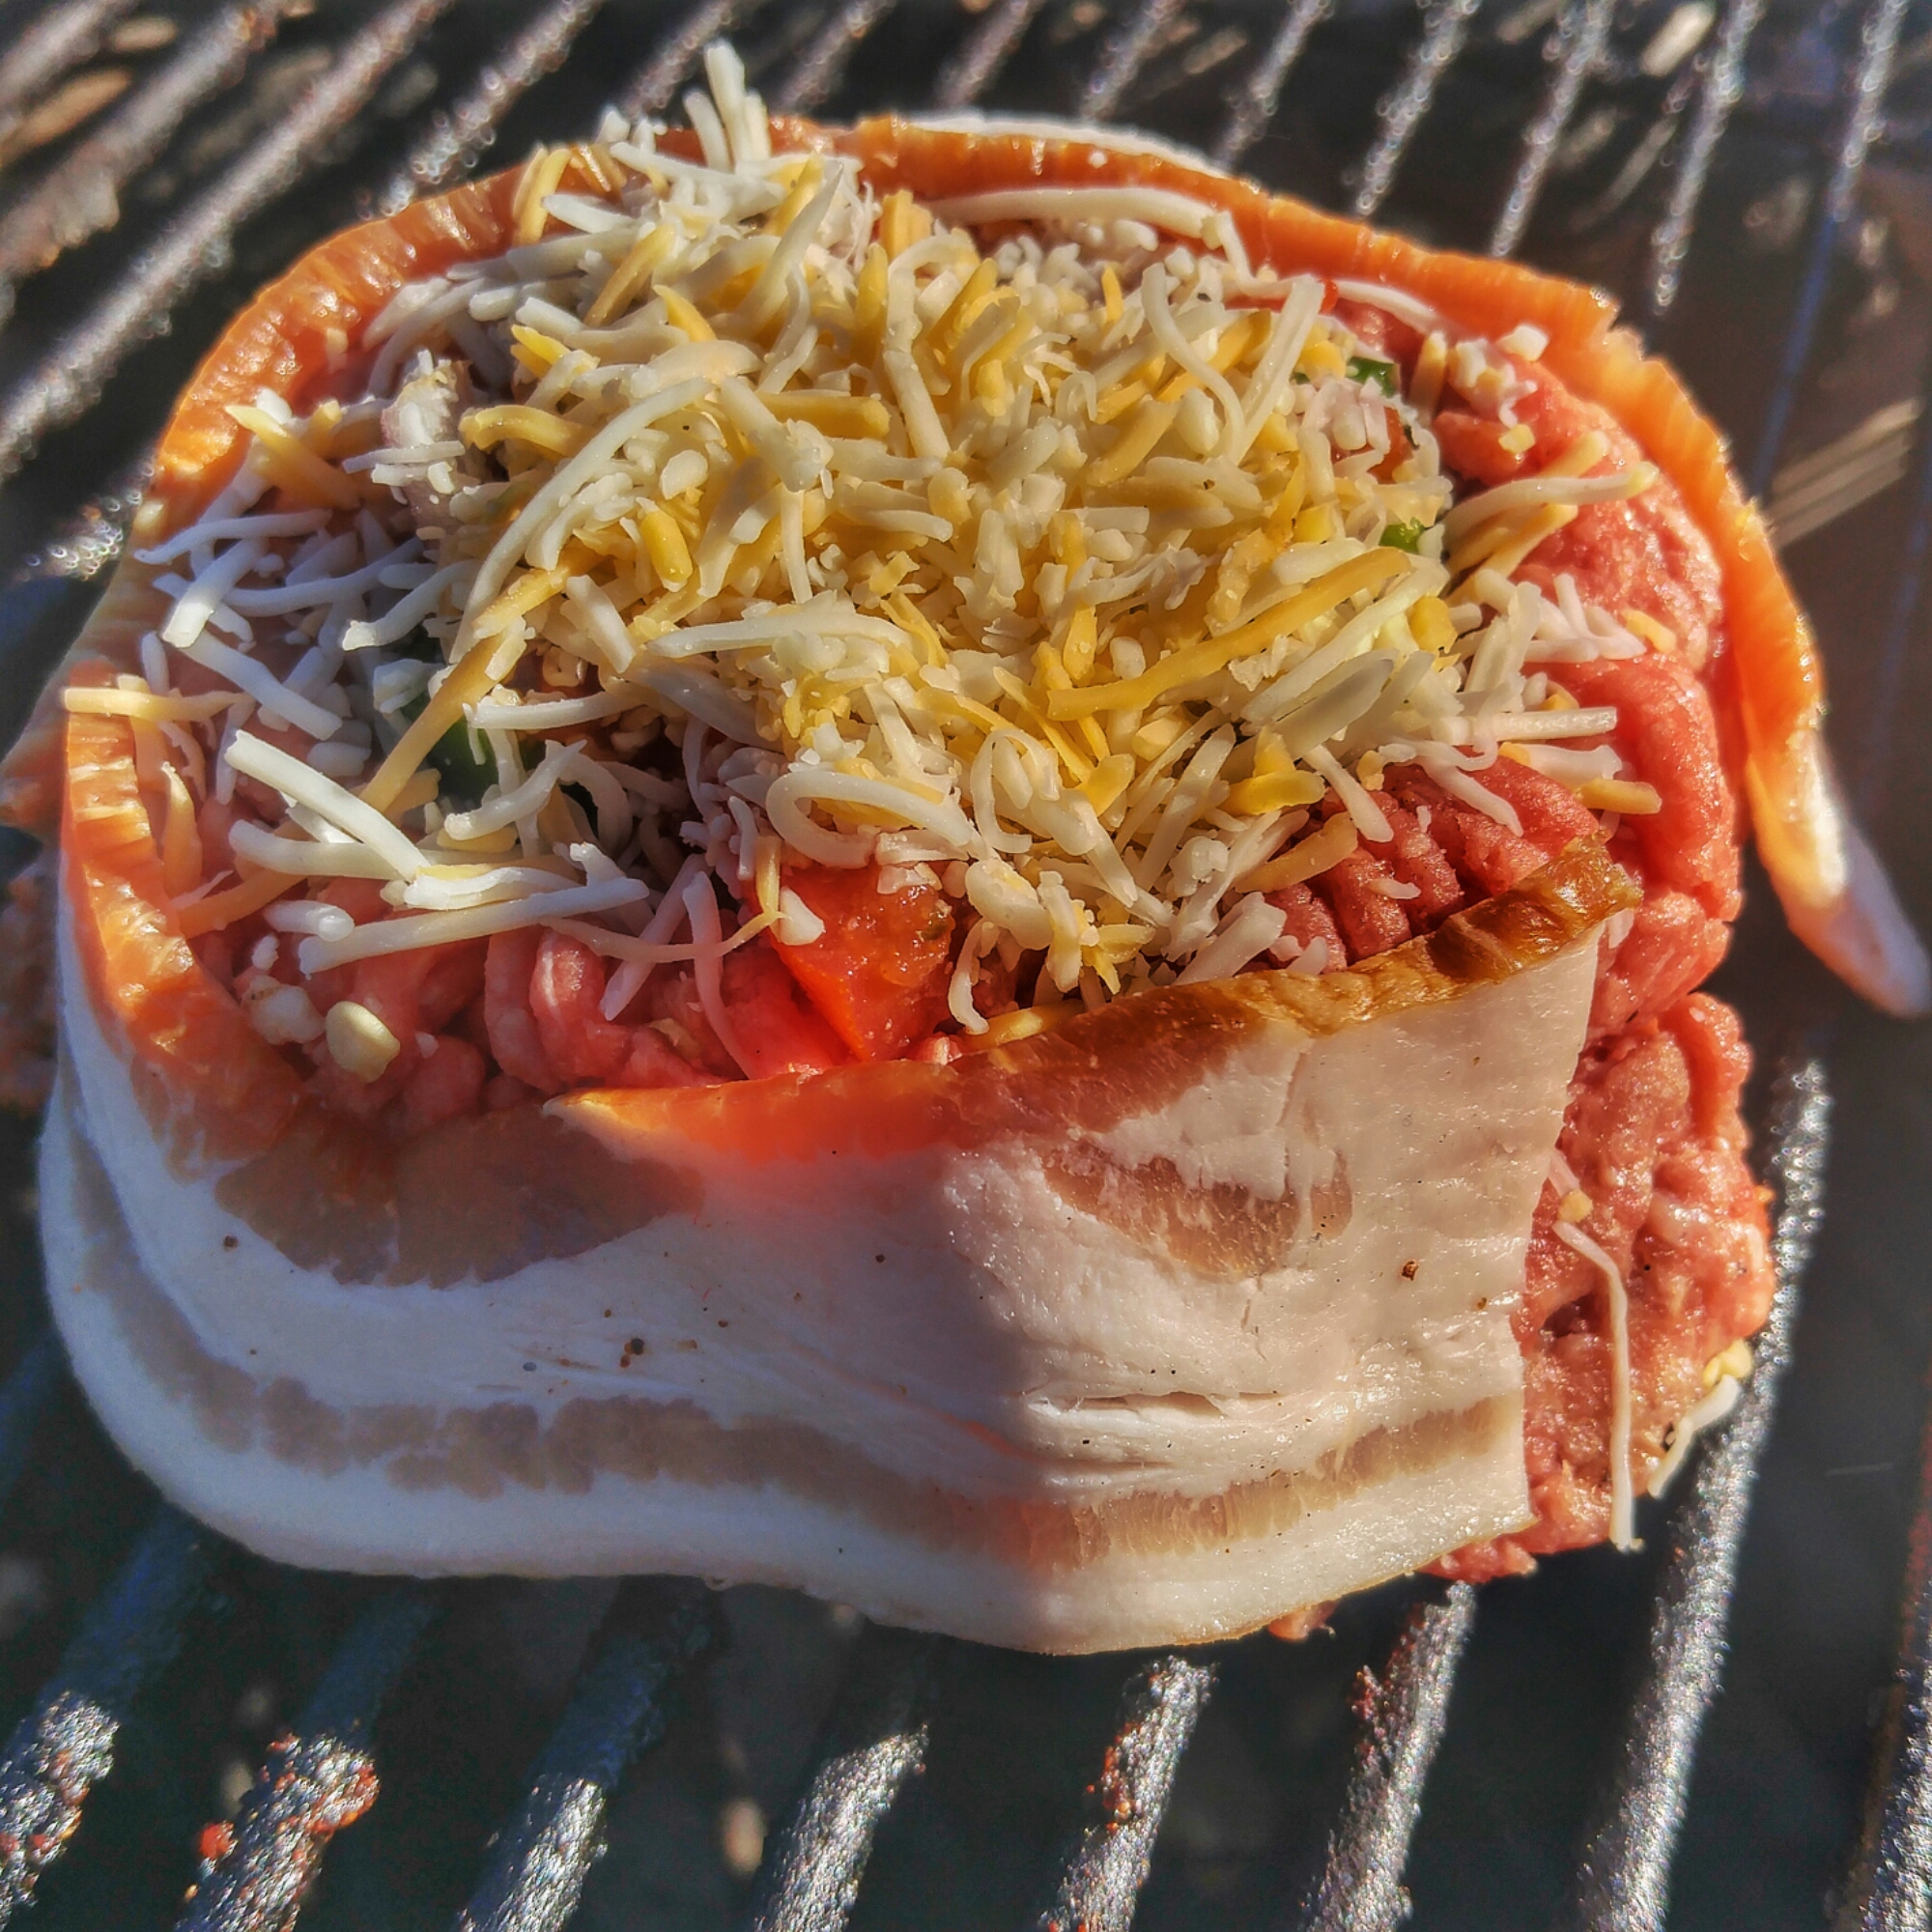
Pretty simple. Just firmed a fat Ass patty then munch a beer can into the center creating a hole to put all the stuff you like. Then wrap with bacon and top with it cheese. I put pork belly, jalapeños, salsa, red onions and topped with Shredded and American cheese.
Here we gooooo-
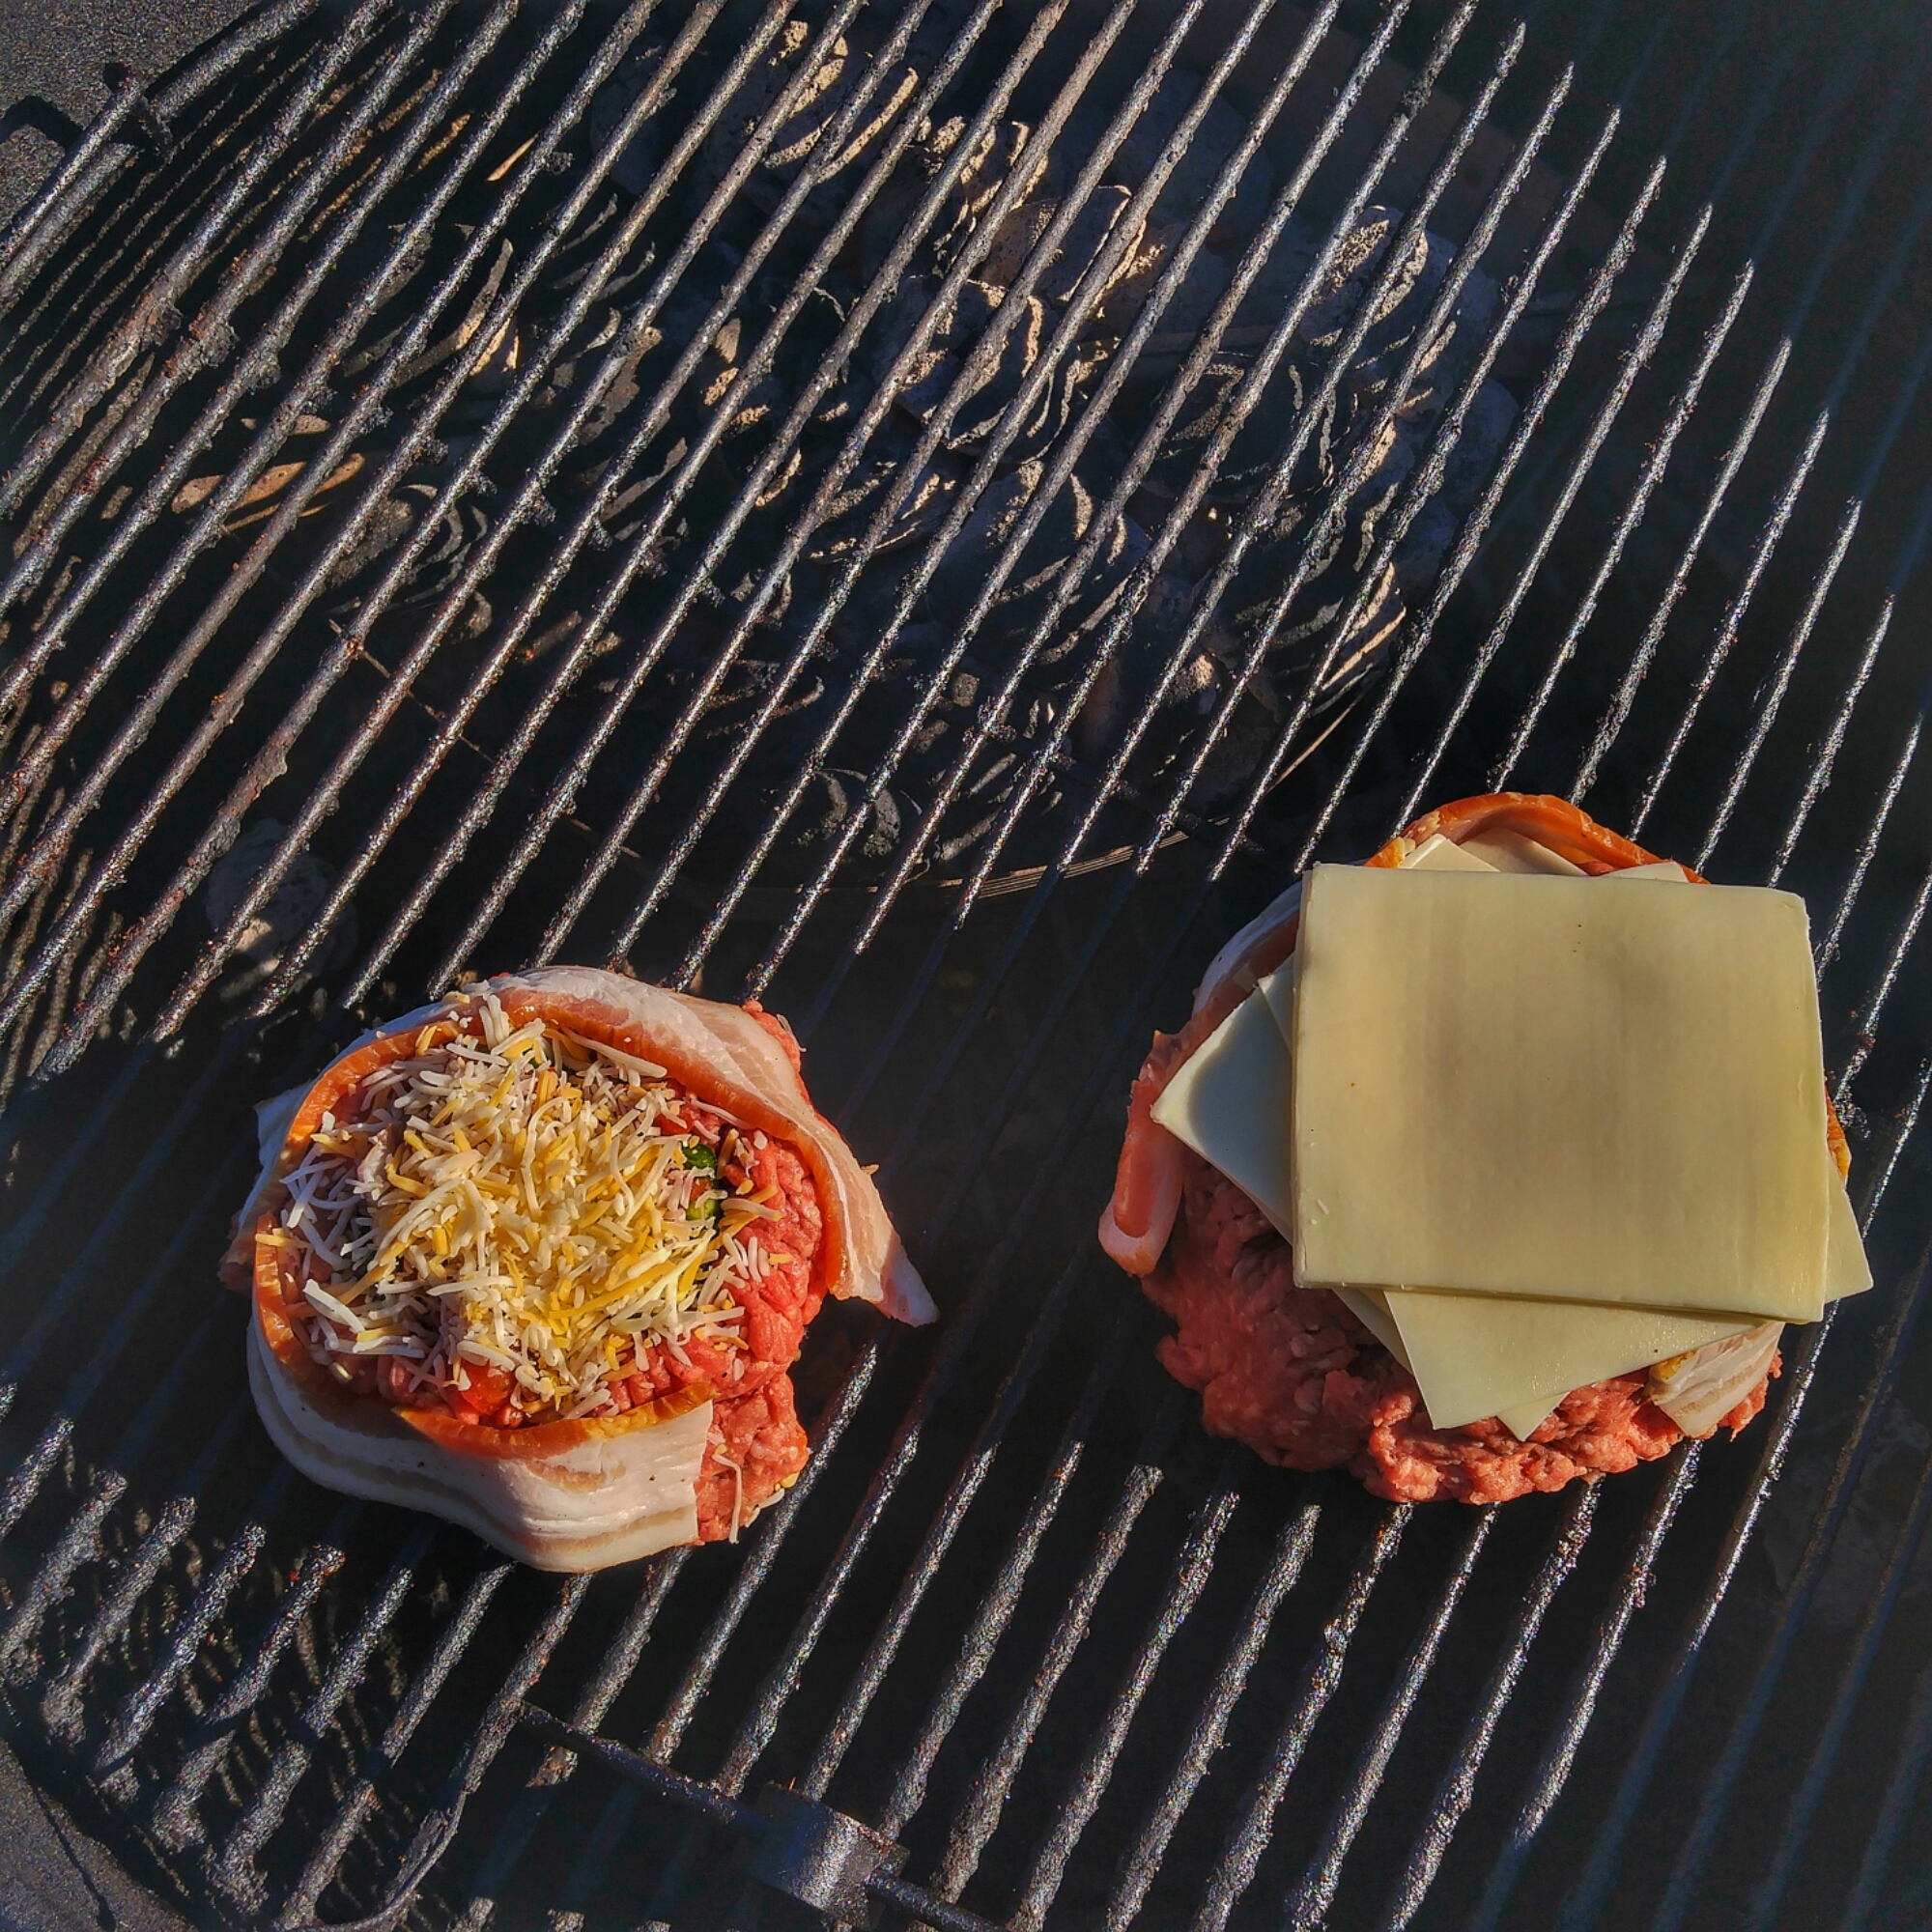
Results-