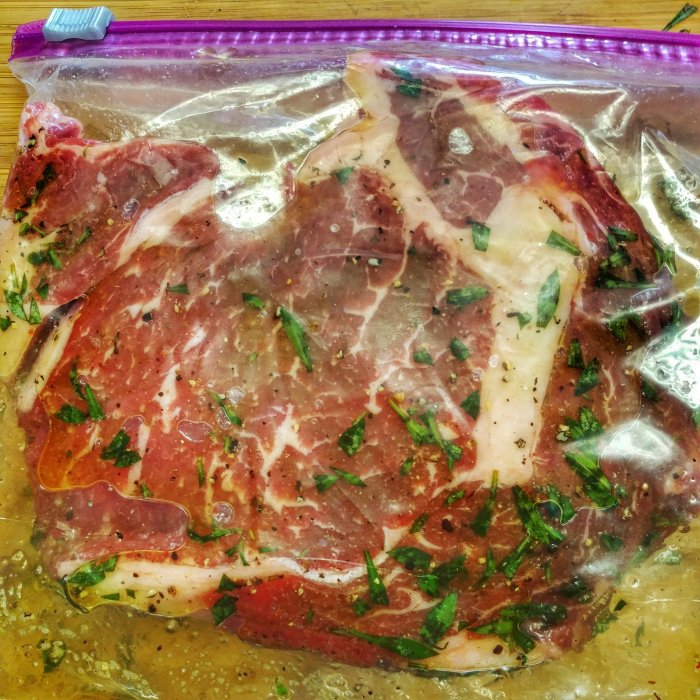
First I placed a thick cut ribeye in a plastic bag with salt, pepper, garlic salt, finely chopped rosemary and EVOO and let it sit for a couple of hours in the fridge coated in love.
Next set up the kettle for reverse searing by filling a charcoal chimney half full and once the coals are ashed over dumping them into the charcoal baskets which are pushed over to the left side of the charcoal grate.
Closed the bottom vent about half way and once it got up to around 250F I placed the ribeye on the opposite side of the kettle so it was not under the coals and placed the Thermoworks probe into the middle of the steak.
I was in a hurry so I let the kettle grate temp to go at 350 degrees. Normally for a reverse sear I’d choke the vents down so I’d have grate temps around 250-275 but not a big deal either way.
Once the Thermoworks Smoke remote sensor read 100F for the internal temp of the ribeye I pulled it off and loosely tented it in foil, opened the lid and bottom vent all the way and let the steak rest off the grill for around 5 minutes while the coals in the charcoal basket get fired up really hot with the introduction of all that oxygen funneling through the charcoal baskets.
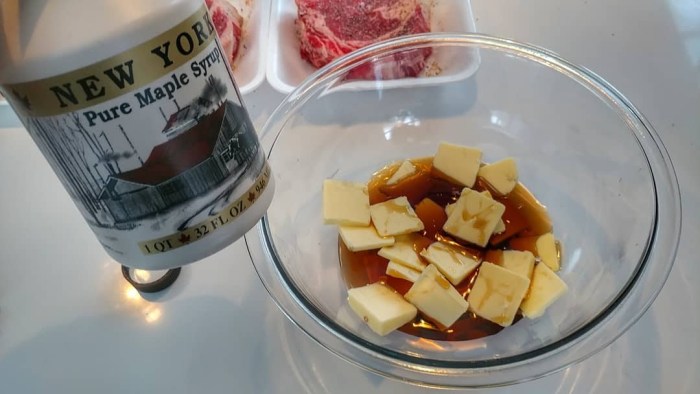
Once those coals were really going placed the steak directly over the charcoal baskets and seared each side for about 1.5 minutes. Taking internal temps with the Javelin Pro instant read thermometer. Once it hit 120 internal I took it off and placed it back in the tented foil to rest for 5 more minutes while I melted a couple of tablespoons of butter to pour over.
It was delicious.
I’ve had a Maverick 732 dual probe thermometer for years and it’s worked fine. Only problem are the preset alarm ranges are a pain in the ass to reprogram and it constantly goes off driving everyone in the house or at work nuts. The Thermoworks Smoke is a next level remote thermometer. The build quality is far superior. The display is far superior. The ease of setting or turning the alarms on or off are superior. For just a few dollars more you’ll wish you sprung for the Smoke over the Maverick if you’re serious about your Barbeque.
My lovely wife Kate got me a Slow N Sear for my 22 inch kettles and I’m finally getting around to reviewing and using it.
To purchase and read other first hand reviews- click here
Here’s the video-
The first thing you notice about it when you take it out of the box is the build quality. It’s made out of heavy duty stainless steel and won’t be rotting away any time soon.
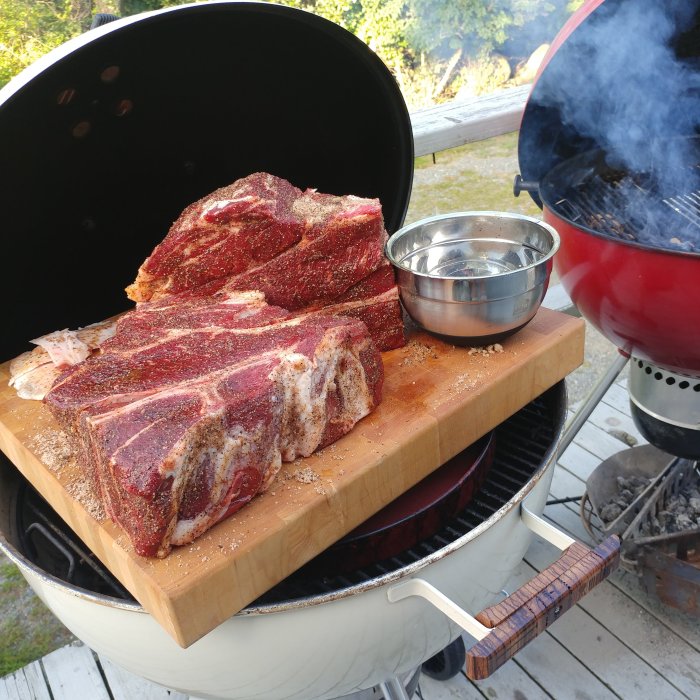
The main reason for getting the Slow N Sear for my purposes is for cooking large hunks of meat that take up a lot of grill space. For this cook it was two large seven bone chuck roasts that if I was using the snake method, after about five hours the snake would wrap around and end up directly under the meat, causing fat to drip and meat to burn- no bueno.
The Slow N Sear keeps the charcoal contained to one side. It also protects the porcelain coating on your nicer grills from having lots of coals banked up along the side with it’s heavy stainless construction. It also keeps a nice moist cooking environment with it’s removable water pan (in the 2.0 version). The water pan can also be removed giving you more room for coals and longer cook times without refueling.
For this cook I tried to follow the manufacturer instructions closely. I lit a Weber starter cube in one corner and arranged about 7 coals around it. When placing the coals around the lit starter cube be careful to not snuff out the starter cube. I didn’t snuff it out but I could see how it could happen if you weren’t careful.
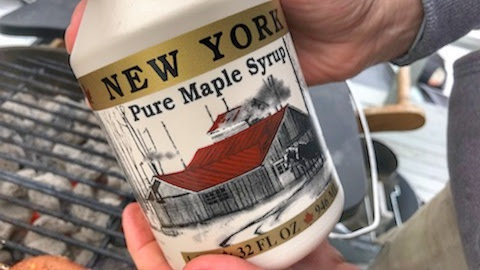
After the coals were going sufficiently I filled the rest of the Slow N Sear 2.0 with briquettes leaving a little space for some peach wood (thanks Joe Ball) and cherry wood chips.
Next I boiled a quart of water and carefully poured it into the water pan. it sizzled (just like the manufacturer said it would) so I’d recommend you pour it using a oven mitt in case of splatter.
After that closed the lid and let the kettle come up to 175 degrees before adjusting the vents. I closed the top vent 1/2 way and the bottom vent about half way and later adjusted the top vent to closed about 3/4 of the way.
I started at 7:40AM and she was hovering around 225 when I put the two six pound chucks on the opposite side of the grill with foil and foil pans lining the opposite side of the charcoal grate to catch the liquid gold drippings which we’d later reincorporate into the pulled beef.
At 10AM she was rocking along at about 250-260 and at 12:30 the temps dropped a little to the 210 range. I still had spent coals and some that weren’t lit yet in the end of the Slow N Sear opposite the end where we initially started the coals with the starter cube. The charcoal grate temps dropped to 210 and then 200 right around the time the chucks were entering the stall at 160 degrees F internal. scratching my head I figured out why. It was dropping because the spent ash needed to be knocked down. It was restricting air flow. This is shown in a video by Baby Back Maniac in a YouTube who shows that you clear your spent ash when you refuel.
So I added about a third of a chimney of unlit briquettes to the Slow N Sear after knocking down the spent ash and we were back on track.
At 2:30 the chucks were at 173 degrees F internal and I wrapped them in double foil and placed them back on the kettle and opened the top vent all the way and the bottom vent about half way letting the kettle climb up to around 270-280.
Once the chucks reached 205 I pulled them off, put them on a cutting board, poured the drippings from the foil pan and juices from inside the foil wrap into a bowl and mixed it with the beef as I shredded it. The chucks rendered down perfectly and were all jiggly and moist and incredibly flavorful. The guests devoured the pulled beef on rolls made by my friend Susan Lipsett and mango slaw from my Sister Felicia and Sweet Baby Rays Vidalia Onion BBQ Sauce.
The Slow N Sear is an excellent piece of equipment. It is well built, well designed and helps maintain temps for long cooks with large cuts of meat weather it be ribs or brisket of big slabs of chuck.
I recommend it if you cook a lot of large cuts of meat like full packer briskets or multiple pork butts.
To purchase and read other first hand reviews- click here
We had an opportunity to face off against Peter Zappa and his handsome sons. Peter is the owner and chef at a perennial top rated restaurant on Trip Advisor in our hometown of Gloucester MA.
Just a couple days ago Ciadlia Schwartz and Warren Waugh the incredibly generous and hardworking people who make the Bluefin Blowout Tournament happen reached out to see if we would like to participate in a BBQ throwdown during the tourney. Proceeds would go to Alzheimer’s research, the disease that took my father at too early of an age.
I was so excited mostly because it was something I knew my daughters would love to do and we could do it together. They watch cooking shows like chopped and make pretty elaborate dishes on their own all the time, even at their young ages of 11 and 13.
The challenge was that we would be given kobe beef and fresh tuna loins and we were tasked with creating an ultimate burger with the kobe and an appetizer using the tuna.
Knowing we were going up against such a great chef in Peter and his sons with decades of experience I felt like we had to swing for the fences. We had to wow.
Really wanting to do something that had never been done before, I didn’t want to copy someone else’s recipe from YouTube or a BBQ book. I want it to be our own.
So Wednesday night after I got out of work my daughters and I went to the grocery store to find some tuna and ingredients to do a test run. The Burger I knew I had down. i knew exactly what we were going to do for the burger as I have utmost confidence in my burger game. I’ll get to the burgers later.
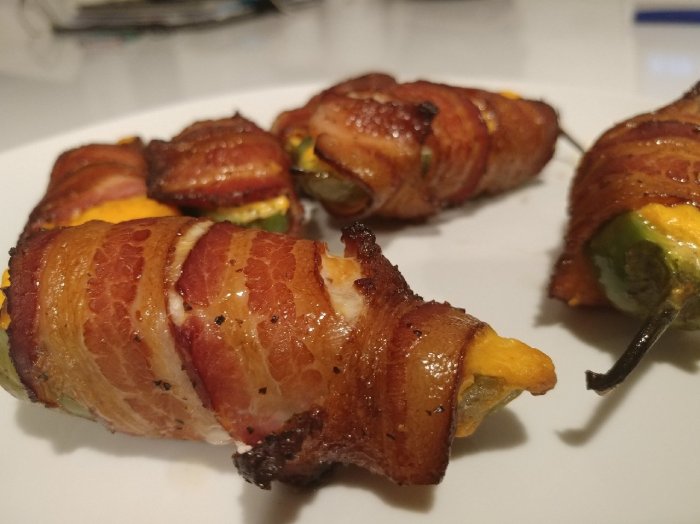
It took us a long time to decide on our first test with the tuna and what we settled on was Atomic Tuna Turds. I kinda had my heart set on these as I make Atomic Buffalo turds all the time and they are a big time crowd pleaser.
So I had Eloise practice cutting the jalapenos in half and trying to cut precisely down so there’d still be a little of the stem attached on each half. Madeline mixed cream cheese and sriracha and filled the jalapeno half, then placed a strip of salmon on top (there wasn’t any fresh tuna at the store), next we wrapped with bacon and added a dash of BBQ rub. Kate partially cooked the bacon before we wrapped the turd because we wanted the bacon to crisp up quickly so that the tuna would stay very rare inside. If we didn’t partially cook the bacon beforehand it would have taken too long to brown up and the tuna would have been cooked through. Once cooked the girls mixed sriracha and mayo and put it in a condiment dispenser to drizzle over the top almost like a chocolatier would do on a truffle.
Here was our result before the drizzle-
They were delicious. Super delicious. But you could barely taste the fish and we’ve watched enough episodes of chopped to know that you could get axed if the main ingredient that you’re supposed to use isn’t the star of the dish. at this point it was 8:30 PM. I had to get up at 3:30AM to get to work and we still needed to clean up the kitchen.
I couldn’t sleep. I didn’t want to let the girls down. I thought that it would be fun to be able to announce that we were making Atomic Tuna Turds and play around with that, and wow the judges. But the fish was not pronounced enough in the dish. We could execute it, the girls crushed their prep time. So all morning long on Thursday I was wracking my brain, trying to think of something else and contemplating just going with the turds. If we went with the turds it still would have had huge visual and taste impact and what would be the shame in losing to such and awesome famous chef like Peter Zappa?
Then it hit me. I had done bacon weaved phatty before which is sausage meat stuffed with cheese and whatever else you’d like enclosed in a bacon weave. Also bacon weave encrusted grilled cheese sandwiches.
Why not bacon weave encrusted tuna? I didn’t have the girls again til Friday night but I sent them with their mom to the grocery store to buy some bacon and practice bacon weaving. They sent me pictures and had the process down pat but I had concerns about precooking the bacon and still having it be pliable enough to bend to wrap around the tuna. Purchasing more bacon and tuna I tried another test run. Kate partially cooked the bacon for me while I fired up the small Weber Go Anywhere. It wasn’t just going to be the tuna inside. i kept think what did my favorite tuna dishes have, tuna and avocado! bamm! I originally thought we would use soy sauce on the side as a dipping sauce but after consulting my friends Susan Lipsett and Erik Lorden, they both advised my against that as there would already be a ton of salt from the bacon. So I found a wasabi dipping sauce that Kate whipped up that wouldn’t be so over the top salty-
2 cup mayonnaise
8 teaspoons soy sauce
3 teaspoons sugar
4 teaspoons fresh lemon juice
4 teaspoons wasabi paste or powder
The Weber Go-Anywhere has 160 square inches of cooking space and we needed to cook these offset the coals so the pieces of tuna were cut about three inches square and figured on a three by three bacon weave.
Here was the test run (in the video it doesn’t show the cracked black pepper on the avocado before we placed the tuna but it’s on there)-
I made the video to show the girls what they were going to be doing while I was cooking the burgers.
A couple of notes from the test run-
I did the test run using a 4×4 bacon weave, and determined that 3×3 would be sufficient.
When cutting something like you need to use a flat cutting board so you can make a nice long crisp cut. Cutting it on the plate that is receded in the center did not allow that long flat cut. we would need to bring the big butcher block.
I emailed the video to Eloise so she could envision it and we discussed the procedures and made note that the cracked black pepper needed to be put on after the avocado was placed and before the tuna was placed. Madeline had a million questions and wanted to make sure she had everything down pat.
Now for the burgers which would be my responsibility.
I knew we would start with Brioche rolls. They are the best for burgers IMO. my good friend Erik Lorden provided me with the brioche rolls, hamburger spikes and wasabi paste for our Tuna appetizer dipping sauce. Kate procured all the groceries while I was at work. I had a 45 minute break in the morning and I raced home to pack up the car with the ton of stuff we needed to get to Cape Ann Marina.
Here’s the list-
Thankfully for the past two weeks I’ve been on a burger tear. Just last week I researched ultimate burgers for hours on YouTube. So we’ve established we’d go with brioche rolls, next we’d slather sriracha mayo on the insides of the rolls and put them on the grill offset the griddle to toast them up. Eloise came up with a great idea to slather butter on top of the rolls to make them even more decadent.
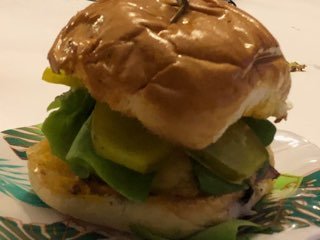
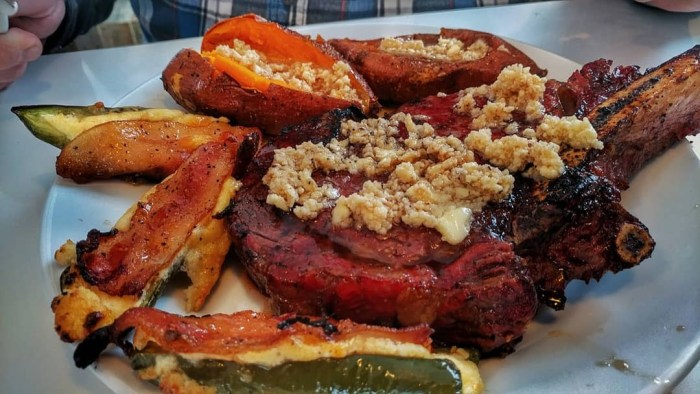
So each burger would consist of two kobe beef smash burgers caramelized up and topped with Orange american cheese melted on. Here’s the construction-
Top Bun Slathered On Top With Butter On Bottom with Sriracha Mayo
Sauteed Onions
Top Kobe Beef Smash Burger Patty covered With Melted Orange American Cheese
Two Slices Of Thin Cut Spicy Pickles
Bottom Kobe Beef Smash Burger Patty covered With Melted Orange American Cheese
Bibb Lettuce
Bottom Bun Slathered and Grilled With Sriracha Mayo
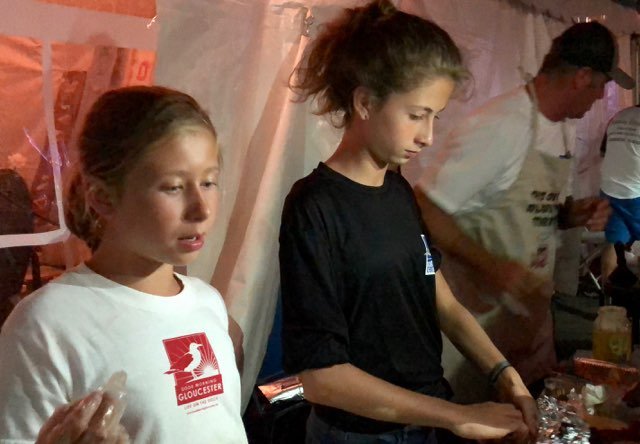
Here’s the girls working together like rockstar chefs! We had the discussion before about how we want to win obviously but it was all about enjoying the experience and having fun. Most importantly that if anything went sideways to absolutely under no circumstances were they to criticize each other, only encourage. If we stay together and have fun it’s going to be a win anyway. Also I told them that going up against Peter Zappa who had that much experience cooking under pressure no one would expect us to win so lets just swing for the fences and relish the underdog role.
As it turns out they were flawless. I didn’t have to look over my shoulder once, they just flat out executed everything we went over. I know they get sick of me telling them how proud of them I am and they’re so great but this was next level happy dad stuff. 🙂
Peter and his sons did a great job as well and they were so fun to cook alongside. They are a beautiful classy family and an incredible asset to the Gloucester community. As I’ve said from the beginning when I found out we were competing with them, there’s a reason The Causeway is routinely ranked so highly on Trip Advisor. They know how to treat people and they produce excellent food, year in and year out.
In the end the judges consisting of Warren Waugh whose Waugh Auto Group Puts On The Bluefin Blowout, Mayor Sefatia Romeo Theken, Karen Hanson of By The Sea Sotheby’s International Real Estate and One Of The Funniest men On the Planet Jeff Wilkes from Glasstech who bid to be the fourth judge (the money of which went to Alzheimer’s research).
Bridgette Mathews photo
It ended up a tie. The Mayor who I love proclaimed- “It better not be spicy because I don’t do spice>” (which is bananas if you’re judging a BBQ competition) but we walked out with a tie and a victory in that we got to spend time with the beautiful Zappa family and cook alongside our children and raise money for a cause near and dear to my heart- Alzheimer’s research. We’d like to thank my beautiful wife Kate, my sister and mother, Erik Lorden, Susan Lipsett, Cidalia Schwartz, Nichole Schrafft, The Judges, the Zappas, all our friends that came out to support us (and buy us drinks) and especially Warren Waugh who does an incredible amount not only for Alzheimer’s research but also our community.
As a prize Warren and Anthony Caturano from Tonno will be hosting us for dinner at Warren’s beautiful home on Mussel Point.
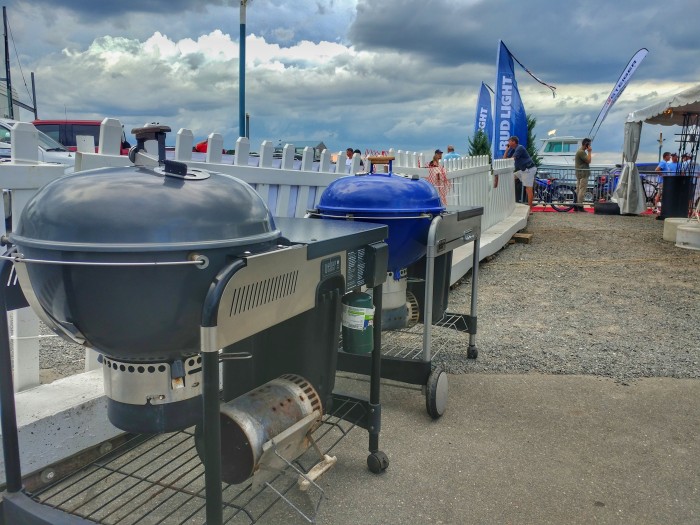
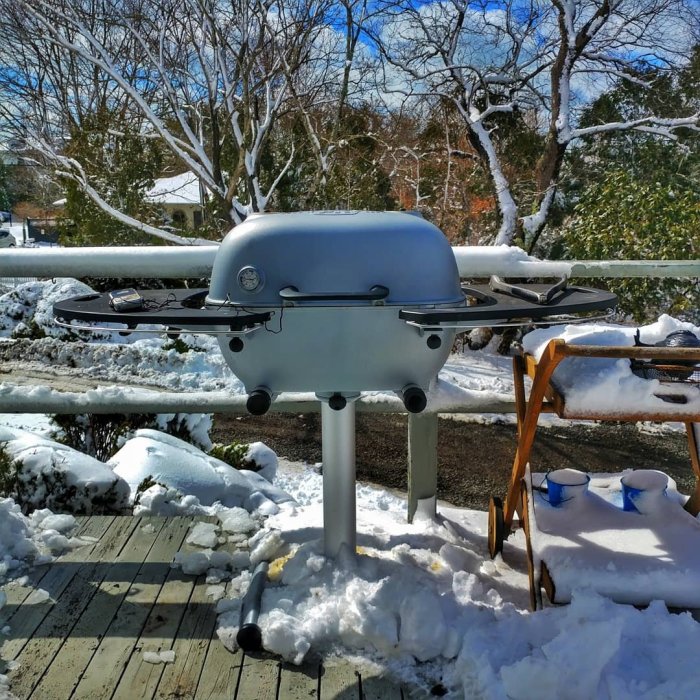
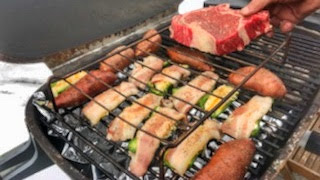
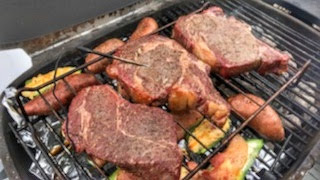
Perfect grill for reverse searing a couple strip steaks.
What I’ve learned in grilling steaks is that it’s not necessary to sear the fuck out of them right from the get go. In fact the steaks don’t have to be on the grates from start to finish. Best results having the coals to one side, vents half way open and let thick cut steaks come up to about 20 degrees from desired temp offset the coals then take the steak completely off the grill for at least five minutes. Open all the vents get the coals glowing and then place them back on the grill over the coals. Criss cross hash marks and probing with instant read thermometer til 5 degrees from desired temp. Rest again. Done perfectly.
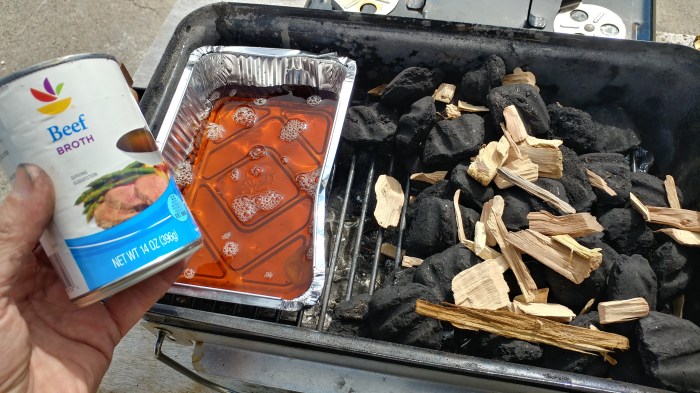
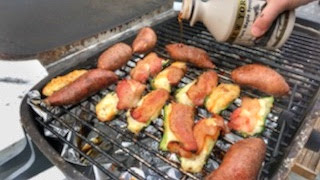
Set up the Weber Go-Anywhere for indirect smoking with a drip pan on one side under the deflector plate slot and 7 or so lit coals in the opposite corner with a bunch of unlit coals.
Purchase the BBQube deflector plate here It makes the small Weber Go-Anywhere into a perfectly capable charcoal sipping machine. This whole cook might have used 25-30 briquettes and there were plenty left over to go longer!
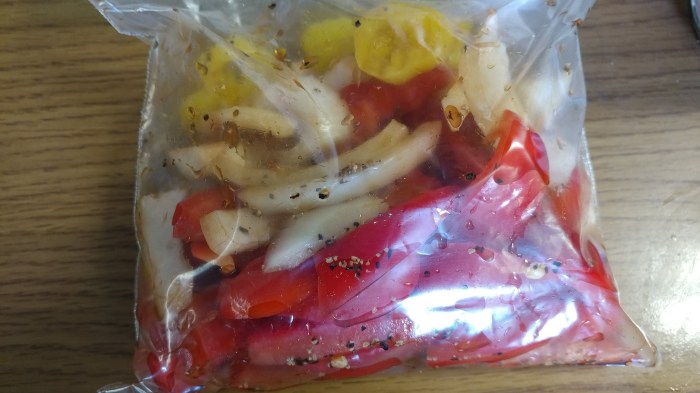
A simple rub of black pepper, salt, garlic powder.
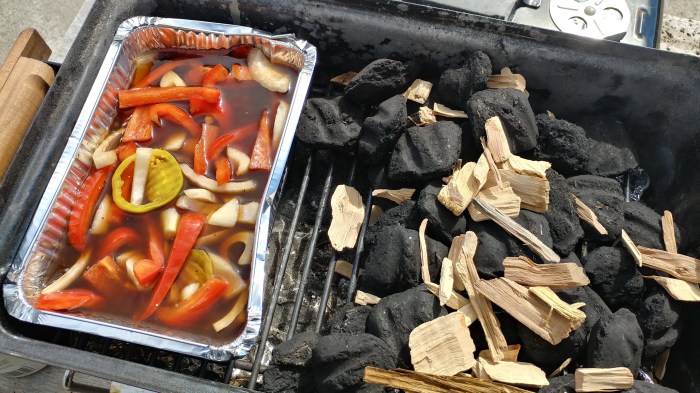
Place a cup of beef broth, sliced up red bell pepper, sliced up half onion, and pepperoni rings in the drip pan
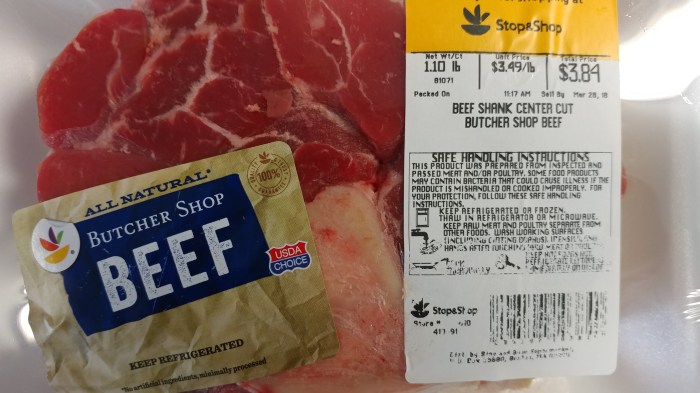
Goal is smoking the beef shanks for about an hour and a half between 250-275 to get color and smoke.
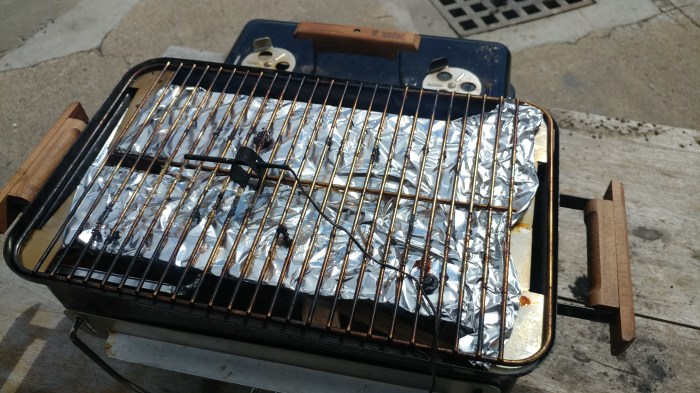
Wrapped the deflector plate in foil for easy clean up.
Placed beef shanks over the side of the grill that has the slot for the drip pan and the remote temp probe in the middle of the grill.
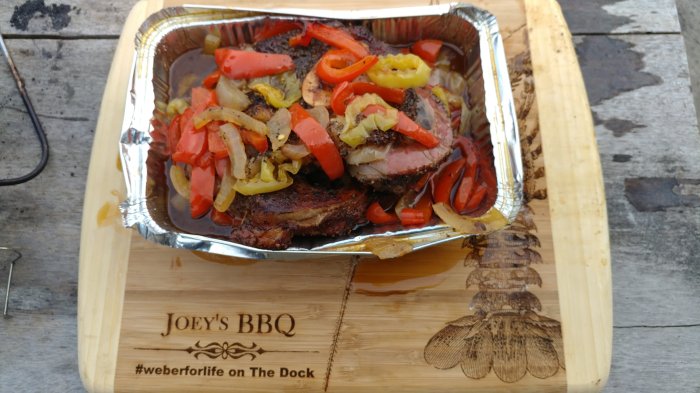
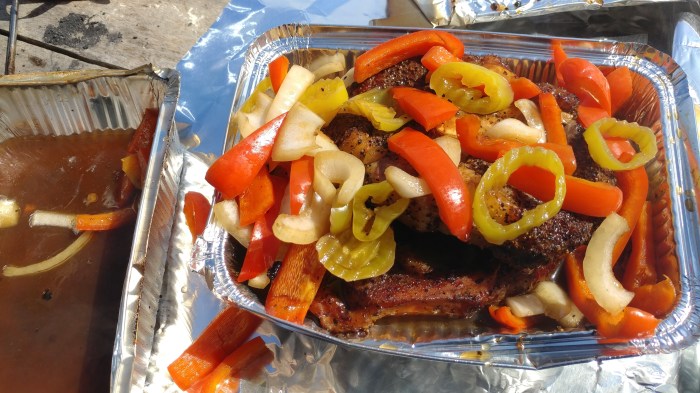
After an hour and a half at 250 the shanks had the color I wanted and were probing internal temps of 150 degrees F. Pulled out the drip pan and placed the beef shanks with the beef stock and veggies in it and wrapped in foil to braise for another hour and a half.
After an hour and a half braising all of the hard connective tissues and sinewy renders down into delicious tender fat for flavor and the bone marrow renders into the beef stock as well creating an intense beefy deliciousness.
With corned beef on sale and how easy it is to smoke, I’m all in on these at least once a week.
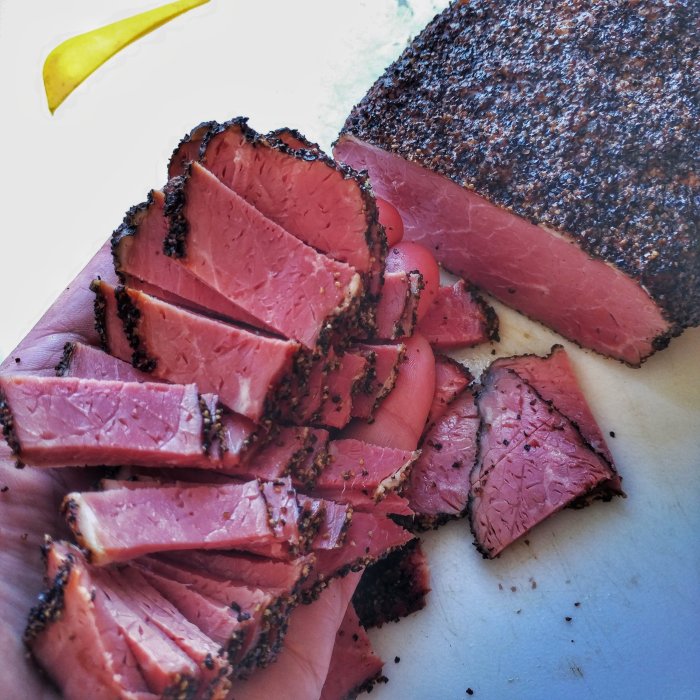
Smoking the corned beef is as simple as taking it out of the package, trimming any hard fat off, rinsing it off, patting it down with paper towels, covering it with coarse black pepper and smoking offset the coals with a pit temp between 225-275 until the internal temp reaches 160. Once reaching 160 internal double wrap in foil and place back on the pit until the internal temp hits 190. Save the juices in the bottom of the foil to use in the hash.
Then let it sit for an hour or so before you slice.
Finished smoking-
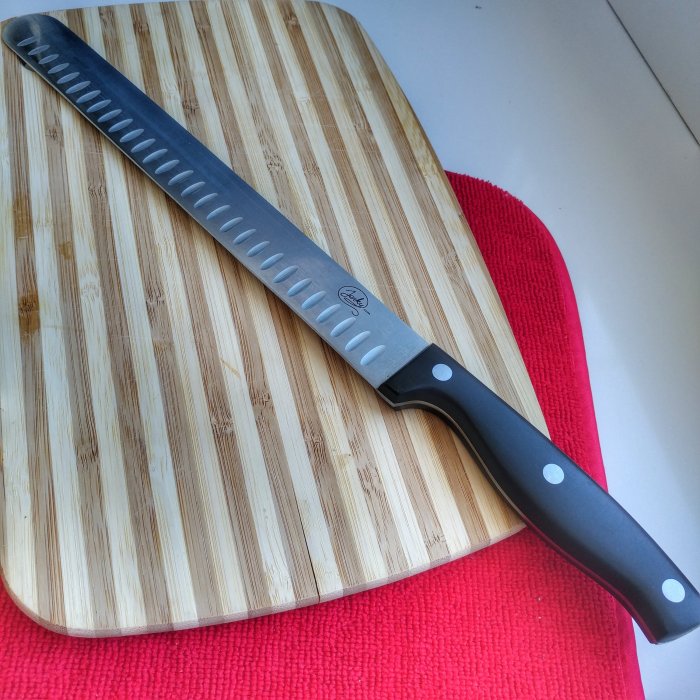
If you don’t have a good slicing knife with a dimpled blade I’ll say it’s a game changer for large cuts of meat. You get really nice even cuts, very thin, very easily.
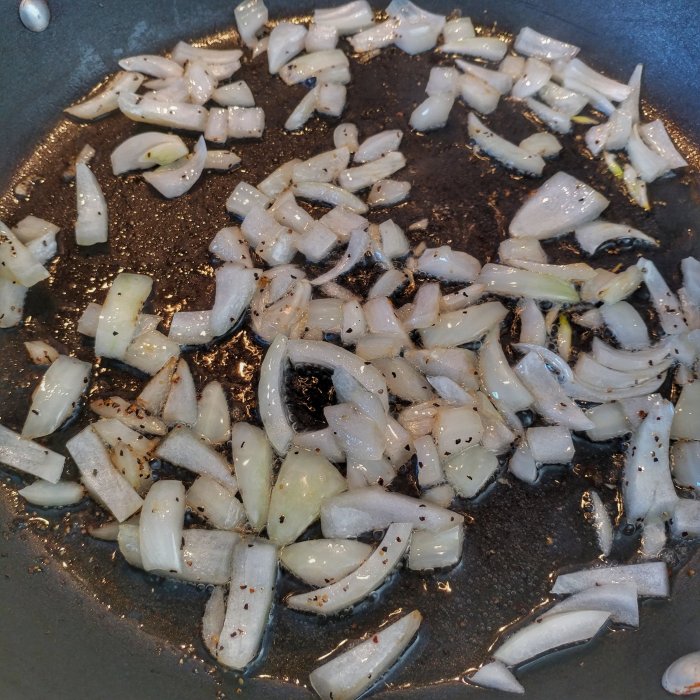
Once your have your smoked corned beef brisket, slice up some onions, put some peanut or canola oil in a pan and sweat down your onions over medium heat til they just start to turn translucent.
While your onions are sweating down get a couple of potatoes, poke some holes in them and put them in the microwave for 4 minutes to soften them. Once softened use a rag to protect your hand or oven mitts and cut up the potatos into small flat pieces.
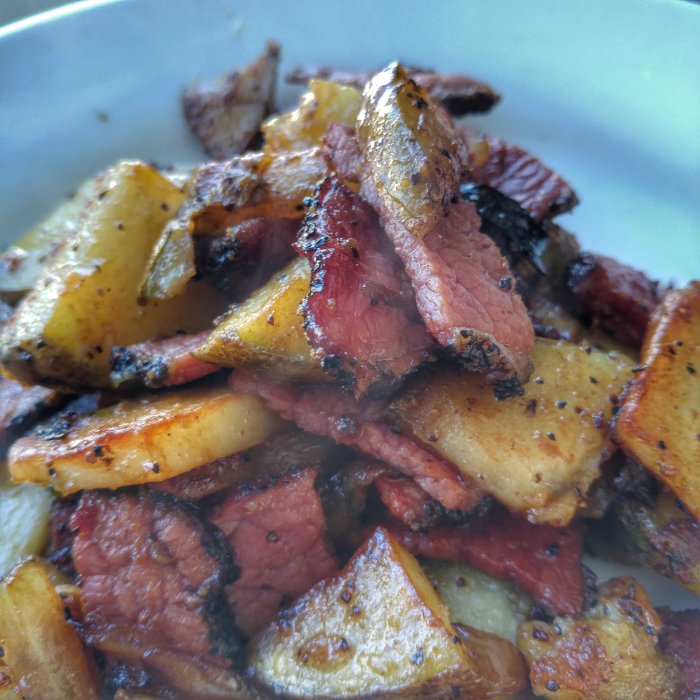
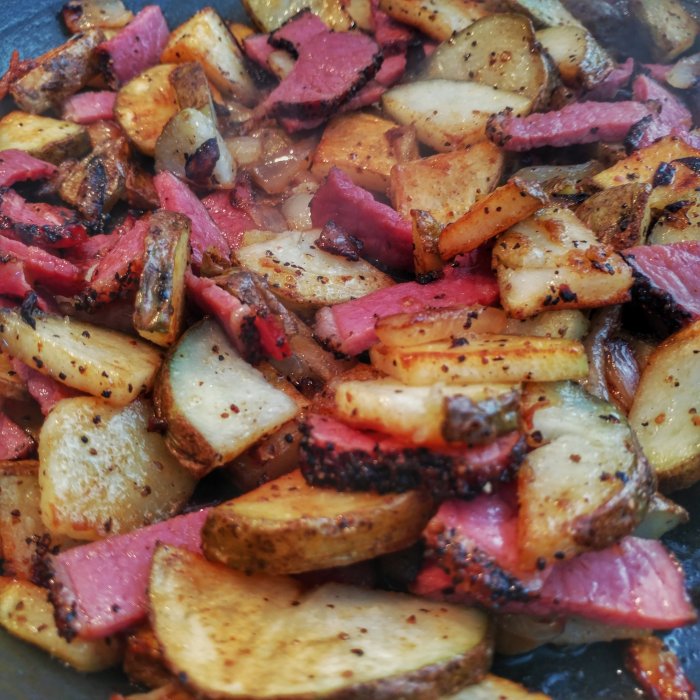
Once the onions are softened, put them in a bowl off to the side, add a little more oil to the pan and then put your potatos in. Season with onion powder and garlic powder. Cook, turning them over every so often to start to brown them. When they start to brown, add the onions back in with the potatos.
Next add your sliced up corned beef brisket along with a decent pour of the fat renderings from the foil pack when you smoked the corned beef brisket (not necessary but trust me it’s liquid gold).
I pretty much followed the recipe from serious eats Except I added some oregano and garlic powder to the mix. Also I think the recipe can be improved if you partially cook the bacon before hand and buddy Craig Kimberley suggested using a pork/beef mix instead of straight ground chuck.
These were awesome and I’d do them all over again the same way with either of teh ingredients if that’s all I had on hand.
Mix one lb and a half of 80/20 ground beef, two lightly beaten eggs and 3/4 cups seasoned panko bread crumbs and added oregano and garlic powder.
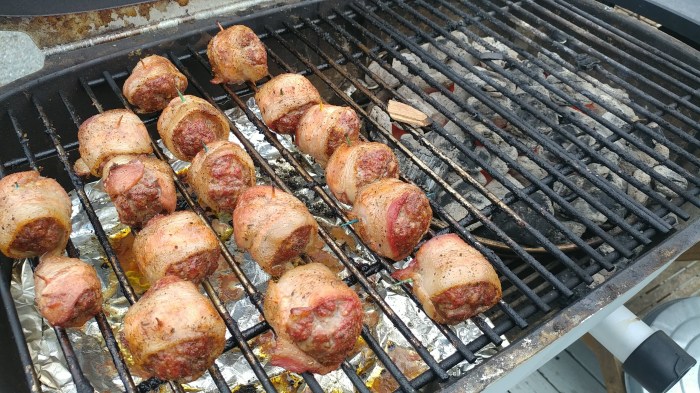
Roll into 1 inch balls and wrap with a half a strip of bacon securing the bacon with a tooth pick. next dust with your favorite BBQ Rub. I used Famous Daves BBQ Rub.
Next set up the PK 360 for high heat indirect cooking. A full chimney of hot coals on one side, all vents wide open. Let the pit come up to temp. Once over 300 degrees, place a sheet of tin foil on the charcoal grate to catch the drippings and keep your grill clean. Place the cooking grate on and arrange the moink balls about an inch apart on the opposite side of the grill from the coals so they are not over any coals. Add wood chips to your charcoal for smoke and close the lid. After twenty minutes you should have some nice browning action on your moink balls.
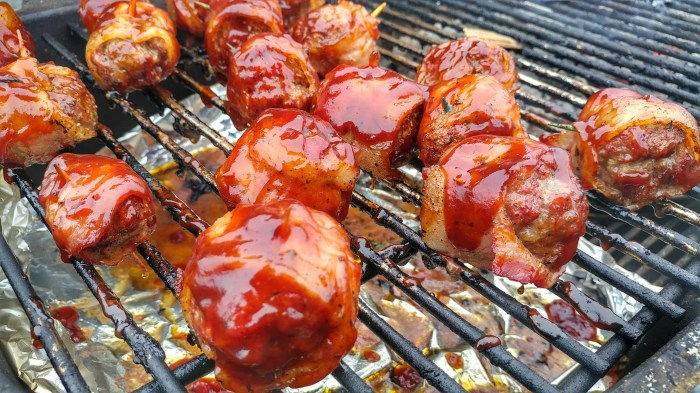
Next mop your balls with a nice sweet BBQ rub. I happened to use Sweet Baby Rays, you use whatever you have on hand.
Close the lid again for about 5-7 minutes to let that sauce set up on your balls.
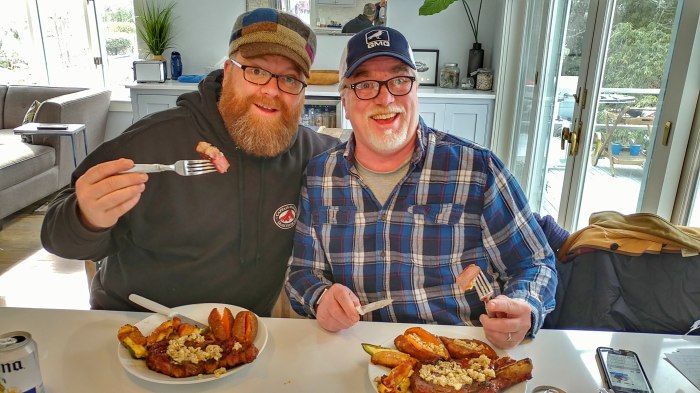
Finito!
Deliciousness!
@craigkimberley and I both agreed, these will be on the menu for Superbowl.
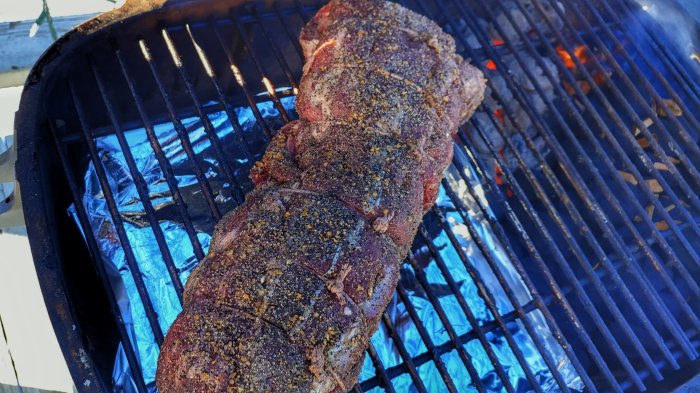
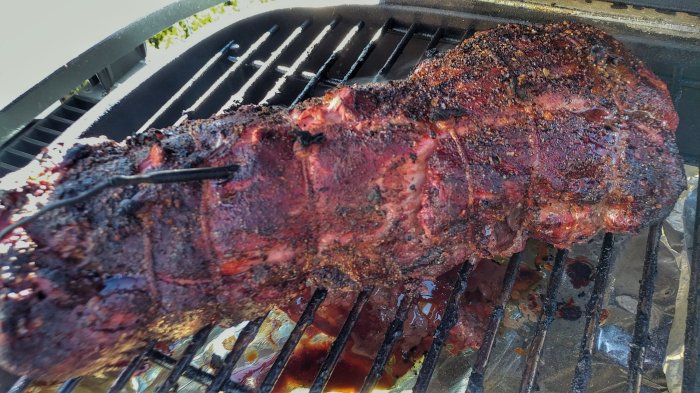
Reverse Sear Tenderloin On The @pkgrills #pk360. Lightly coat with Olive Oil. Thinly slice up garlic and insert tip of knife every three or four inches to slide garlic slivers in. Coarse salt, black pepper, gunpowder seasoning and Montreal Steak Seasoning. Set up PK 360 for offset smoking with a chimney and a half of unlit charcoal in the right side of the pit. Cherry wood for smoke. Place 10 briquettes in chimney and get them glowing red and dump on one corner of the unlit charcoal. Close lid and wait for temps to come up to 200 degrees. Once pit reaches 200 lay a sheet of foil or aluminum tray on charcoal grate underneath where the tenderloin will sit to catch drippings. Set cooking grate on, place tenderloin above the foil on opposite side from the coals. Place remote temperature probe in the thickest part of the tenderloin and close the lid. Close the bottom vent under the meat side and close the top vent over the coals. Close the top vent over the meat about half way or more to keep pit temps in the smoking range between 200-250. You may have to adjust the vents if you see the pit temps spike past 275. Really anything between 200-275 I wouldn’t bother fussing with the vents. Once the remote digital thermometer reads 115 open the lid, knock the dust off the coals that are going and use your tongs to make sure you have an even later of good hit coals. Next, take the tenderloin from the offset side and place them over the coals to get a nice sear. Maybe 30 seconds, then roll it, 30 seconds then roll again, till all sides have the color you want. Next take it off, loosely wrap in foil making sure there’s a little air gap to let out steam. Let sit up to a couple hours before slicing. Make sure to collect the juices in the bottom of the foil. That’s liquid gold. Pour it over your sliced tenderloin. This method will produce edge to edge perfect rare tenderloin with an incredibly flavorful crust. We usually do rib roast the same exact way and it’s fantastic. This is actually even better.
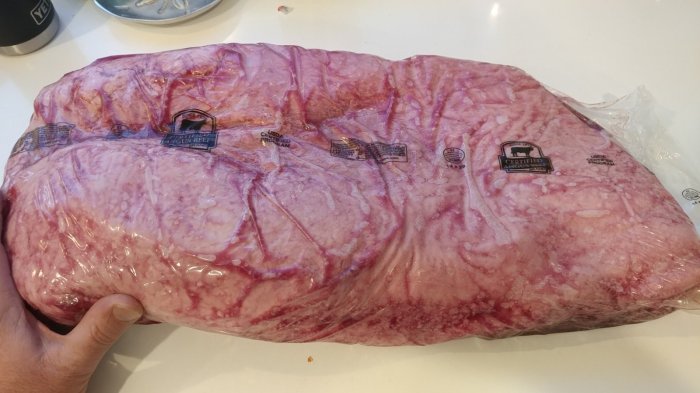
My buddy Eric Lorden got me a full packer brisket for Christmas. As there doesn’t look like there’s any end in sight to these frigid temps here in the northeast it was getting time to put up or shut up. So I trimmed this beautiful Angus Brisket which had a considerable about of fat to remove.
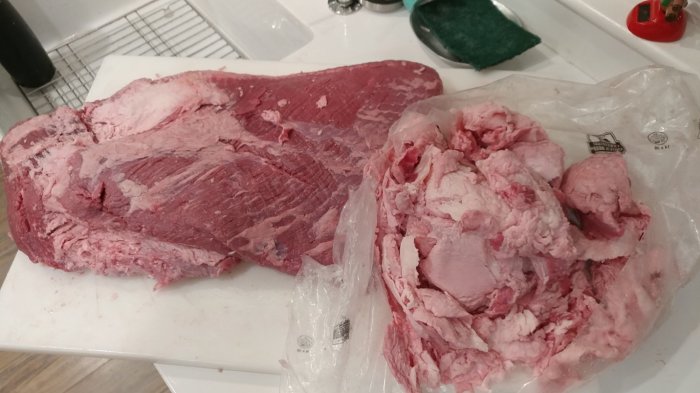
You can see how much fat was trimmed away in this pic. I left a quarter inch or so on the fat cap side which was cooked fave down on the Kettle.
After trimming away the unwanted fat it was time to season. Coarse salt, crushed black pepper, John Henry’s Brisket Rub and a little Montreal Steak Seasoning. Fat cap side up in this picture. She was wrapped in cello and refrigerated overnight.
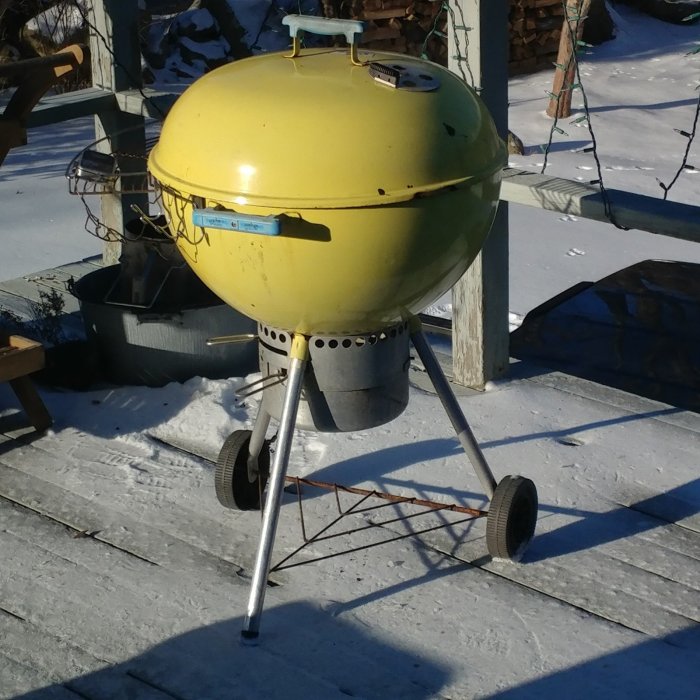
Got a late start at 8AM but set up the kettle for the snake method, placed a large aluminum pan on the charcoal grate and lit ten briquettes in the chimney. Cherry wood for smoke. Once the coals in the chimney were glowing orange I dumped them on the start of the snake. It took til 9AM to get the pit up to 200 degrees with the extreme cold temps outside. 6 degrees. Brrrrr.
Once the kettle got up to 200 degrees I placed the brisket on the cooking grate and it barely fit across. It was definitely poking out over the coals from the 10:30-1:30 O’Clock position on the Kettle. I start my snakes at 7 O’Clock so I knew I’d have to check and rotate the cooking grate once the fuse of the snake were going to have lit coals under the meat. I got about three and a half hours in when I needed to rotate it.
You can see in the next photo how I just kept rotating it. I placed a piece of foil to protect the meat from the coals you can see. Because of the extreme cold I needed to add charcoal twice. Here she is 5 hours in.
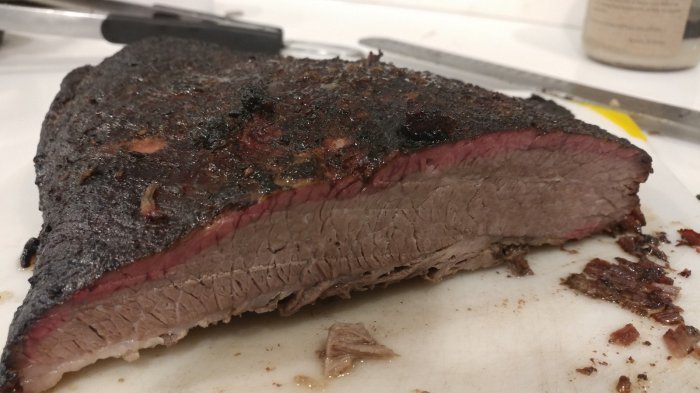
She hit the stall at 180 degrees and stayed right around there for over an hour. At 196 degrees I wrapped it in foil and put it in the oven at 275 til the Brisket hit 203 and was probe tender. The point was probe tender a full two hours before the flat. I wasn’t pulling it out to rest based on the internal temp, I was looking for the probe to slide in easily without any resistance.