OMG @WeberGrills Wedgewood Blue <3

They don’t sell these in the States.  They were sold in Iceland, Germany and Dubai in 2012 from what I can tell.

OMG I’m in love.  The Official Weber model number is Weber One Touch Premium 1358204

7891bae1-830d-4b17-be87-6d10b76a832a_large_zps070tuyek

wedgewoodblue

wedgewoodblue2

wedgewoodblue3wedgewoodblueperformer

wedgewoodsmokeyjoe

Here’s the box and model number for the Wedgewood Smokey Joe-1128999

wedgewoodsmokeyjoebox

For sale in Germany? Here’s the link

wedgewoodsmokeyjoegermany

Frozen #Pizza On the @WeberGrills Kettle

At East Gloucester Stop and Shop supermarket this morning and these frozen pizzas were on sale.  They looked good and because I’m always trying to discover more things to prepare on the kettle i thought I’d give it a shot.  I didn’t have access to a pizza stone at the dock so this is how it’s going down-

Starting out with a Sreamin’ Sicilian Frozen Pizza.

20161206_105217-01.jpeg

Fire up the kettle with a heaping chimney full of coals and the charcoal baskets pushed wide apart so we can place the pizza in the middle for indirect cooking.  A chunk of cherry for smoke.  also a couple of slivers of foil to guard the edges of the pizza from where they would be over the charcoal baskets so the pizza won’t burn.

20161206_105326-01.jpeg

Tossed the frozen pizza on and added a generous amount of extra shredded cheese-

20161206_105529_hdr-01.jpeg

Set the timer for 18 minutes.  I’ll report back.

So 18 minutes later and its done-

20161206_111426-01.jpeg

I’d say its a 5 on a scale from 1-10.  If we didn’t live in a community full of awesome Italian bakeries and pizzerias it would probably score a little higher.  Anywhere else like say the Midwest it’s probably a 6.5.

Edible, and just OK but I won’t be seeking it out any time soon to do again.

Beer Can Stuffed Burger Progression on The @WeberGrills Kettle

Stuffed with Jalapenos, Salsa, Chopped Red Onion, Shredded Mexican Cheese and Wrapped In Bacon!
photo_2016-11-30_12-08-41_pm.png

Jalapeno and Red Onion Potato Crisps On The @WeberGrills Kettle

Three medium russet potatos pierced and microwaved for three minutes on each side. then cut in half, broken up a little by inserting a fork and twisting.  Then coated with peanut oil and adding a dusting of coarse salt.  Placed offset a full chimney of briquettes in the charcoal baskets on the opposite side of the grill.

20161129_102241-01.jpeg20161129_102251-01.jpeg

Close lid and come back 30 minutes later.  Rebrush on some peanut oil and put a little char on some jalapeno halves.  Place some chopped up onions on the potato crisps.

20161129_104950-01.jpeg20161129_105721-01.jpeg

Next place the charred jalapeno halves on the potatos and cover with shredded Mexican cheese. cover and let the cheese melt in.

20161129_110510-01.jpeg20161129_110857-01.jpeg


Venison Marinated in Spiedie Sauce with Onion Stuffed With Bacon and Bacon Fat Coated Smashed Potatos On The @WeberGrills Kettle

We’re going to tape a podcast this morning and I’ve had venison steaks marinating in Spiedie sauce for two days.  I figure since the deer meat is so lean we gotta add some fat in there somehow.  Good friends Eric Lorden and Craig Kimberley home smoked some bacon earlier in the week so what the hell, let’s mash this shit up and see how it come out.

I made a little foil tray and sliced up some bacon which I’ll use a couple different ways.

First core out the top of an onion, make some slits inside and stuff some bacon in the top.  Next slice up some more bacon and let it render some of that fat to put on the venison that Ian Fulford brought.

After cooking the onion bacon and smashed potatos using indirect high heat for about a half hour we take the lid off and cook the marinated venison steaks directly over the heat about 3 minutes per side leaving them a medium rare.

20161106_084423-01.jpeg20161106_085808-01.jpeg

Using the melted bacon fat I drizzle that over the venison after it cooked and took it off the grill to rest for about 5 minutes.  Closed the lid and then pulled everything off at the same time to eat.

20161106_085813-01.jpeg

I had never had a positive experience eating venison before this, but we all agreed it was absolutely outstanding.  A huge part of the success was due to letting it marinade for two full days in the vinegar based Spiedie sauce which really broke the venison meat down and added a ton of flavor.  That and the smokey flavor from the apple wood and charcoal- a total winner meal.


Thanks To Deer Assasin Ian Fulford We’ll Be Smoking Up Some Venison Steaks After Marinating In Spiedie Sauce

We’ll be smoking some South Rockport Woods deer. I hear they’re particularly delicious.
As you can see from the photo, there’s not a lot of fat in deer meat so the plan is to smoke it between 225-250 degrees until it reaches 135 degrees internally. But first we’re going to marinate it to tenderize and break down some of the connective tissue and add as much moisture to the venison as possible.
what better marinade to use than The Spiedie sauce that Friends Jimmy and Pat Dalpiaz brought from Upstate New York. Spiedie marinade is special to the Greater Binghamton NY area. So special that they have a Spiedie festival every year to celebrate all type of meats cooked with the Special Spiedie marinade.
Gonna let it marinade for over 24 hours.

Pat and Jimmy tell me the Lupos brand is the original and the standard.

20161104_045718.jpg20161104_045739.jpgwp-1478251458338.jpg

And then she said “Why do you need more than one @WeberGrills Kettle?”

Punch Up Meatloaf and Mashed Potatos? A ‘Lil Sweet Baby Rays and Shredded Mexican Cheese and Oh Yeah-SMOKE.

Hit the leftover mashed potatos and meatloaf with smoke for about a half hour in the Lodge Cast Iron Skillet with some charcoal and mesquite wood for smoke. when the edges just start to brown up, drizzle a little Sweet Baby Rays BBQ Sauce and Shredded Cheddar and let it all melt on in there. A winner for sure.
The same treatment is great for leftover pizza as well-let it crisp up a bit and then hit it with the Sweet Baby Rays and let it go for another ten minutes or so. Yummy!

20161025_110003_hdr-01.jpeg20161025_110207_hdr-01.jpeg20161025_110946_hdr-01.jpeg

Here’s The @WeberGrills O Code ’92 Redhead Kettle Restore Live Blog

10/16/16 The subject:

20161015_094048-01.jpeg

Condition: lots of rust on the legs/triangle. Missing ash sweeps rusted in ash sweep bolt. White paint dots on the faded lid.  Usual cruddy bowl.  Missing handle.  Rusted/oxidized lid vent.  Missing ash pan.

Tools:

20161016_041131-01.jpeg

4AM:

Tackle the bowl with dish soap/water razor scraper/steel wool/sponge/paper towels.

20161016_042149-01.jpeg

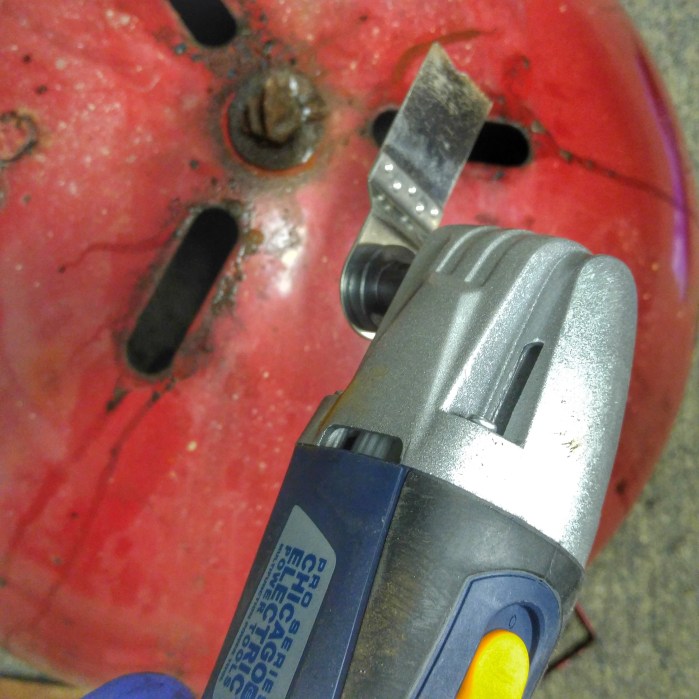
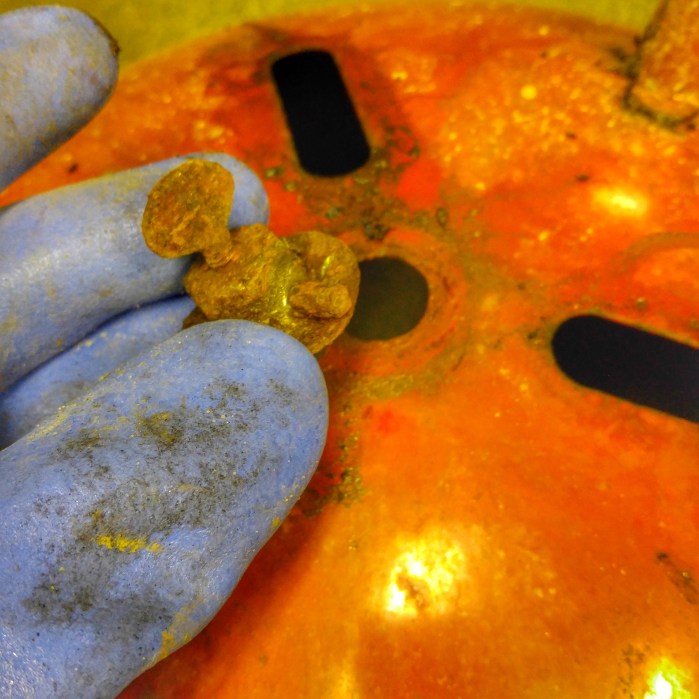
Next, what’s left of the old ash sweep system is rusted in place.  Break out the oscillating tool and cut off the bottom nubs that went through and it broke free.

20161016_054105-01.jpeg20161016_054136-01.jpeg

Now it’s time to clean the bottom of the bowl using the razor scraper/steel wool.

20161016_054352-01.jpeg

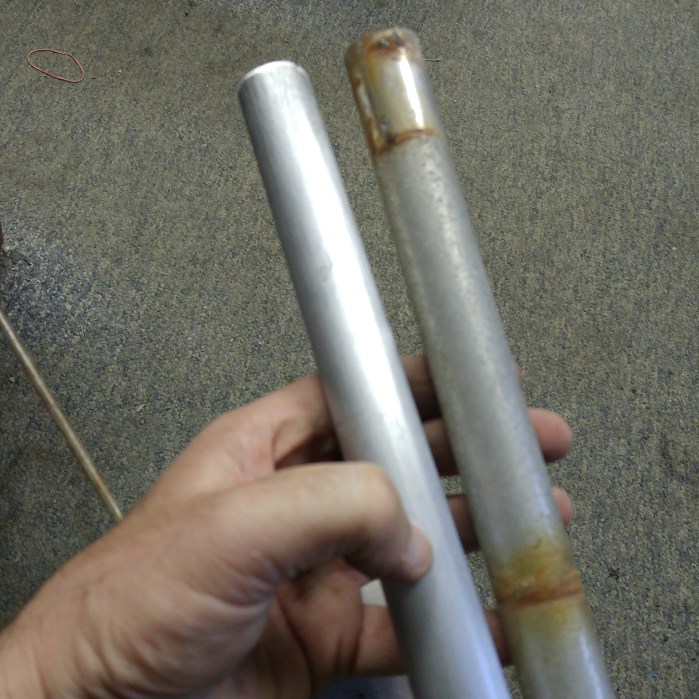
Having the legs removed start sanding them with 150 grit sandpaper using long strokes just as is advised in the Weber Kettle Club restoration guide, and then moving up to 250 and then finishing with steel wool and then polishing.

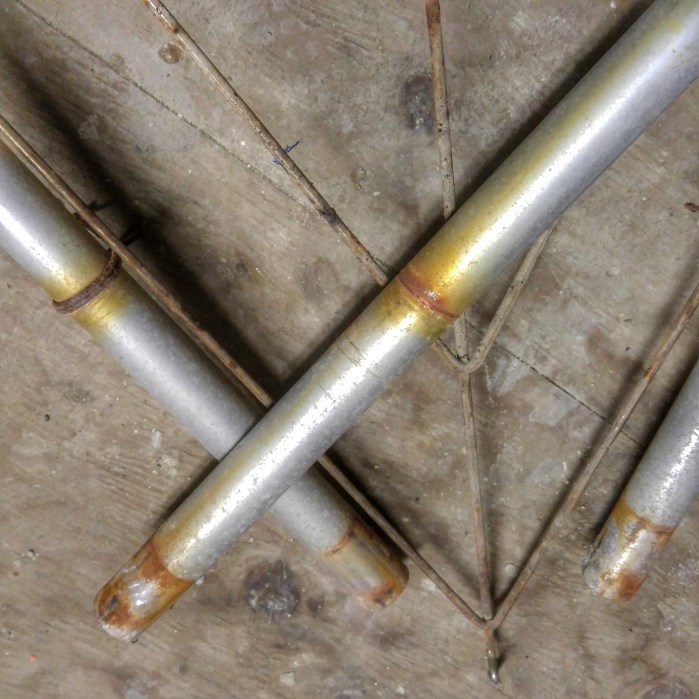
Legs and triangle before-

20161016_065531-01.jpeg

A finished leg on the left and an unfinished on the right-

20161016_070752.jpg

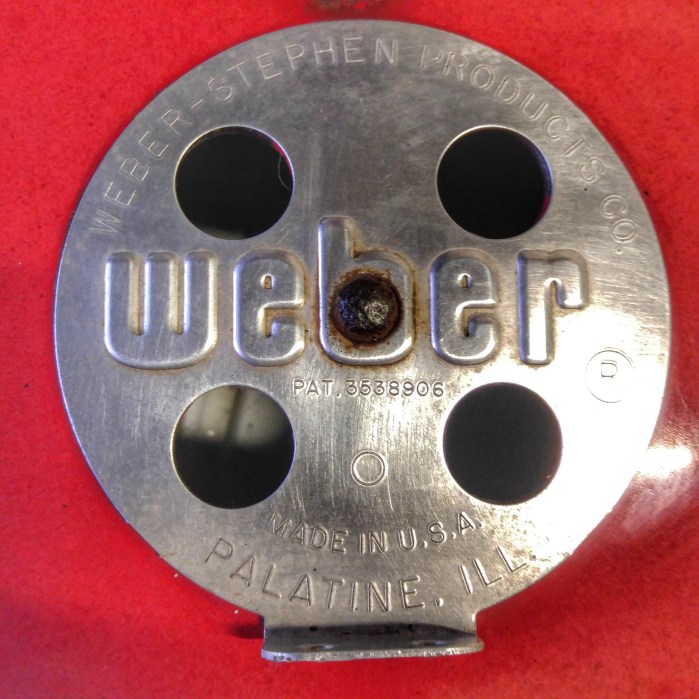
Once the legs were cleaned up and polished  it was time to install the new one touch ash sweeps which we conveniently picked up at Fosters Grill Center on Eastern Ave (an authorized Weber Dealer).  Check out how nice that bowl cleaned up-

20161016_105328-01.jpeg

Next to attack the oxidized/rusted lid vent with the steel wool. Before and after-

wp-image-1418830628jpg.jpg20161016_064703-01.jpeg

The new ash pan (also purchased at Fosters is installed and she is ready to rip!

20161016_112304-01.jpeg

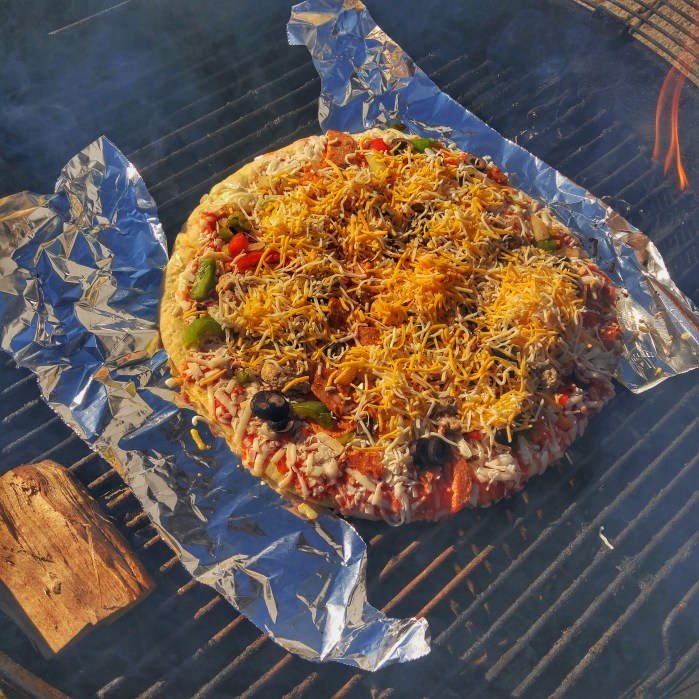
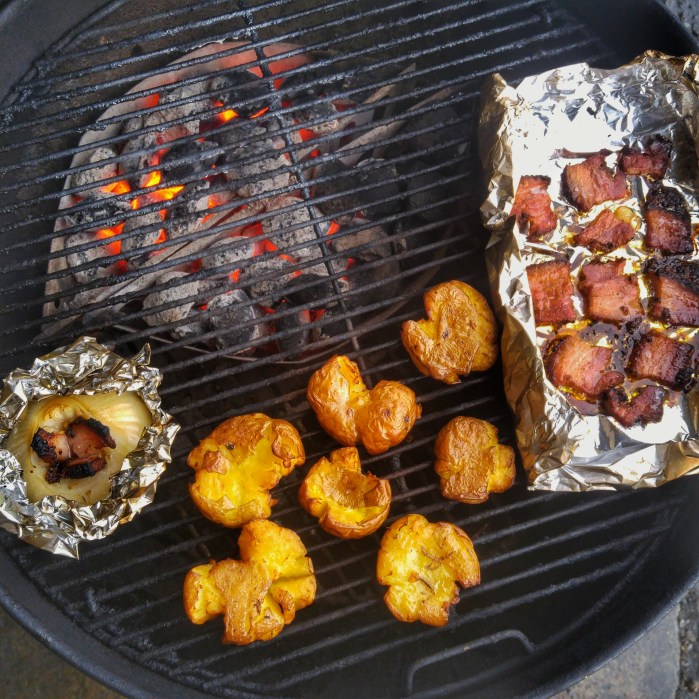
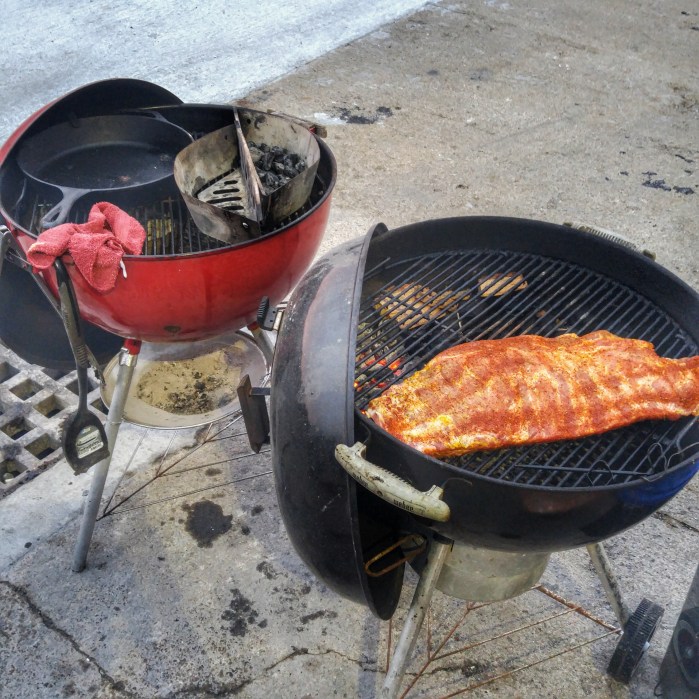
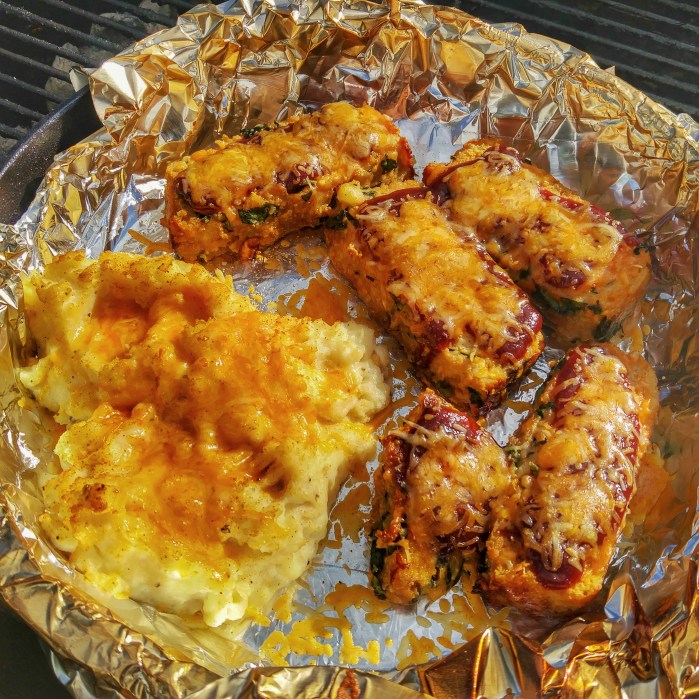
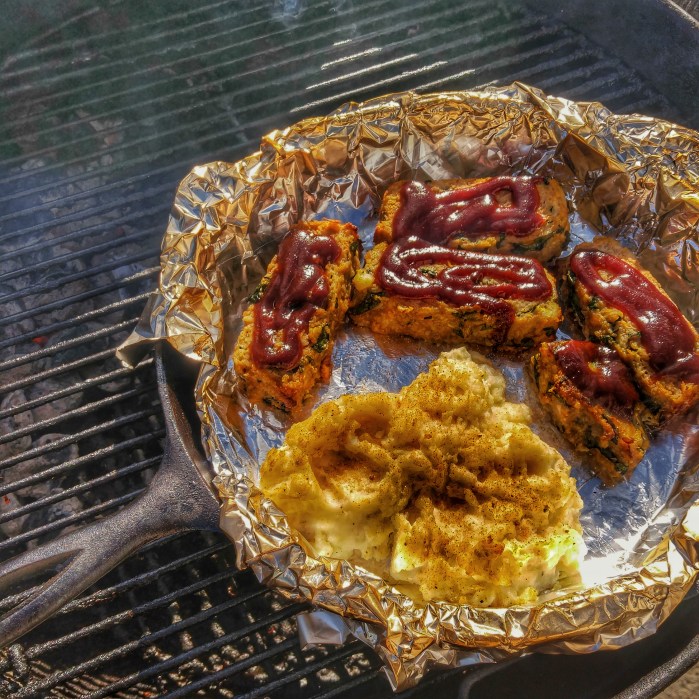
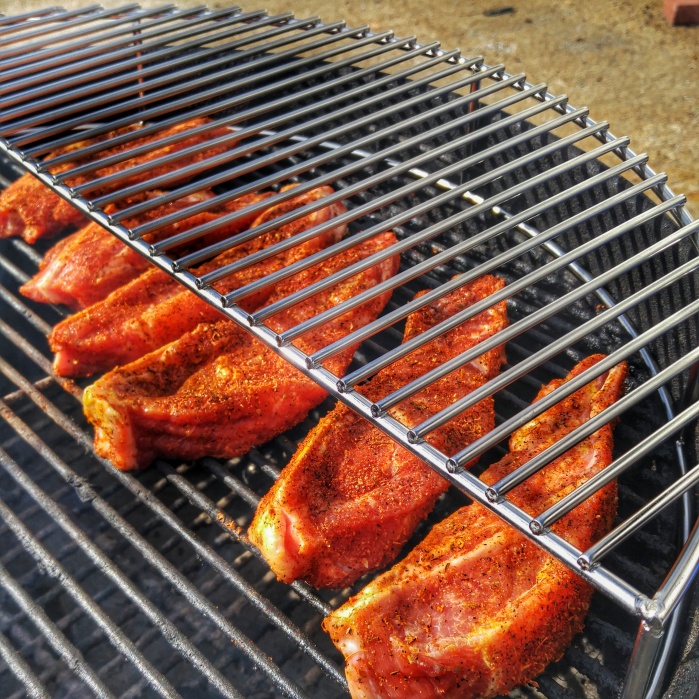
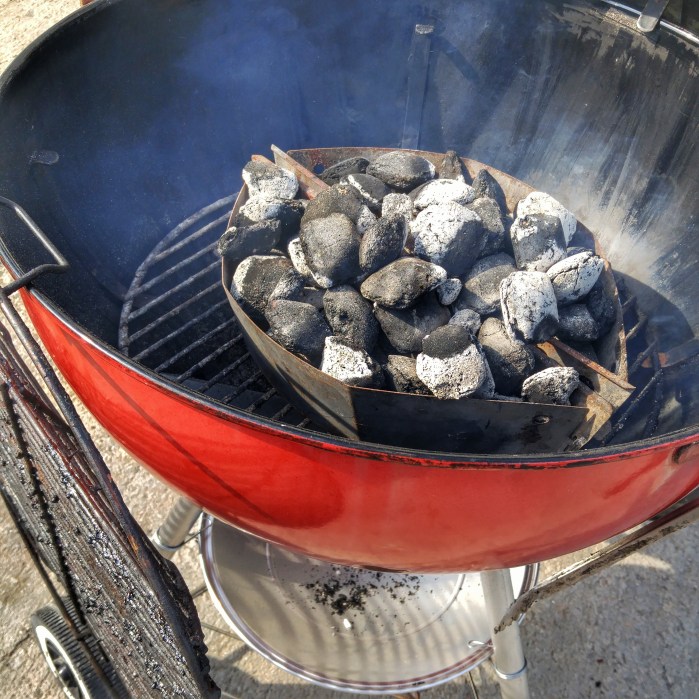
First cook chicken wings!

20161016_114347_hdr-01.jpeg20161016_115515-01.jpeg

20161016_125601-01.jpeg

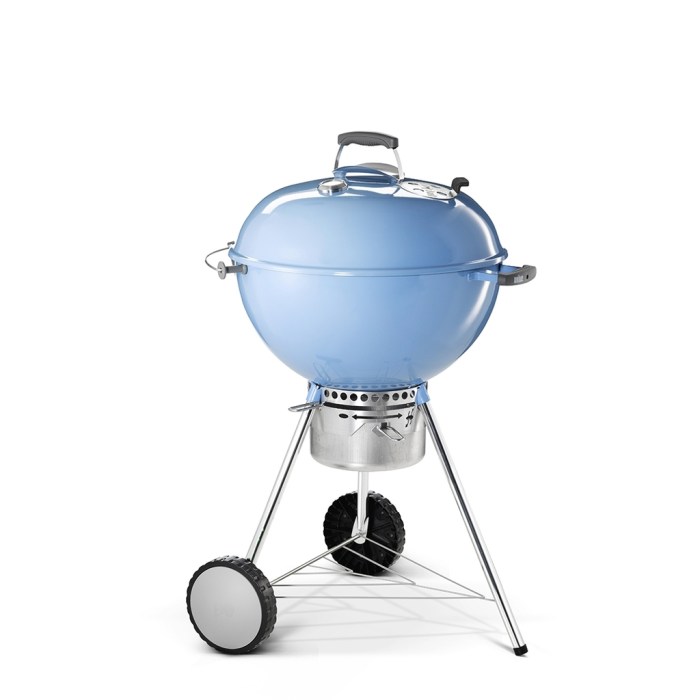
Before and after, I think she cleaned up nice!

Once again thanks to advice from members at The Weber Kettle Club for their advice and input on this restoration!

Upper Deck Warming/Smoking/Grilling Accessory For 22 inch Kettles

Teaser for my review- (I haven’t even taken it completely out of the box but initial impressions from the quick peek are how thick and sturdy the build quality is)

29815211500_51d3047305_c

Found on Amazon Here-

Stainless Steel Warming Rack and Grill Grate- For Use with 22.5 Inch Weber Kettle- Charcoal Grilling Accessory

As I said before the build quality is thick like Weber’s Gourmet Grate System.

Here is how I started out.  A regular smoke set-up using the snake method.  The Country Style Pork Ribs offset of the coals with apple chunk and cherry wood chips.

20161004_101029-01.jpeg

Next to add the Upper Deck.  It fit right in place and there were no issues with clearance of the lid.

20161004_101206-01.jpeg20161004_101215-01.jpeg

The Upper deck provides a whole lot of extra space.  it is billed as a warmig rack but I think where it will shine is with that huge amount of extra space it affords you when smoking.

Next I dropped onto the Upper Deck a porcetta roast and set up the Maverick remote thermometer.

20161004_101334_hdr-01.jpeg20161004_101512_hdr-01.jpeg20161004_101610_hdr-01.jpeg

When the country style pork ribs had the color I wanted I slid a Weber disposable tin pan under with some Sweet Baby rays and coated the ribs, then covered with aluminum foil to let them braise for about 40 minutes. The tin pan fit perfectly under the Upper Deck unit allowing a continuation of indirect cooking while still having the porcetta roast unfazed on the “Upper Deck”

20161004_112523-01.jpeg20161004_112723_hdr-01.jpeg

My Sister Topped The Smoked Porcetta with Her Carrot Cake Marmalade, Yum!

Find the recipe for that on her website www.sistafeliciaskitchen.com

Carrot Cake Marmalade

smokedporcetta

Would not have been possible to cook both things at the same time on my kettle without the Upper Deck.  Obviously with the incredible build quality and huge cook space increase, this is an absolute no brainer purchase.