Football Grub: #atomicbuffaloturds #chickenwings #potatocrisps On the @WeberGrills Performer www.northeastbbq.com

Set Up A Full chimney of blazing coals in the charcoal baskets in the center of the Performer with a handful of cherry wood chips. Opened teh vents wide and let ‘er rip for about 35 minutes.
Wings dusted with Paul Prudhome Blackened rub.
Before-

20161002_150054-01.jpeg

During-

20161002_154213-01.jpeg

After-

20161002_154748-01.jpeg

#Pork Tenderloins With Chef G’s #Bacon Marmalade -A Little Pork On Pork Action Baby

Started out with full charcoal baskets and let the charcoal get going pretty good. Put a sear on the pork on all sides and then covered the pork tenderloins with Chef G’s Bacon Marmalade.  Let it firm up and then pulled the loins off, wrapped in foil for ten minutes to let the juices redistribute within the meat and then sliced them for some sheer heaven.
20160802_101415-01.jpeg20160802_104108-01.jpeg20160802_104626-01.jpeg

Thanks Chef G-

wp-image-334937786jpg.jpg

Check Out Chef G’s Facebook page for more info


Recipe- Potato Discs with Cheese and Bacon On The @WeberGrills Performer Are Simple And A Crowd Pleaser

20160730_183155-01.jpeg

Ingredients, 3 medium russet potatos, four thick cut strips of bacon, some shredded three cheese Mexican blend, canola oil, coarse salt, cracked black pepper, your favorite BBQ rub, sour cream and chopped scallions (optional).

First you select some medium sized russet potatos and pierce them with a fork about three times on opposing sides of the potato.  Then toss ’em in the microwave for 3 and a half minutes to soften them up.   Let them cool a bit so you can slice them into just under a quarter inch discs.

Coat with canola, peanut or olive oil, some coarse salt black pepper and if you have a little rub laying around give ’em a sprinkle of that too.  If you use a cheap aluminum disposable pan you can use that to toss the potatos in the oil and seasonings and then put it aside for use after they crisp up on the grill.

Set up your charcoal in the middle of the kettle and get your coals glowing red before you arrange the potato discs on the outside perimeter of the grate so it is offset of the coals.  I pretty much always use charcoal baskets so I can control where I want the charcoal.  If cooking steaks I want high concentrated heat to sear so I’ll place my steaks directly over searing hot coals.  But for this , we want the high heat to act as convection to crisp up the potato discs not burn them.

So after about 25-30 minutes offset along the perimeter of the grate they should be a golden crispy color like thick potato chips.  You can also experiment with the thickness.  I like a little beefier potato disc but you can make them thinner like chips.

Next take the pan that you tossed with the oil and seasonings and place the crisped up potato discs back in, it’s good if there’s a little residual oil in the bottom of the pan.  Next cover with shredded Mexican cheese or really any kind of cheese you’d like, you can use cheddar or sprinkle some shaved Romano on there.  Top with the bacon bits and close the lid for about five minutes to let that cheese melt in.  After that you can serve with a side of sour cream, garnish with some chopped up scallions, the sky’s the limit.  I cooked up some of Kate’s fantastic turkey burgers directly over the hot coals after spraying the grates with some non-stick spray while the potatos were in the aluminum pan offset the coals along side of the charcoal baskets.

Drummies on the Green EI Code @WeberGrills SS Performer for our lobstermen @CaptJoeLobster #GloucesterMA

20160711_110235-01.jpegDusted with some Lowry’s Chipolte Cinnamon Rub and then cooked indirect high heat on the Weber SS performer for about 40 minutes, coating with Sweet Baby ray’s BBQ Sauce ten minutes before pulling them off. They didn’t suck.
20160711_095334-01.jpeg

#Bacon wrapped stuffed chicken breasts, Atomic Buffalo Turds and Corn On The Cob on the @webergrills Performer . #bbq 

Done! 

@WeberGrills EI Code Restoration Update 7/2/16

The ash catcher assembly had a bit of a droop in the back so one of my fishermen had some shark fishing stainless steel 175lb leader wire so we snugged it up tight.

20160701_131006_hdr-01.jpeg20160701_130749_hdr-01.jpeg

I may invest in a dremel tool with a buffer attachment and hit the ash catcher with some polish. Anyone have a recommendation for a certain type brand? Sears had some sets for sale.

She’s pretty secure now.

@WeberGrills EI Code Performer Restoration Project Update 7/1/16

What a nice surprise when I got to the dock this morning.
4:30AM and Joey Ciolino dropped off the frame,  put together.

He used brackets and I think these are called sheet metal screws to firm it up and then he spray painted over them with black.  I had to really look to even notice because it blended in.  To A Weber Grillfella it would be obvious if you were focusing your attention at the base of the grill but I don’t think 99% of the population would think it was anything but standard.  Its really solid with the threaded rod and the brackets.

20160701_061827_hdr-01.jpeg

Next to get cleaning, a combination of scotchbrite pads, steel wool, water, dishwashing detergent and elbow grease.
Lots of surface dirt and stains.  Most came out.

Before-
20160701_062108_hdr-01.jpeg
20160620_142819_hdr.jpg20160620_142701_hdr.jpg

I think I’ll pick up a bristled brush to scrub the grey plastic handles.  The little grooves are tough to get into to clean.

After-

20160701_072128_hdr-01.jpeg20160701_072305_hdr-01.jpeg

20160701_072008_hdr-01.jpeg

EI Code @WeberGrills Performer Restore Update 6/29/16

While Joey Ciolino  Works his welding magic to make the frame on this classic Performer rock solid I’ve been cleaning the lid,  gas assist cover and bottom rack.

First hit the lid with some dawn and 000 steel wool.

Before and After-

wp-1467224705565.jpg

The Lid Vent Is Pretty Sweet Now-

wp-1467224875752.jpg

The Gas Assist Cover Shined Up Nice With A Scotch Brite Pad

And Lastly The Bottom Grill Rack Buffed and Cleaned

@WeberGrills Green EI Code Performer Restore Update 6/27/16

Got that last nut and the base is secure. Can’t figure out what this wire rod goes to but it did come in handy this morning. I placed the top part of the frame on top of the base to see how it lined up and hooked up the 5lb propane tank to try it out. First ten clicks nothing but I did smell propane. So I stuck the wire rod into the burner tube thinking maybe there was an obstruction, twirling it around a bit. After that, success!

My buddy Joey Ciolino who is a master welder picked her up to secure the top of the frame to the base.  I’m excited to see his work!

20160627_053609_hdr.jpg

Last night Super K and I chowed down on some Atomic Buffalo Turds made on the 2010 AD Code Performer-

wp-1467027085486.jpg


@WeberGrills Green EI Code Performer Restore Update 6/26

20160620_142819_hdr.jpg

Setting up to be able to work upright

2016-06-26 04.56.29

The plan-

wp-1466965121620.jpg

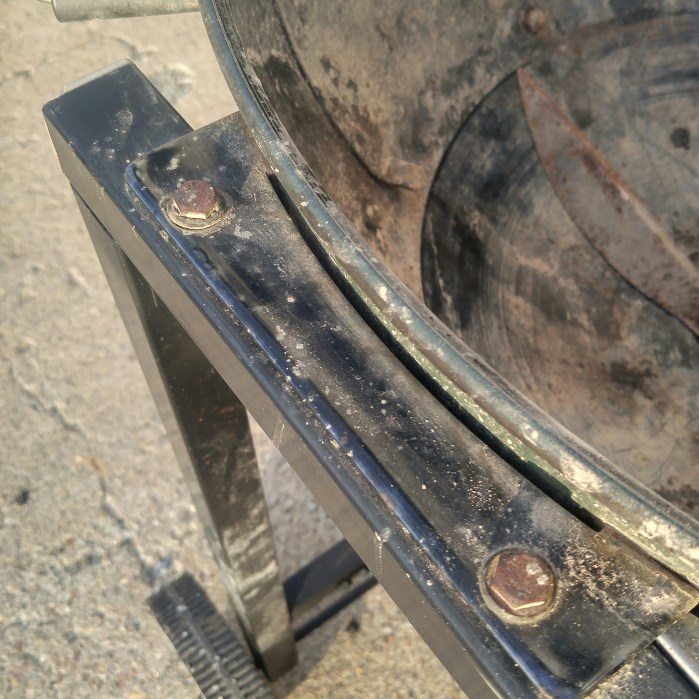
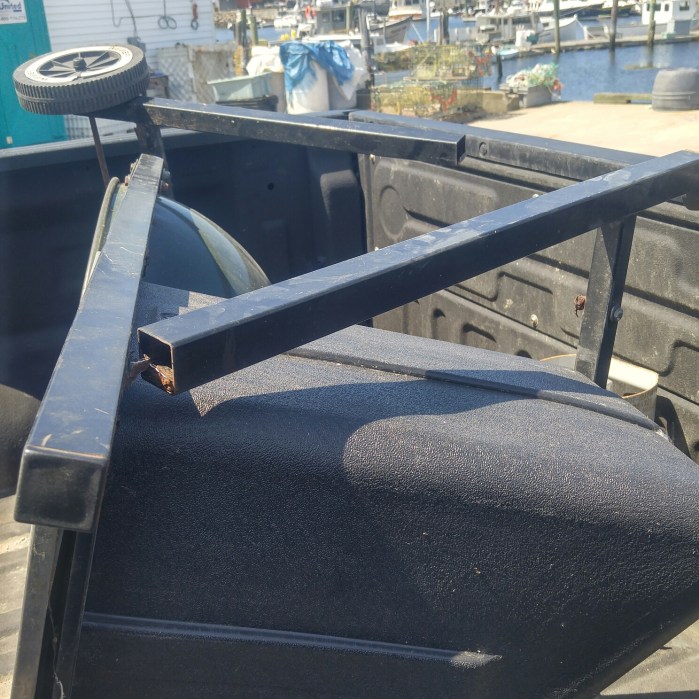
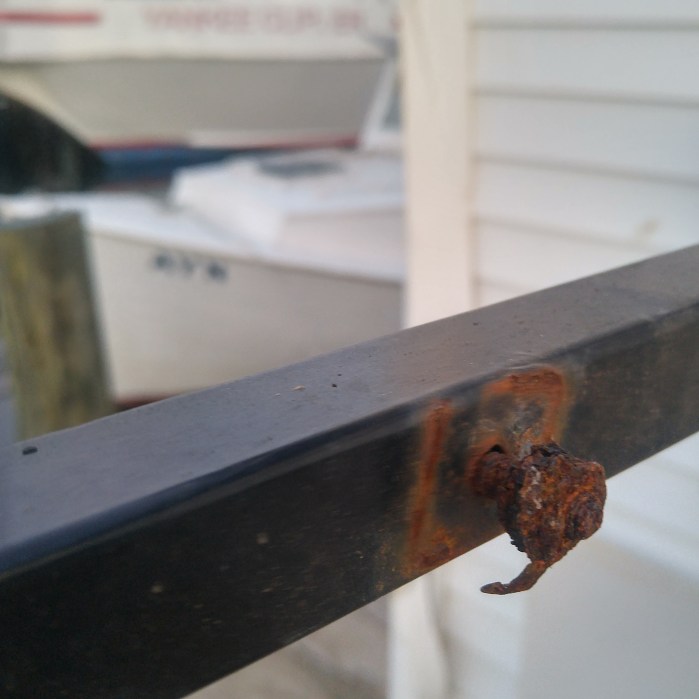
First need to remove the rusted off bolts that secured the Performer’s horizontal cross brace square tubes.  Sprayed them with WD-40, put a vice grip on the rusted bolt and another on the nut and with a little pressure they snapped right off, all four of them.

2016-06-26 04.56.39

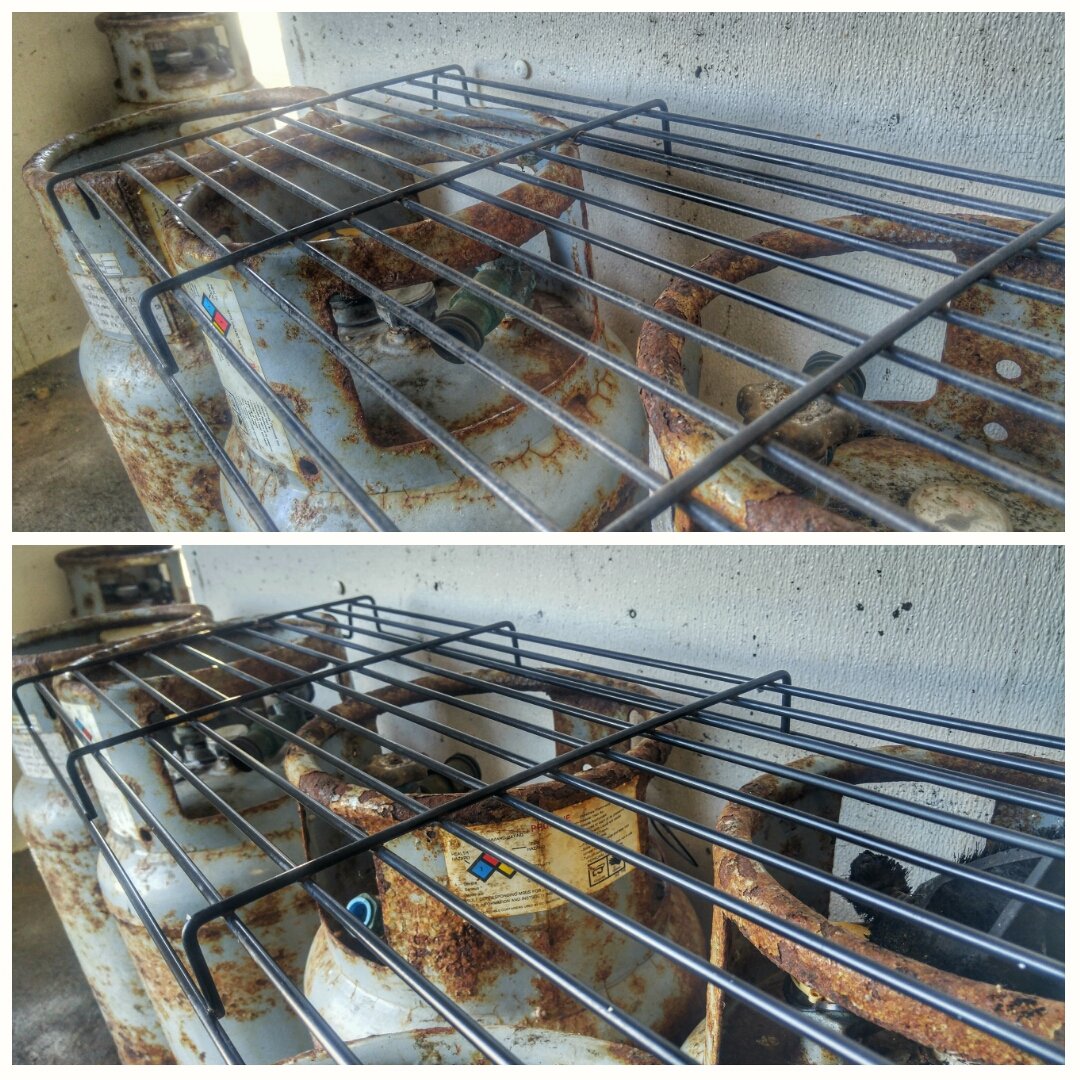
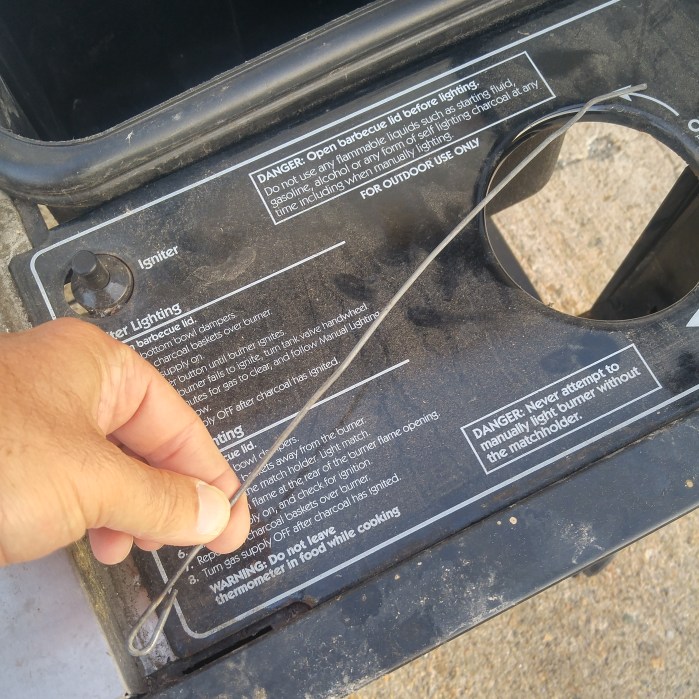
A photo to remember exactly where the Gas assist tank holder goes before I disassemble it.

2016-06-26 04.58.37

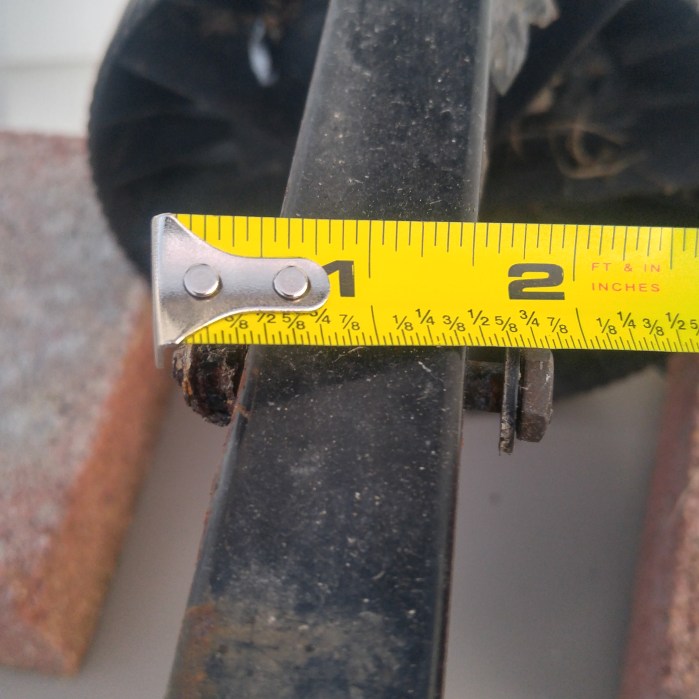
For anyone that wold rather replace the bolts with more original starnuts and a bolt, the one that came on the Performer originally is 2 inches.

2016-06-26 04.59.00

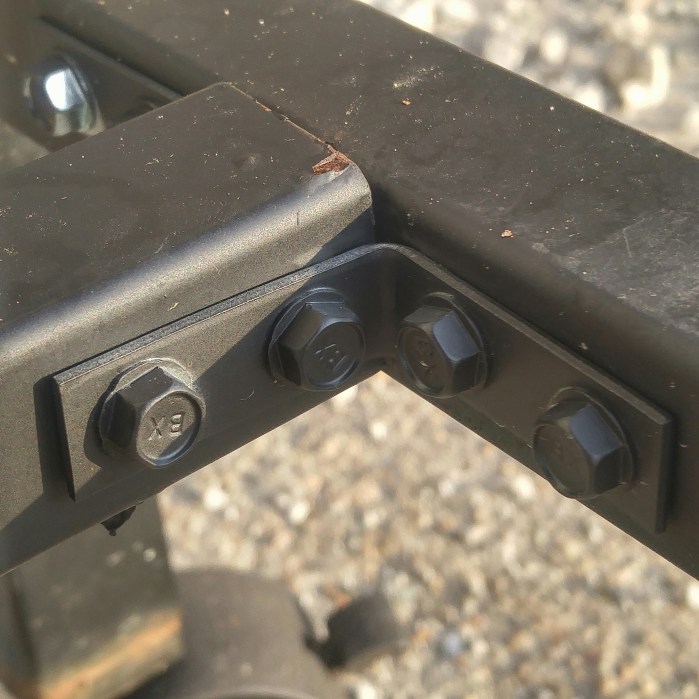
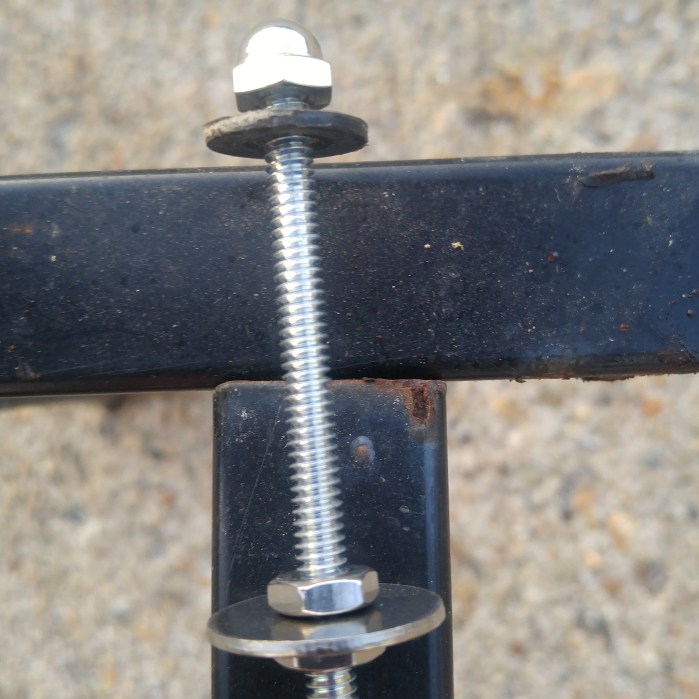
As I decided to run a threaded rod all the way through the square cross-brace tube and the holes where the bolts I removed was located and then cap the rod off with an acorn nut.  Here was the hardware from Ace Hometown Hardware store, Gloucester MA.

4 acorn nuts, 8 nuts to secure the washers inside the square tube and 4 washers which were the diameter of the inside of the tube to hold it in place.

2016-06-26 05.18.102016-06-26 05.18.372016-06-26 05.22.19

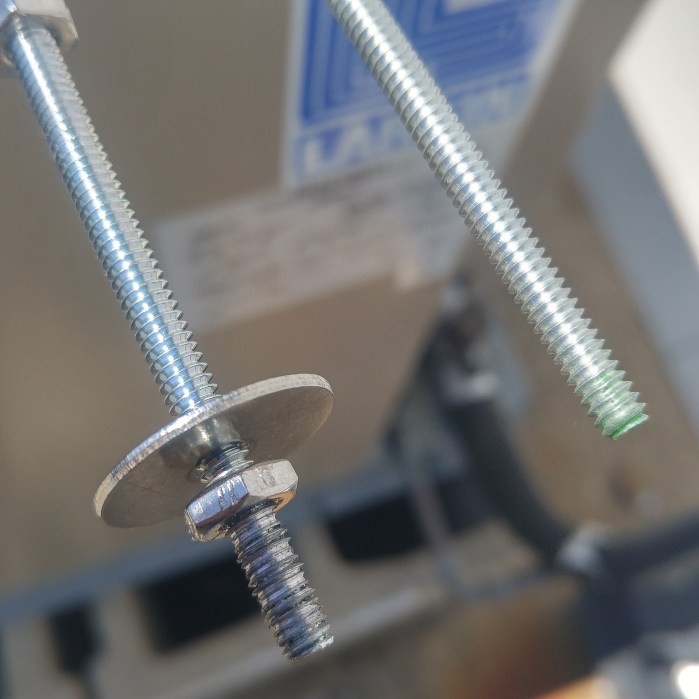
So I get to the last nut, 8th out of 8, 7 went on flawlessly and were all adjusted to right where I wanted them on the threaded rod.  Wouldn’t you know that last nut wouldn’t go on.  So I put the vice grips to it and it wasn’t til I got about an inch on that I realized that I stripped the thread and there would be no way the acorn nut would screw on.  So back to the hardware store for a new rod and a three extra nuts (for insurance).  the rod was only $2.39 at the Building Center Gloucester MA. I needed two nuts to finish securing the bottom of the frame.  I could only get two of them on and I wasn’t about to strip another rod so I’ll have to wait til i get out of work to get a nut that fits.  The nuts must be mixed with different threads.  Driving me nuts.

2016-06-26 11.35.15

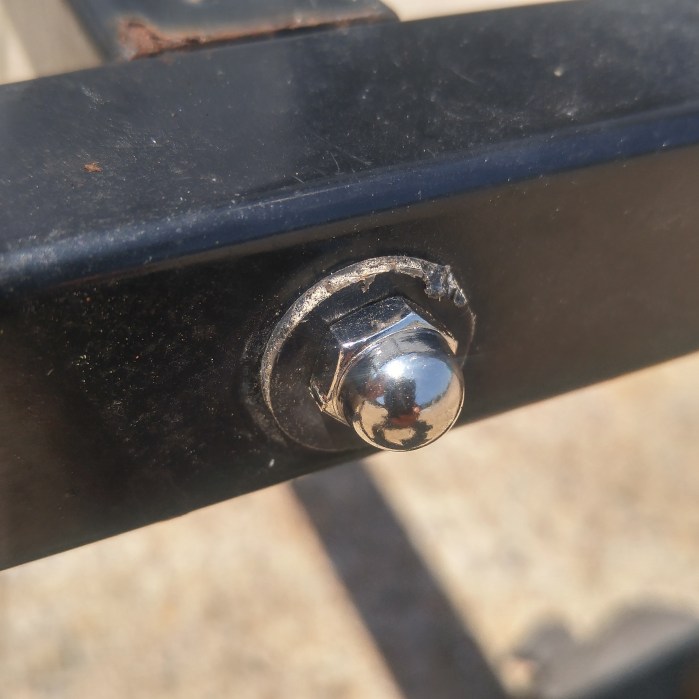
So here it is, installed.  I used one of the original washers from the Performer just before the acorn nut.  On the other side I had to cut off about an inch from the rod but now the frame is much more stable.  Hopefully I get out of work in time to grab another nut to finish off this part of the project.   Next up having my buddy Joe Ciolino tack weld the top part of the frame to the vertical supports on the bottom of the frame.

2016-06-26 12.42.332016-06-26 12.58.38

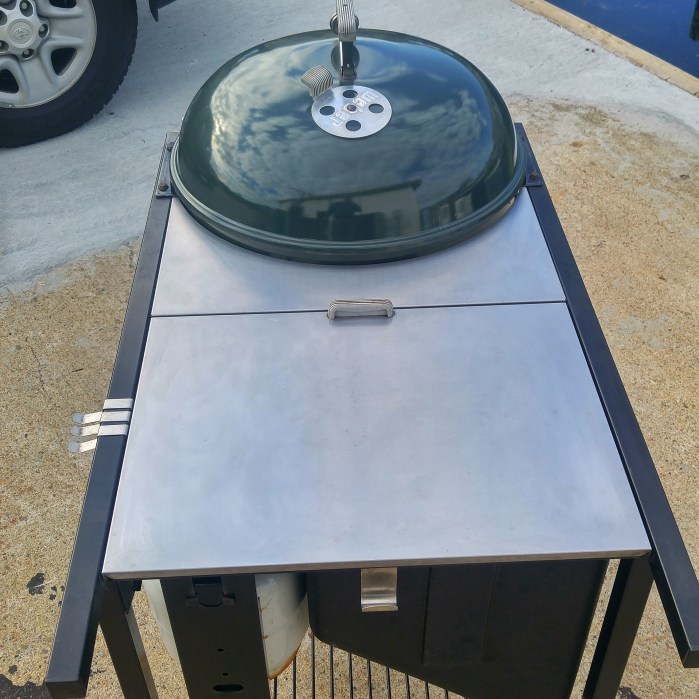
So here she sits, uncleaned but with reattached horizontal cross tubes on the bottom of the frame (minus that one damn nut).

2016-06-26 14.50.19