


Excited? Me Excited? 😉
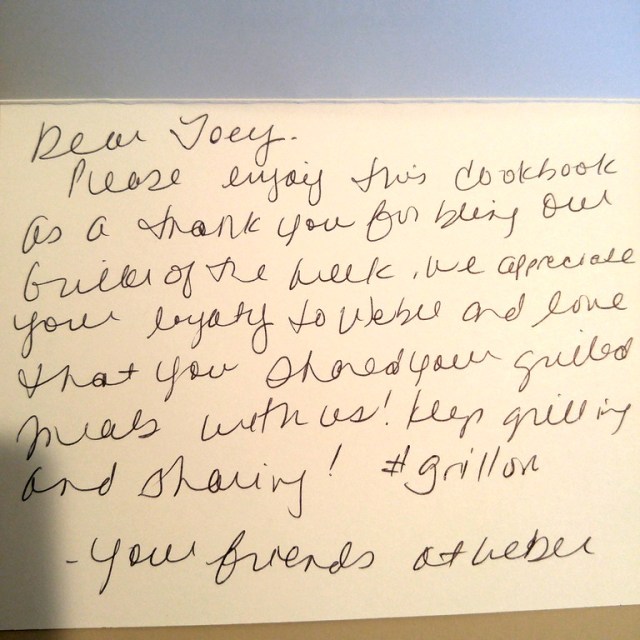
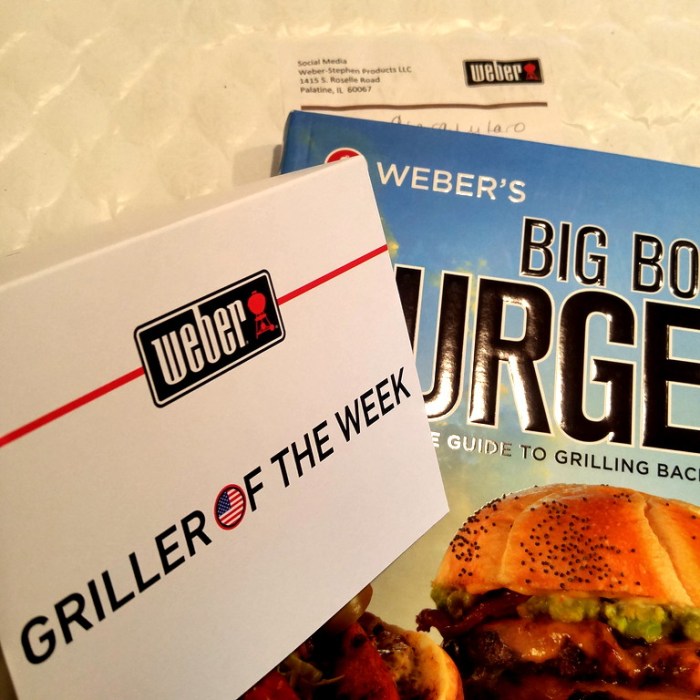
What an honor. With the incredible amount of Weber fanatics all over the world to be named Weber Griller Of The Week, I’m pretty psyched.
Framing that card, damn right I am!
Excited? Me Excited? 😉
What an honor. With the incredible amount of Weber fanatics all over the world to be named Weber Griller Of The Week, I’m pretty psyched.
Framing that card, damn right I am!
2 x 18.6 lb bags of Kingsford Blue Bag for $12.99 is roughly 34 cents a pound and a great deal. Sale ends April 11th
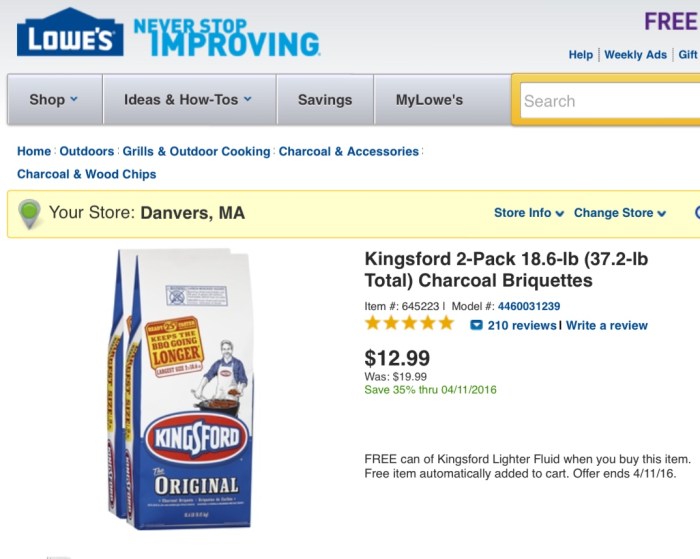
Verified- Got two 2-packs today at Danvers MA Lowe’s-

First to scrape ‘er down with the razor blade
Before-

She was in pretty decent shape to begin with but the blacks were faded, there was cobwebs and the bowl, lid and ash pan were all encrusted in crud.
After a good scrape with the razor and scrub with the extra fine steel wool-

Next to clean all the black trim including legs, wire grate shelf on the bottom and charcoal basket and then apply Back To Black to restore the original deep black luster.
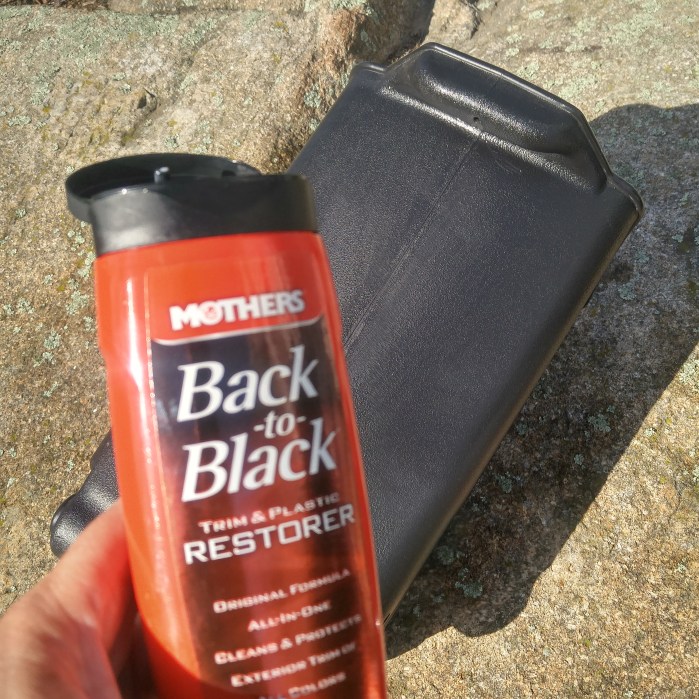
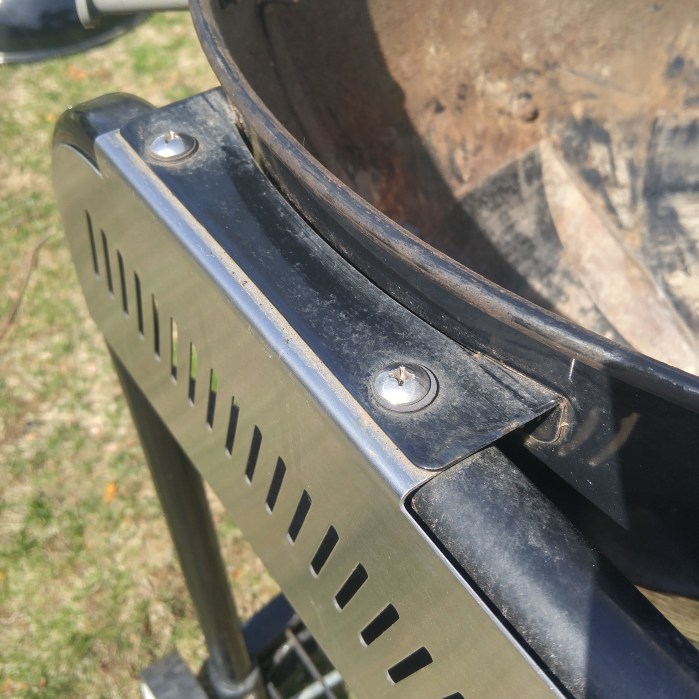
All the aluminum was scrubbed with the extra fine steel wool as well. I didn’t spend any time on the thermostatic table as it will be replaced with a newer metal style Performer table when it arrives.
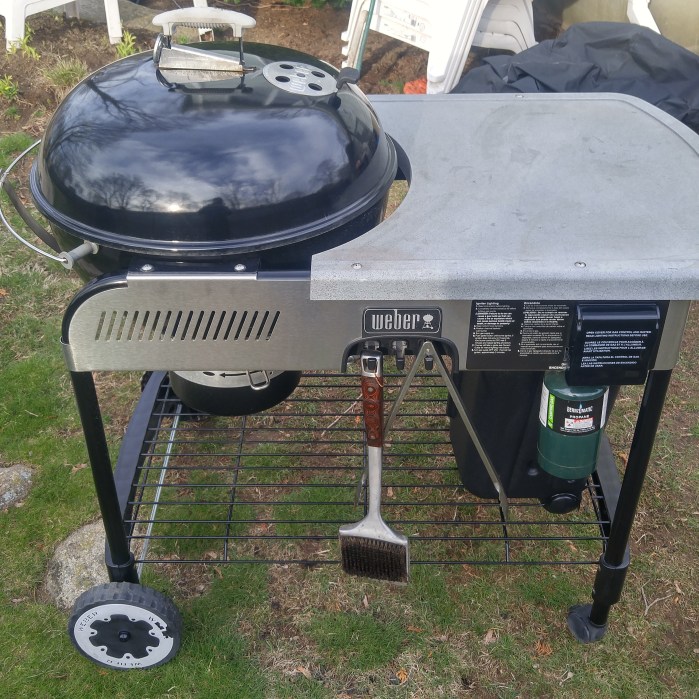
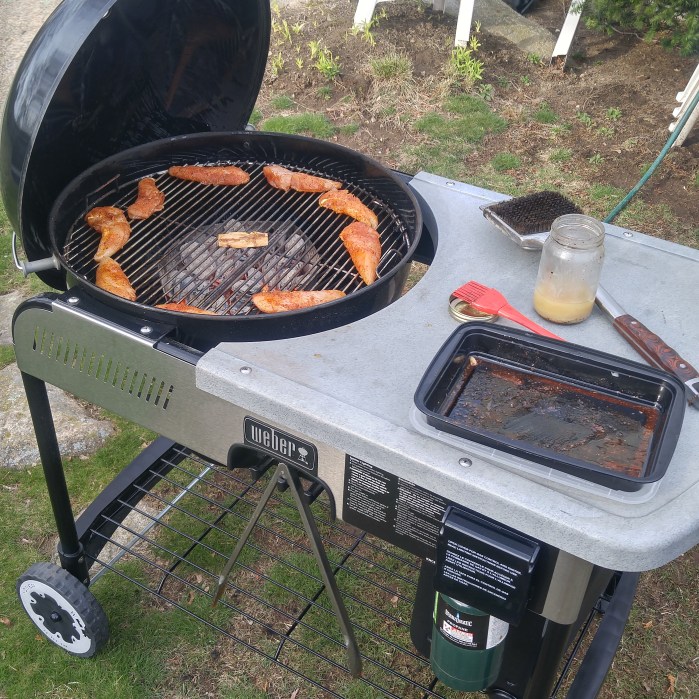
Fired up the gas assist to light a chimney of charcoal. It was nice to not have to use paper or lighter cubes to get the chimney going. Just placed it on top of the gas assist tube filled up the chimney and let it light the coals. After about three minutes the gas assist was turned off and the chimney dud the rest of the work. Dumped the chimney into the Weber charcoal baskets and put them in the center.
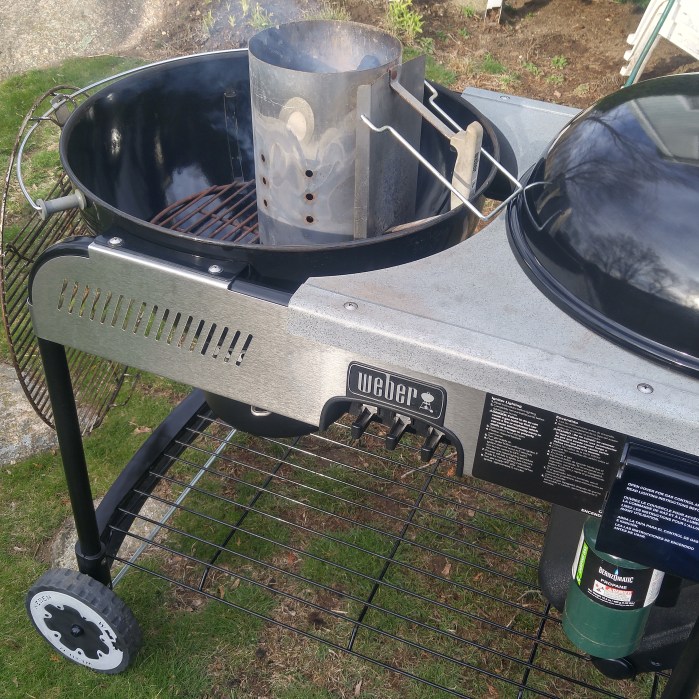

The grates that came with the Performer were already in decent shape but I gave them a quick scrub and oiled them down with Peanut oil before placing the rubbed chicken tenderloins offset the coal baskets around the perimeter of the bowl. Placed a small chunk of mesquite in the center for smoke.
When they hit 165 internal they got pulled off to eat.
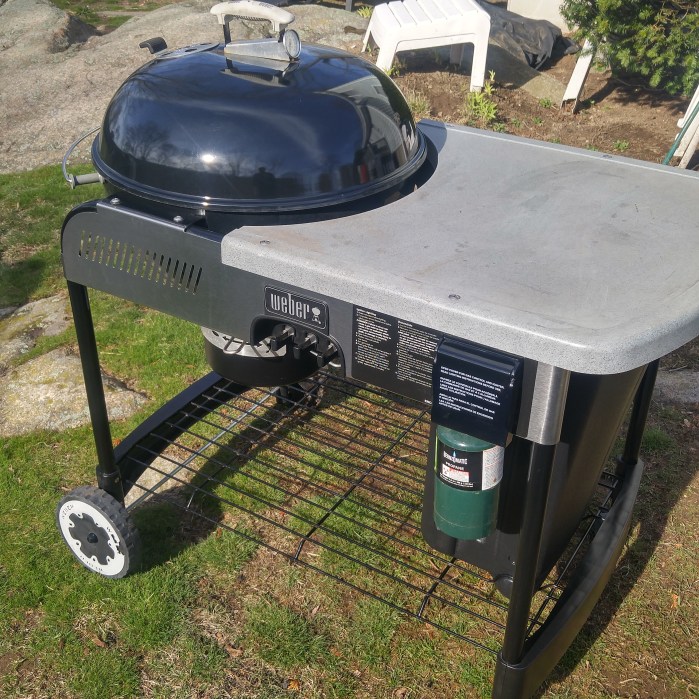
Waiting for the new style metal table to be delivered tomorrow and handle from Brian😀
4:40AM Light The Chimney with about 12 Kingsford briquettes and set up the pit for snake method smoking using mesquite chunks and cherry wood chips.
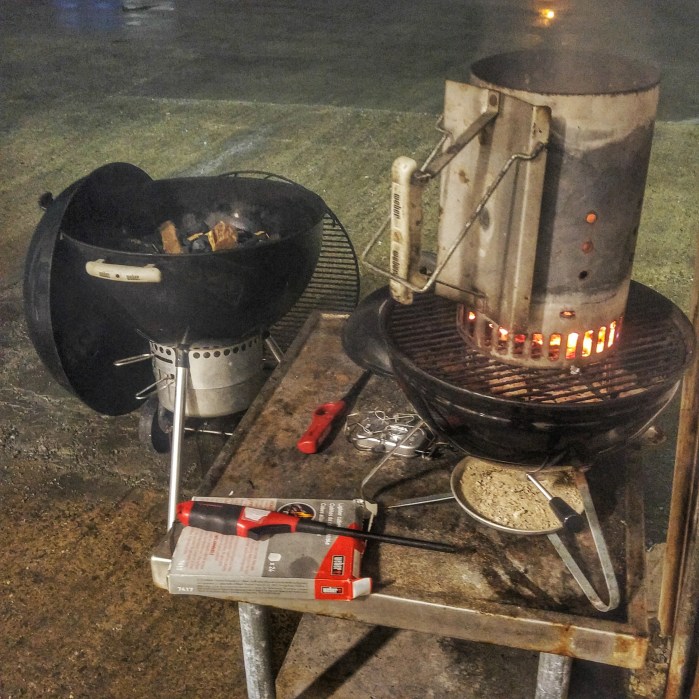
Outside conditions 39 degrees with a light drizzle.
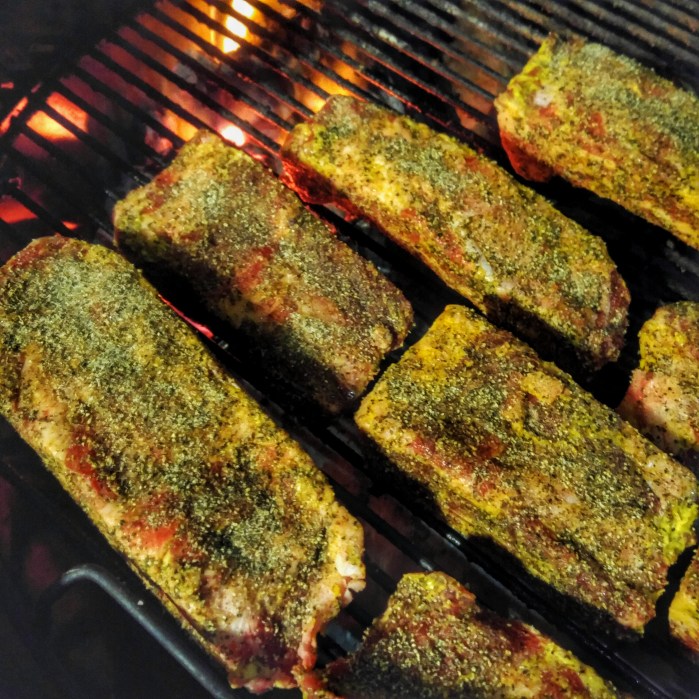
I’m trying a little something different as the beef ribs are so rich and I wanted to cut back on the salt so I put together a beef rub consisting of-
3 tbsp restaurant grind black pepper
1 tbsp onion powder
1 tbsp sugar
2 tsp granulated garlic
2 tsp ancho powder
1 tsp cayenne powder
At the dollar store I picked up this $1 sugar shaker to use to disperse the rub.
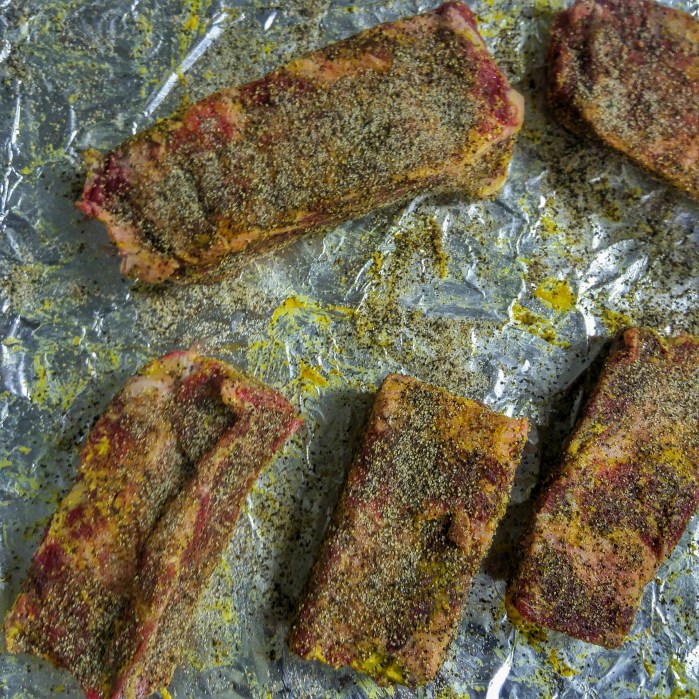
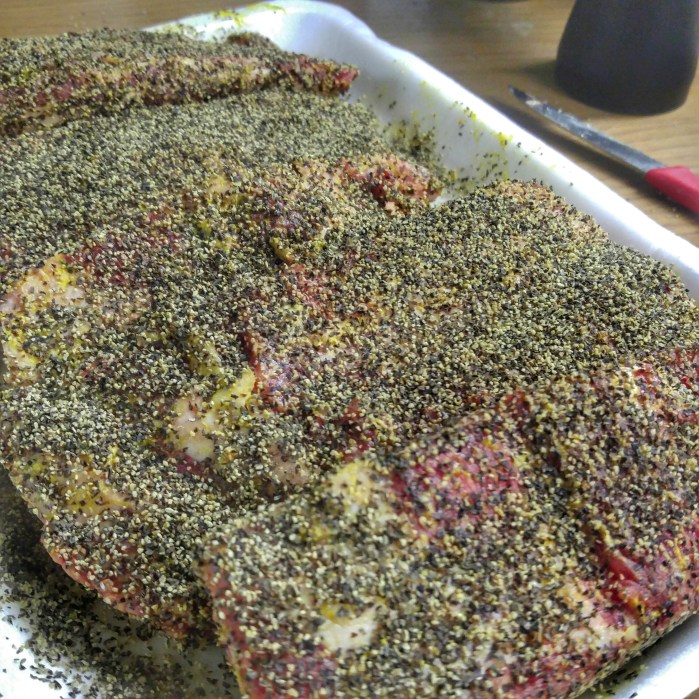
First a light slather of yellow mustard for the rub adhesive and then I applied ground Himalayan salt to the ribs as if I was seasoning a steak ( a lot less salt than the 50/50 pepper salt ratio I was using before). Once the salt was on I shook on the rub using the sugar shaker.


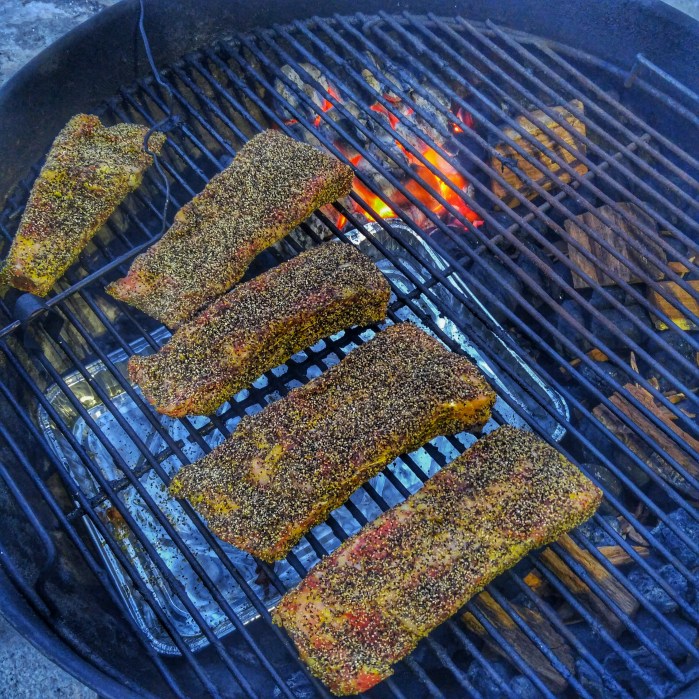
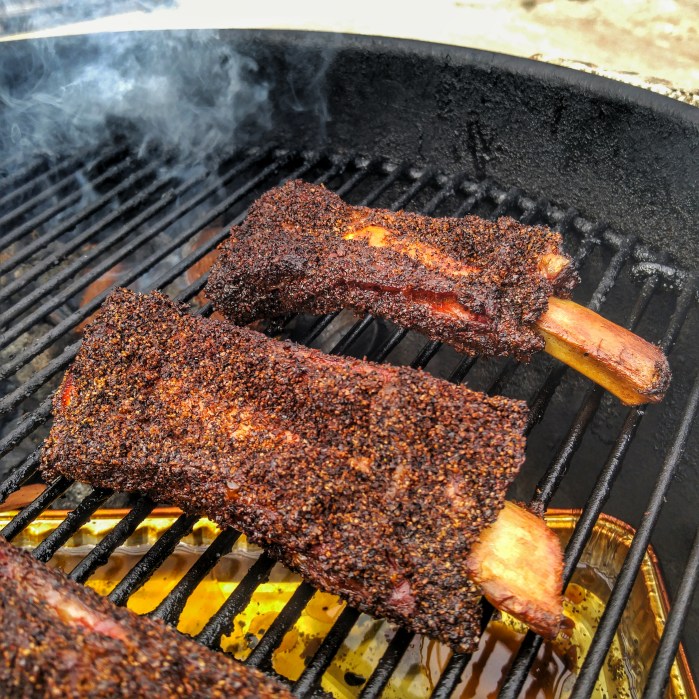
5:20AM Ribs Hit The Kettle-

6:57 Update: Temps have fluctuated from 250- 325. I’m not sweating the temps, they’ll be done when they’re done.
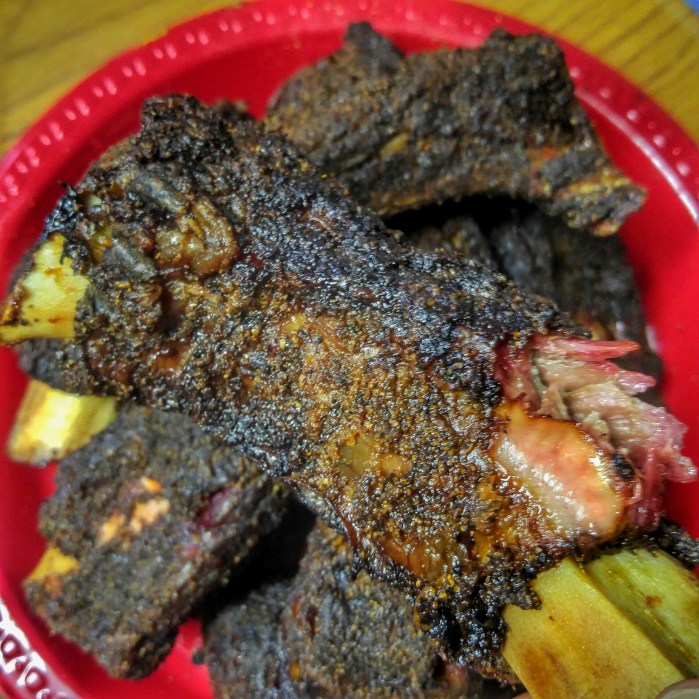
9:40AM. Probably the first time ever that I didn’t lift the lid once start to finish. The temps within the first hour varied from 250-325 but after exactly two adjustments she settled into a much tighter range of 270-289.


They were fantastic but probably could have benefited for spritzing at 20 minute intervals during the final hour. I also will absolutely use this rub again as they had a much better pepper/salt flavor.
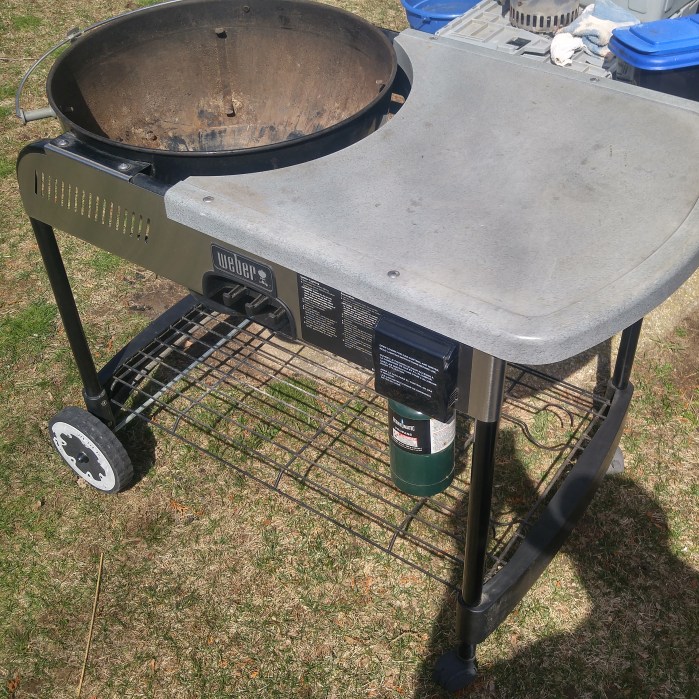
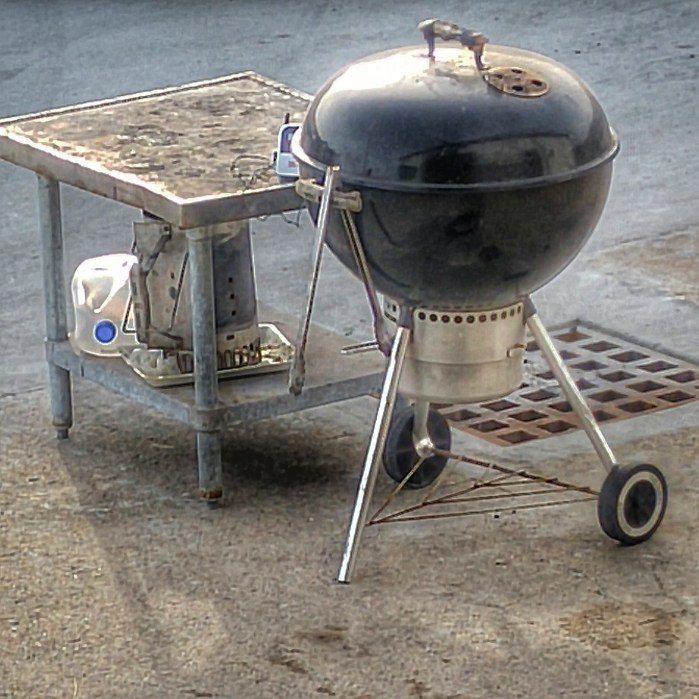
Between this 2008 Weber One Touch Gold and the Smokey Joe Silver I cooked at least 6 times a week all spring/summer/fall of 2015. They were both long overdue for a thorough cleaning and restoration. The good thing about Weber kettles is that their finish is so durable, even the worst crud build up and nastiest looking grills can be restored with a little elbow grease and a few inexpensive supplies.
Following the guides from The Weber Kettle Club I picked up a cheap razor scraper that came with 10 extra razor blades and some extra fine #0000 steel wool. A small flathead screwdriver helped get bits of gunk out of some tiny tough spots.
She went from the picture on the left to the picture on the right in a couple hours time with the right tools.


There were several problem spots that needed addressing. One it was dirty from a year of use, with lots of built up crud including spent charcoal ash combined with fat and sauce drippings. The legs of the kettle were cloudy and were just starting to show signs of getting pitted. The vents were covered with smoke residue and pretty gunked up. Lastly one of the wheels was missing a pushnut so every time I moved it outside I’d have to pick up the entire unit and put it down where I was going to cook for fear of a wheel falling off in the middle of a BBQ session.


Now to get started. First scraping the entire inside of the bowl with the razor scraper to take off the large hunks of cooked on debris. It helped to change out the razor blade every third section that I had complete. You will be able to tell when it’s time to change the blade when it becomes more difficult to remove the crap. Working the bowl in quarters you’d be amazed at how much you can get down to that beautiful original porcelain finish.
Before-
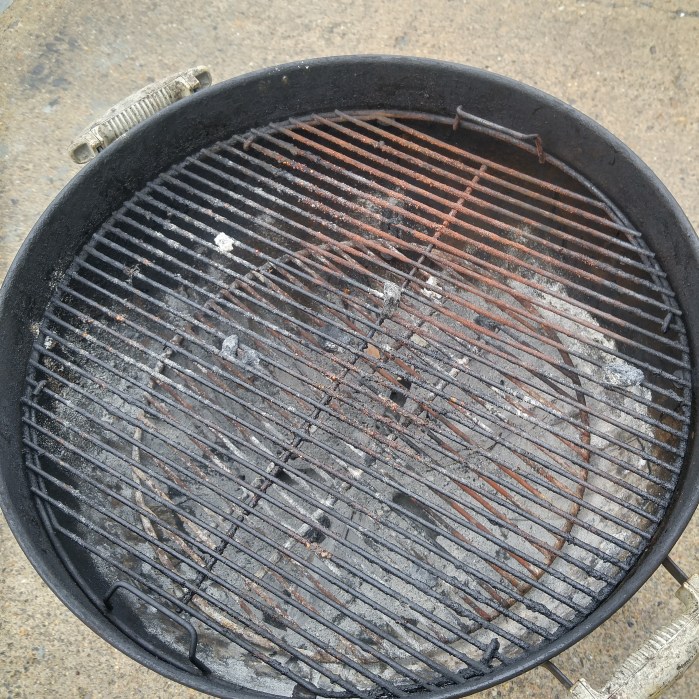
After razor scraping 3/4
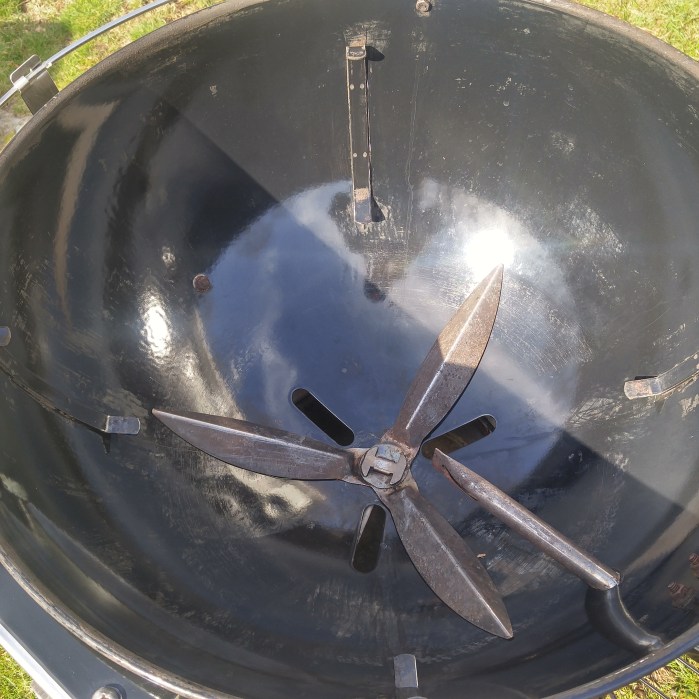
Once you get all the way around the bowl with the razor scraper, drizzle some dish soap like Joy around the bowl and take the steel wool to it. This is where it gets pretty exciting, realizing how sweet it’s gonna come out-
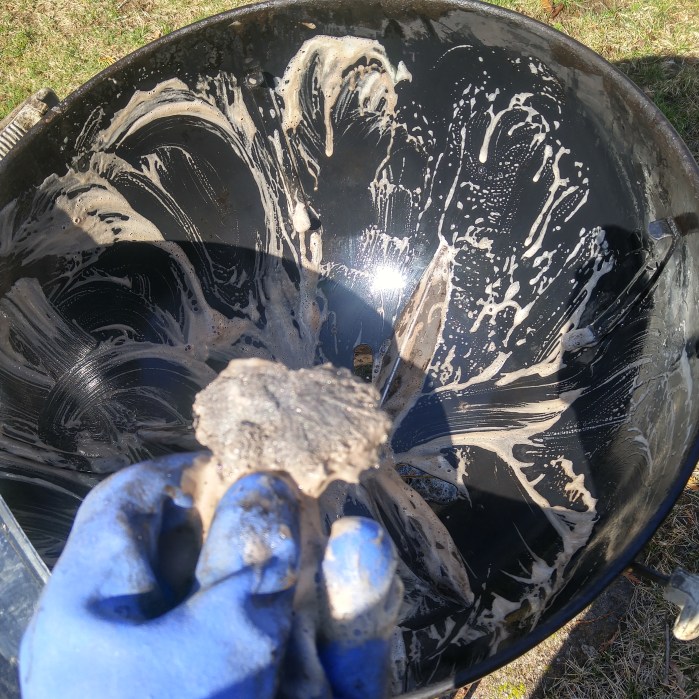
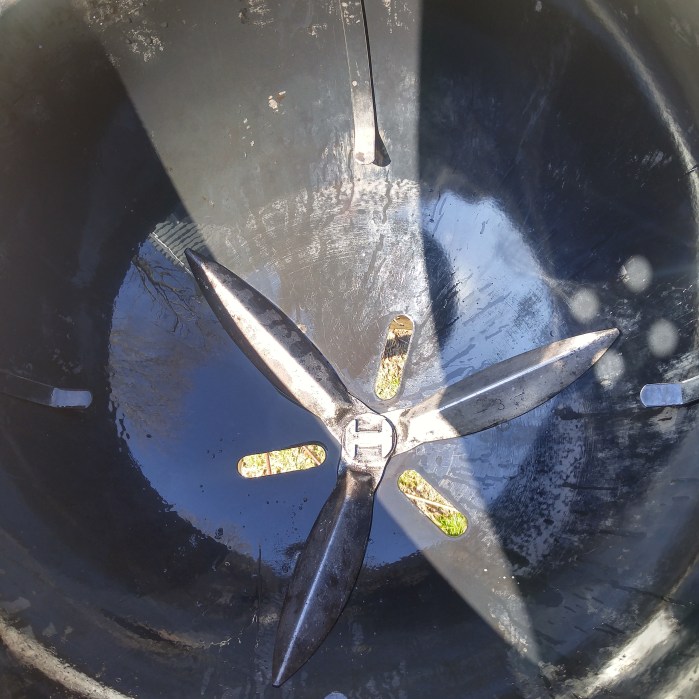
Using some elbow grease and steel wool gets the One touch cleaning system arms polished up nice too-
Do the same thing to the inside of the lid and then work the outside using the same steps.
After scraping half of the lid with the razor scraper and before hitting it with the steel wool-

Next the lid gets the soapy fine steel wool treatment-

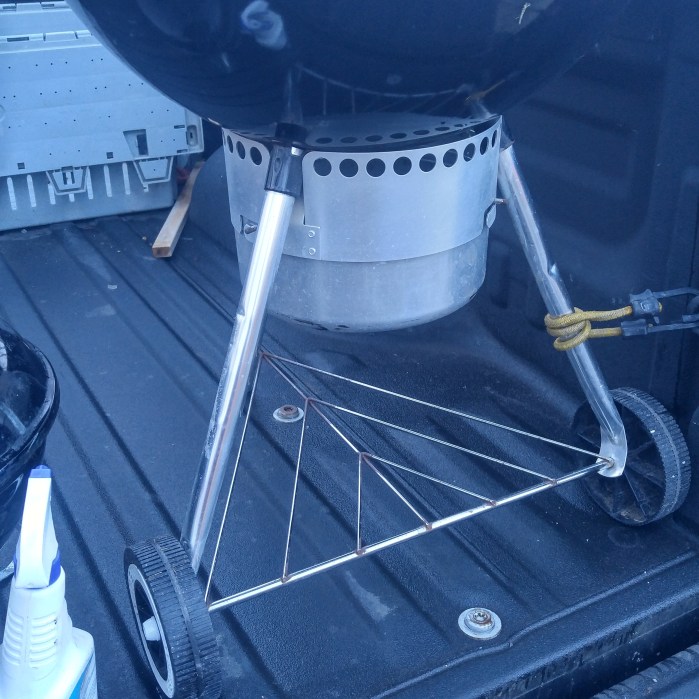
Next up the legs and the triangle. The legs were dull and just starting to show the signs of pitting. For the legs I simply used the soapy fine steel wool and they came out great. The triangle was pretty rusted though (not so conducive to the saltwater atmosphere at our lobster dock). I scraped the wires on the triangle with the razor scraper to remove as much of the heavy rust as possible and then it was just a matter of going over them with the soapy steel wool. This requires a little effort but the results are worth it. I probably spent 20 minutes on the triangle. There is still a little rust in the corners but a huge improvement over what I had to begin with.
Before-

After-
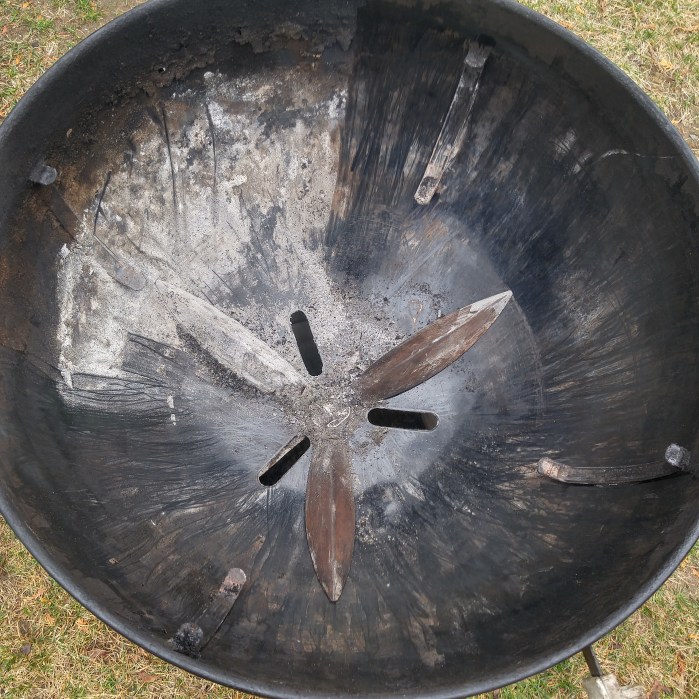
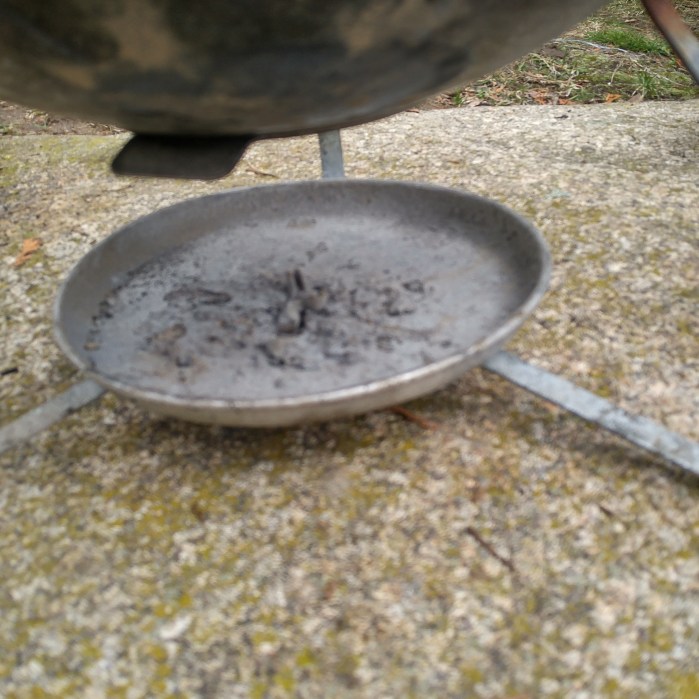
The ash pan had a good amount of solidified ash/gunk so I filled it half way with war water and gave it a good drizzle of dish soap and let it sit for a couple hours.
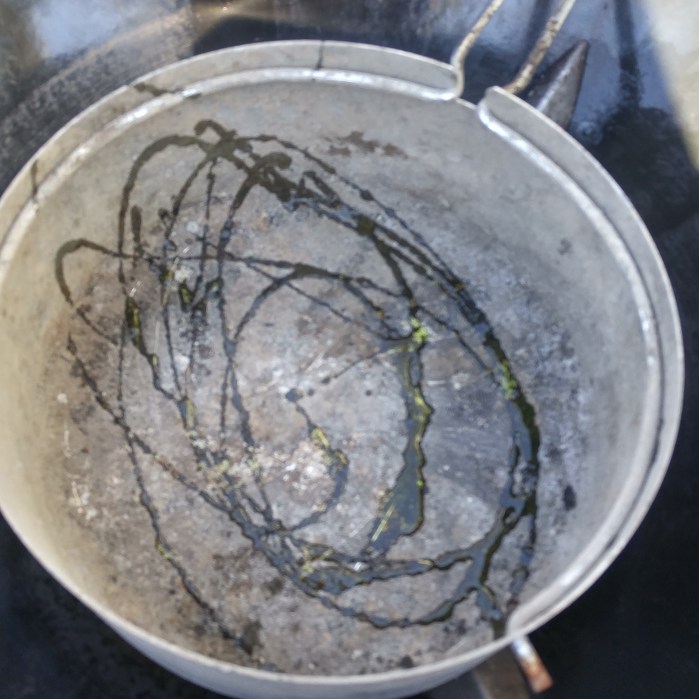
After a couple hours it loosened everything up and I scraped the inside of the ash catcher with the razor scraper and then hit it with (you guessed it- the soapy steel wool). Then hit the outside of the ash pan with the steel wool.
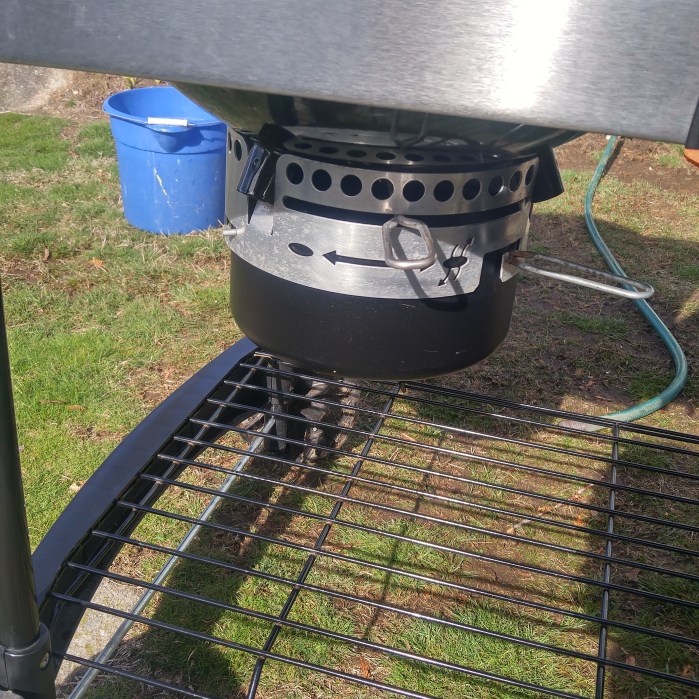
Next put a little soap on the wheels and clean them lightly with the steel wool.
Before the wheel with the missing pushnut-
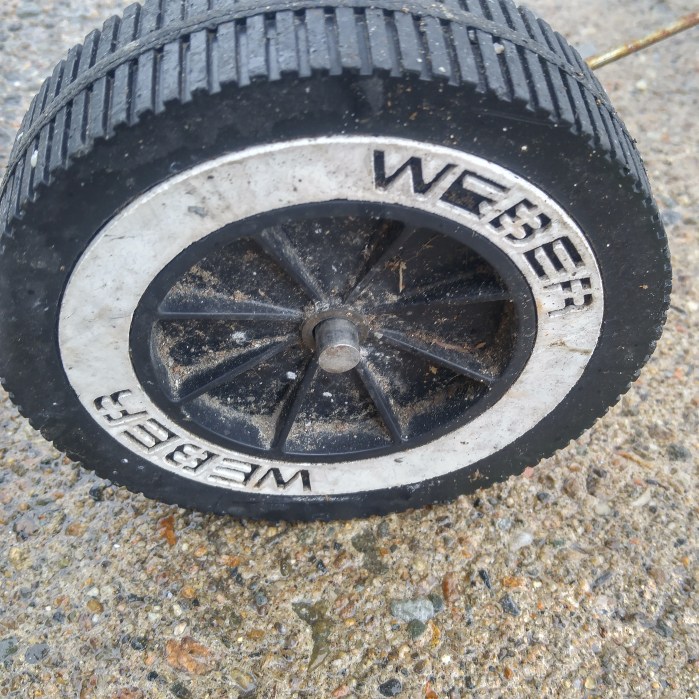
After-
Cleaned and with new pushnut from True Value


I’ve looked them up online and seen the Weber three packs for sale for around $5 and $4-$5 shipping which seems ridiculous. I had been debating doing the restore and spending any money on it but after such a great season and falling in love with it I figure it’s worth the small investment considering how easy they can get to looking great. It’s strange how attached I’ve become to this grill that was given to me and not in particularly good shape (melted handle, missing hubcap, pitted legs). But after countless cooks and seeing the results other WCK members have doing restores and also considering the salty environment of our lobster dock I planned to see just how pretty I can get my dock grill with a little elbow grease.
Anyway for other “Restore” noobs like me that are searching for a replacement for a missing hubcap, know that white 3/8 Pushnuts are available at Ace hardware and I’m betting at most local hardware stores.
It cost me $1.49 for the replacement pushnut.
Hope it helps someone in the future. They aren’t standard color Weber black but I think they look great anyway.
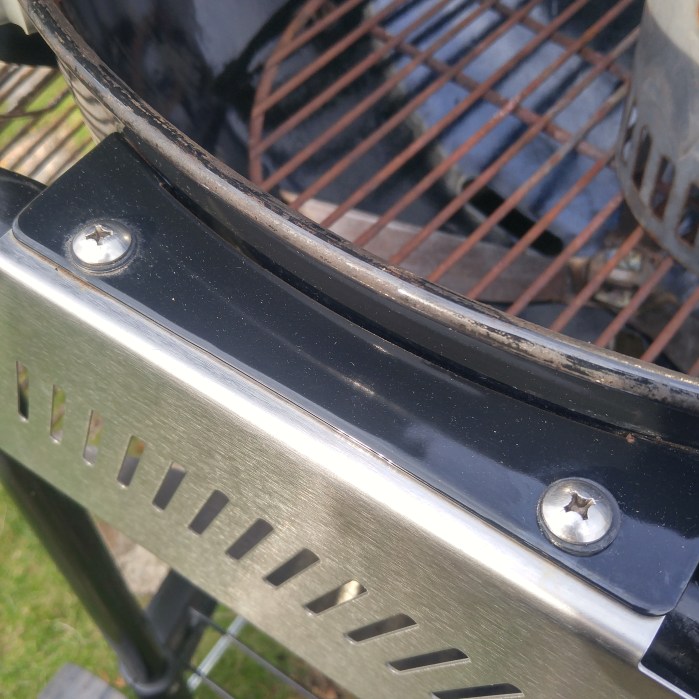
Next up is a Mastertouch/Performer style top vent. I ordered three of them from www.grillparts.com The part is 63070 Charcoal Grill Lid/Bowl Damper Kit for $9.25 each. It isn’t completely necessary but I really like the way they look. A nice touch was the Weber Grills Koozie they tossed into my package for free. I plan to put one one my Lime Green Smokey Joe and Crimson Original Kettle Premium which are still in the boxes in the basement waiting for late spring. The Lime Green Smokey Joe will get the Lower Vent Knob Mod treatment as well.
Thanks to Weber kettle Club forum member @dwnthehatch for the advice that the entire vent doesn’t need to be replaced, the black plastic vent handle can be pried off carefully and popped onto your existing vent tab.


Lastly the kettle was missing it’s front leg cap. I found them in packs of 4 at our local hardware store. The brand is Shepherd and they cost $1.79 for a pack of either white of black. I opted for the black. They are officially called Plastic Leg Tips and you want the 1 inch version.


So that was it. Again I don’t have to remind you how mechanically challenged I am. If I can do all this stuff, believe me you can too and the results are well worth it!
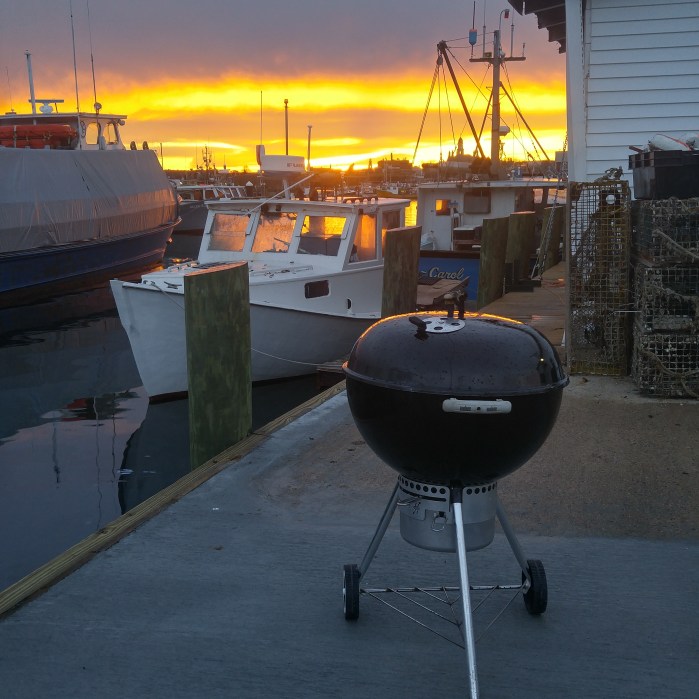
Finito and back at the dock ready for the season!


With inspiration and advice from far more mechanically inclined contributors @Bustin Butt and @addicted-to-smoke on the Weber Kettle Club Message board I successfully added a nice lower vent knob to my often used Smokey Joe Grill that I use for lunches at the dock.
First she needed some cleaning from a heavy year of use and neglect in the most brutal of saltwater dock conditions (our lobster company).
Before-


After scraping with a razor blade handle to remove the heavy crud, I gave it a good scrubbing with some dish soap and fine steel wool. This Smokey Joe is pretty banged up already so I didn’t get too crazy but the results are pretty remarkable with only about 40 minutes of elbow grease.

For really great Weber Kettle cleaning instructions check out Weber Kettle Clubs guides-
So now that I got the Smokey Joe looking nice it was time to man-up and break out the tools. I am probably the least mechanically inclined person I know. Generally whenever I try to save some money by doing something mechanical it ends up costing me double after I end up having to hire someone that knows what they’re doing to fix my mistakes.
Because the Smokey Joe owed me nothing as I’ve cooked on it a ton and it was pretty beat up to begin with, I figure if I was going to try to drill into one of my grills to do a modification, that I’d start out on one that if I completely messed up it wouldn’t be the end of the world.
So using dimensions for the knob which @Bustin Butt from Weber Kettle Club
helped me figure out, I checked out Amazon and came up with this knob-

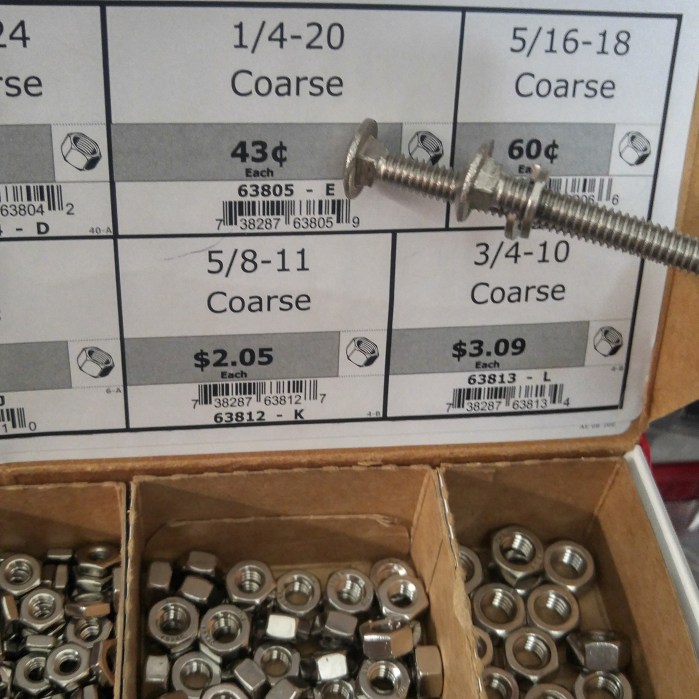
Then headed to The Building Center where I found the stainless hardware that Weber Kettle Club member @addicted-to-smoke advised me to get. I bought two sets of the hardware which included these items-
5 inch stainless carriage bolts $2.29 each 1/4- 20 thread

1/4 inch split lock washers .22 cents each

stainless 1/4-20 nuts .43 cents each
Next bend the bottom vent tab 90 degrees with a pair of pliers. It bends pretty easily. I doubled over a paper towel to not scratch up the vent tab.
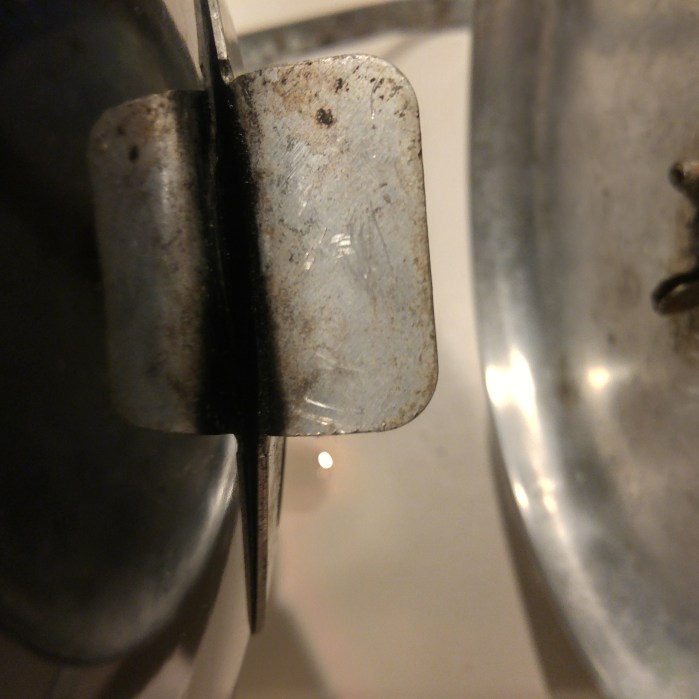
So now for the part where I am nervous that I’m going to royally screw up. The drilling of the hole. I used a 1/4 inch metal drill bit on a Dewalt cordless drill. Pressed down and applied steady but not too much pressure. It skipped a teeny bit so it’s not perfectly centered but no one would notice if they weren’t looking for it as it under the Smokey Joe out of sight. Next time when I do this to the brand new Lime Green Smokey Joe I have sitting in the box in the basement you can rest assured I’ll be getting it precisely in the middle. Anyway here are the parts-


I’be seen quite a few people choose long carriage bolts with big heads on the end and they simply put locking washers and bolts one either side of the vent tab and have the head of the carriage bolt extended out to use as the lever. I liked the way @bustin butt’s mod came out in which the large head of the bolt is on the inside of the vent tab and then you just use the one lock washer and nut to tighten down on the vent tab and screw the threaded knob onto the end of the carriage bolt that is extruding toward you-

Here it is in action-
I’m pretty happy it came out the way I wanted and I didn’t mess anything up!

Follow along the live smoke all morning at www.northeastbbq.com
5:30AM Set up the kettle with a aluminum pan filled with water and briquettes set up snake style around the bowl for a low and slow sesh. Lit 12 briquettes inn the chimney and dumped them on the left end of the trail of briquettes which we’re looking to gradually catch and provide steady even heat between 275-300 degrees. using cherry chips and mesquite chunks.
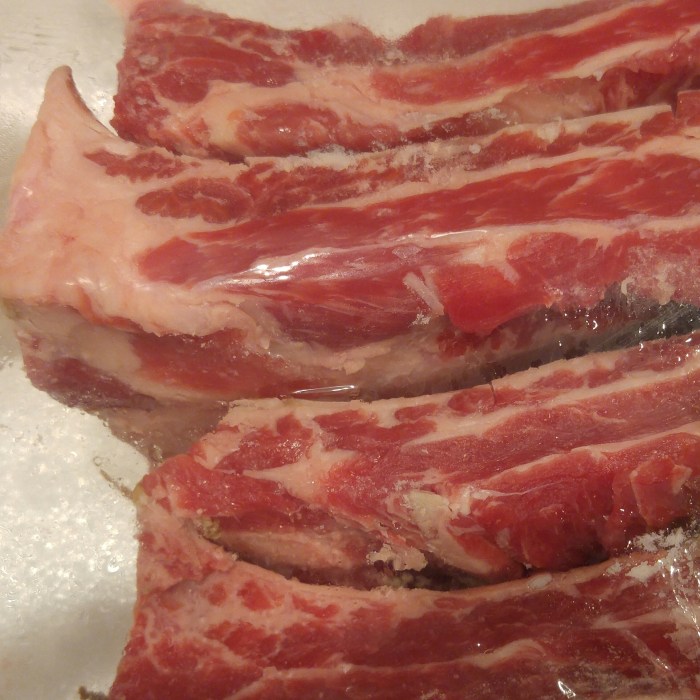
I’m not sure if it’s just our local Stop and Shop market that pre-cuts the racks of beef ribs or if it’s done elsewhere as well. I buy what’s on sale usually and they had 2.4 lbs on sale for $2.24 per lb so I couldn’t pass them up (you can’t see the sale tag in the first picture).

Slathered them up lightly with yellow mustard and applied a generous coating of coarse salt and black pepper (Texas Style rub).
The pit set up and getting up to temp. Water in the pan to keep a moist smoking environment-

6:24 The Beef Ribs Hit the pit.
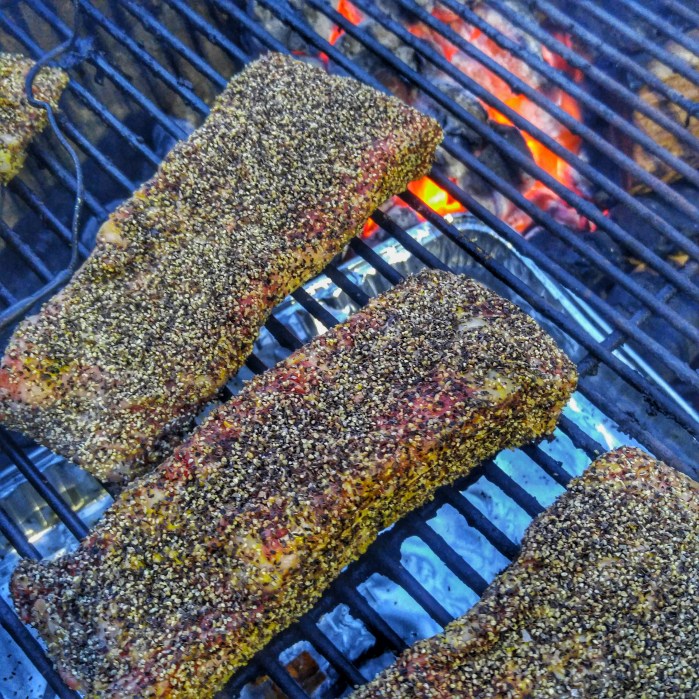
8:39AM Cranking along Grate temp 284 degrees. Only adjusted the vents once since 6:24AM Got a ways to go. Haven’t opened the lid once. “If you’re looking-you ain’t cookin.”
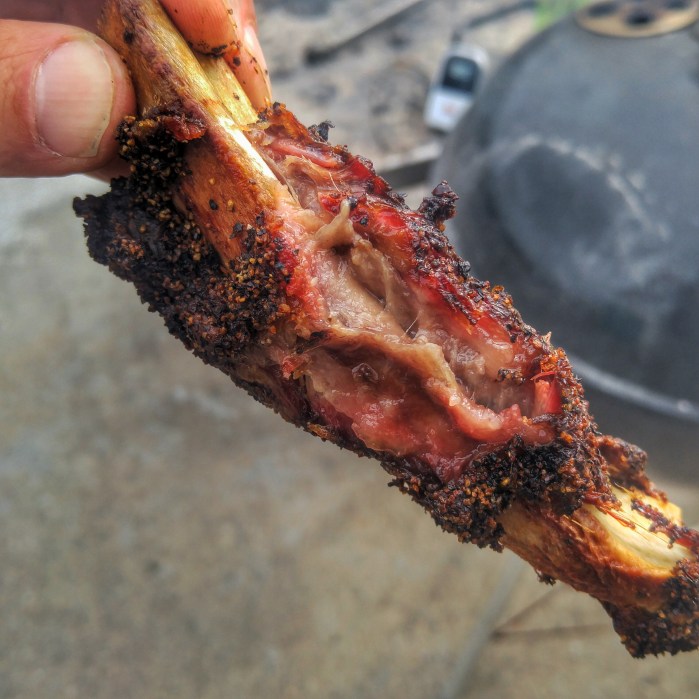
9:54AM 3.5 hours in-
11:45AM- They’re all jiggly and the probe slides right in so it’s time to take ’em off-
Follow the live smoke all morning at http://www.northeastbbq.com
Larry from http://www.thewolfepit.com has my favorite bbq video series check out his site at the link above for this recipe.
Set up the Kettle for the snake method using briquettes, cherry chips and mesquite chunks.

Got a third of a chimney going and dumped the asked over coals onto the left end of the briquette “fuse” looking to keep temps around 250 degrees for smoking the beef.

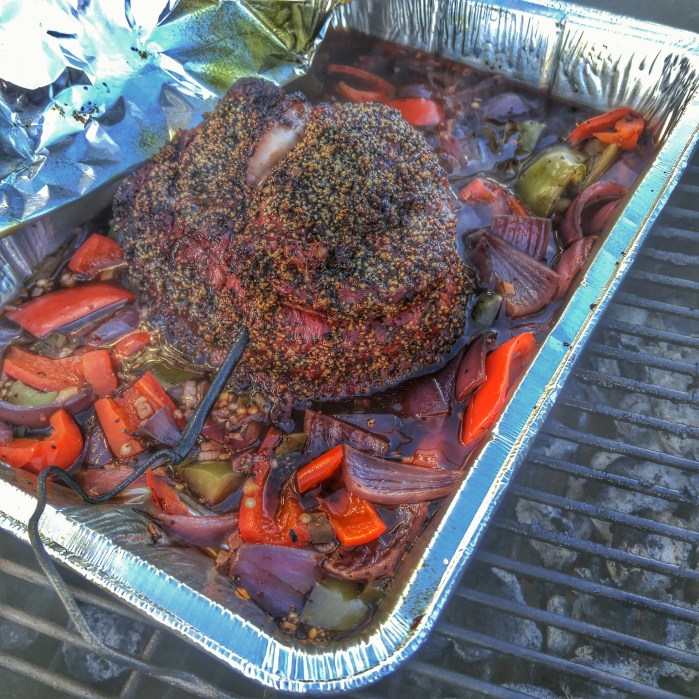
Applied Worcestershire sauce to the chuck roast and then coated with coarse salt and black pepper.


Once the pit hit 250 degrees tossed the beef on and inserted the probe.

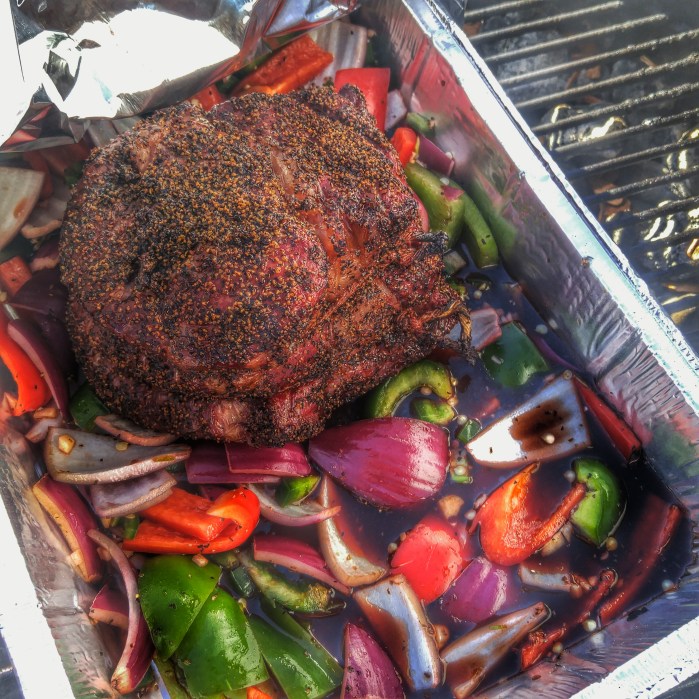
Closed the lid and started chopping the veggies. Chopped half a green pepper, a whole red pepper, two jalapeño peppers with the seeds, three Cloves of garlic minced and a half of a red onion in

Once the beef hits 165 internal we pull it off the pit and add a half a bottle of cherry root beer and a couple of tablespoons of Worcestershire sauce to the pan with the veggies, plop the beef roast on top and seal it up in foil. Opened the bottom vent on the kettle and will let it braise til it falls apart.


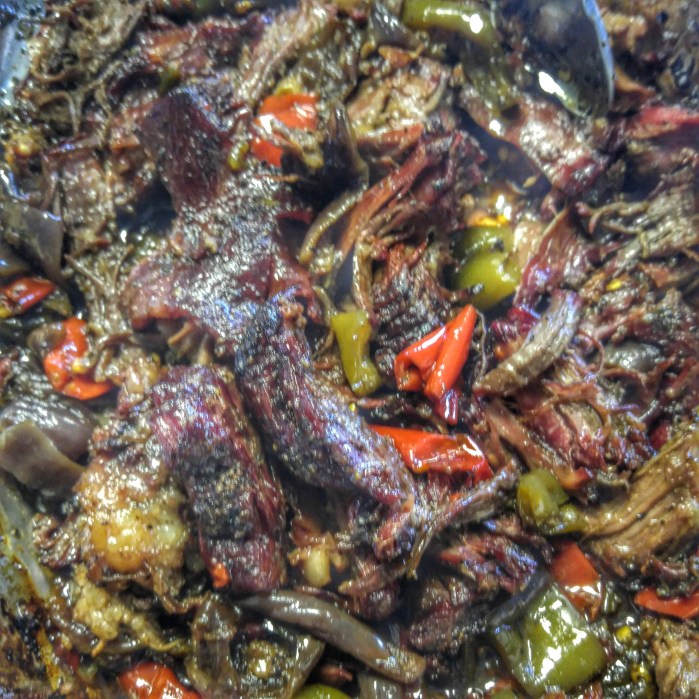
After a couple of hours it hit 200 degrees internally but wasn’t pull-apart-effortlessly tender. So I covered it up until I could break it up easily.
Once it broke apart easily it was shredded like you would shred pulled pork. Then left for about twenty minutes more uncovered to reduce the liquids even more.
When done, piled on top of onion rolls with a slice of pepper jack cheese and some chipotle mayo.
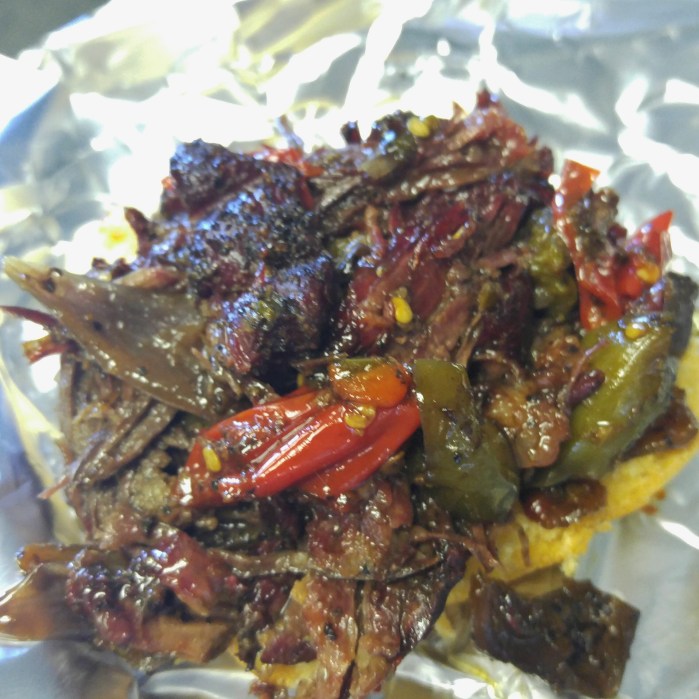
Delicious. The guys at the dock all raving about it. Serious heat. if the people you are cooking for won’t enjoy the heat, cut back on the jalapeno pepper.
Thanks To Larry from http://www.thewolfepit.com for the recipe. Check out his site, it’s fantastic!
