
She came to me in good physical shape. Solid frame, a few minor scrapes around the rim on the lid but in need of a deep cleaning.
Before and after.
Before

After
Before
After
Working gas- assist


She came to me in good physical shape. Solid frame, a few minor scrapes around the rim on the lid but in need of a deep cleaning.
Before and after.
Before
After
Before
After
Working gas- assist
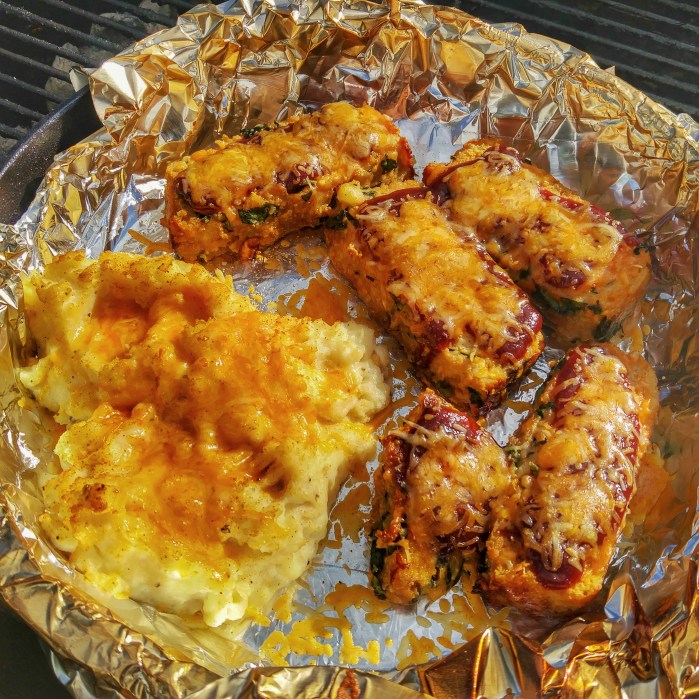
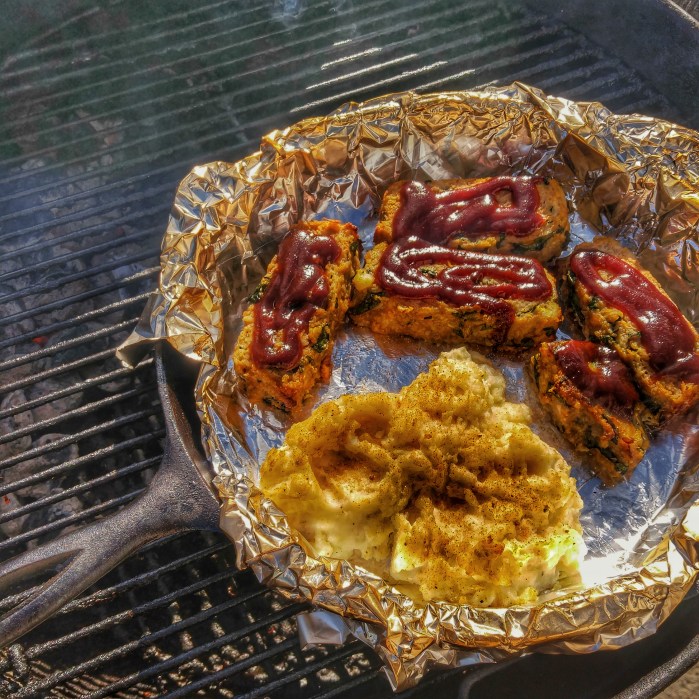
Hit the leftover mashed potatos and meatloaf with smoke for about a half hour in the Lodge Cast Iron Skillet with some charcoal and mesquite wood for smoke. when the edges just start to brown up, drizzle a little Sweet Baby Rays BBQ Sauce and Shredded Cheddar and let it all melt on in there. A winner for sure.
The same treatment is great for leftover pizza as well-let it crisp up a bit and then hit it with the Sweet Baby Rays and let it go for another ten minutes or so. Yummy!


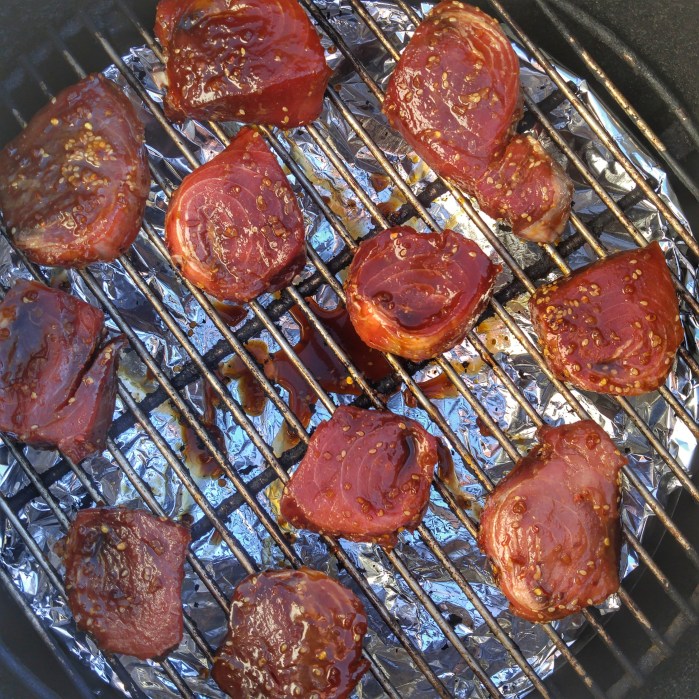
Letting the tuna marinade in the soy/ginger/sesame/red pepper flake mixture for a couple of hours before smoking them between 175-225 for a couple of hours.

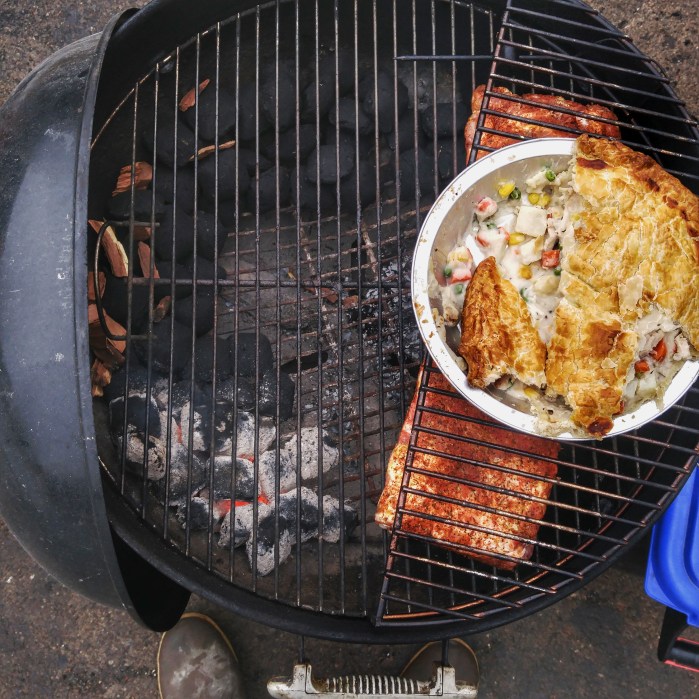
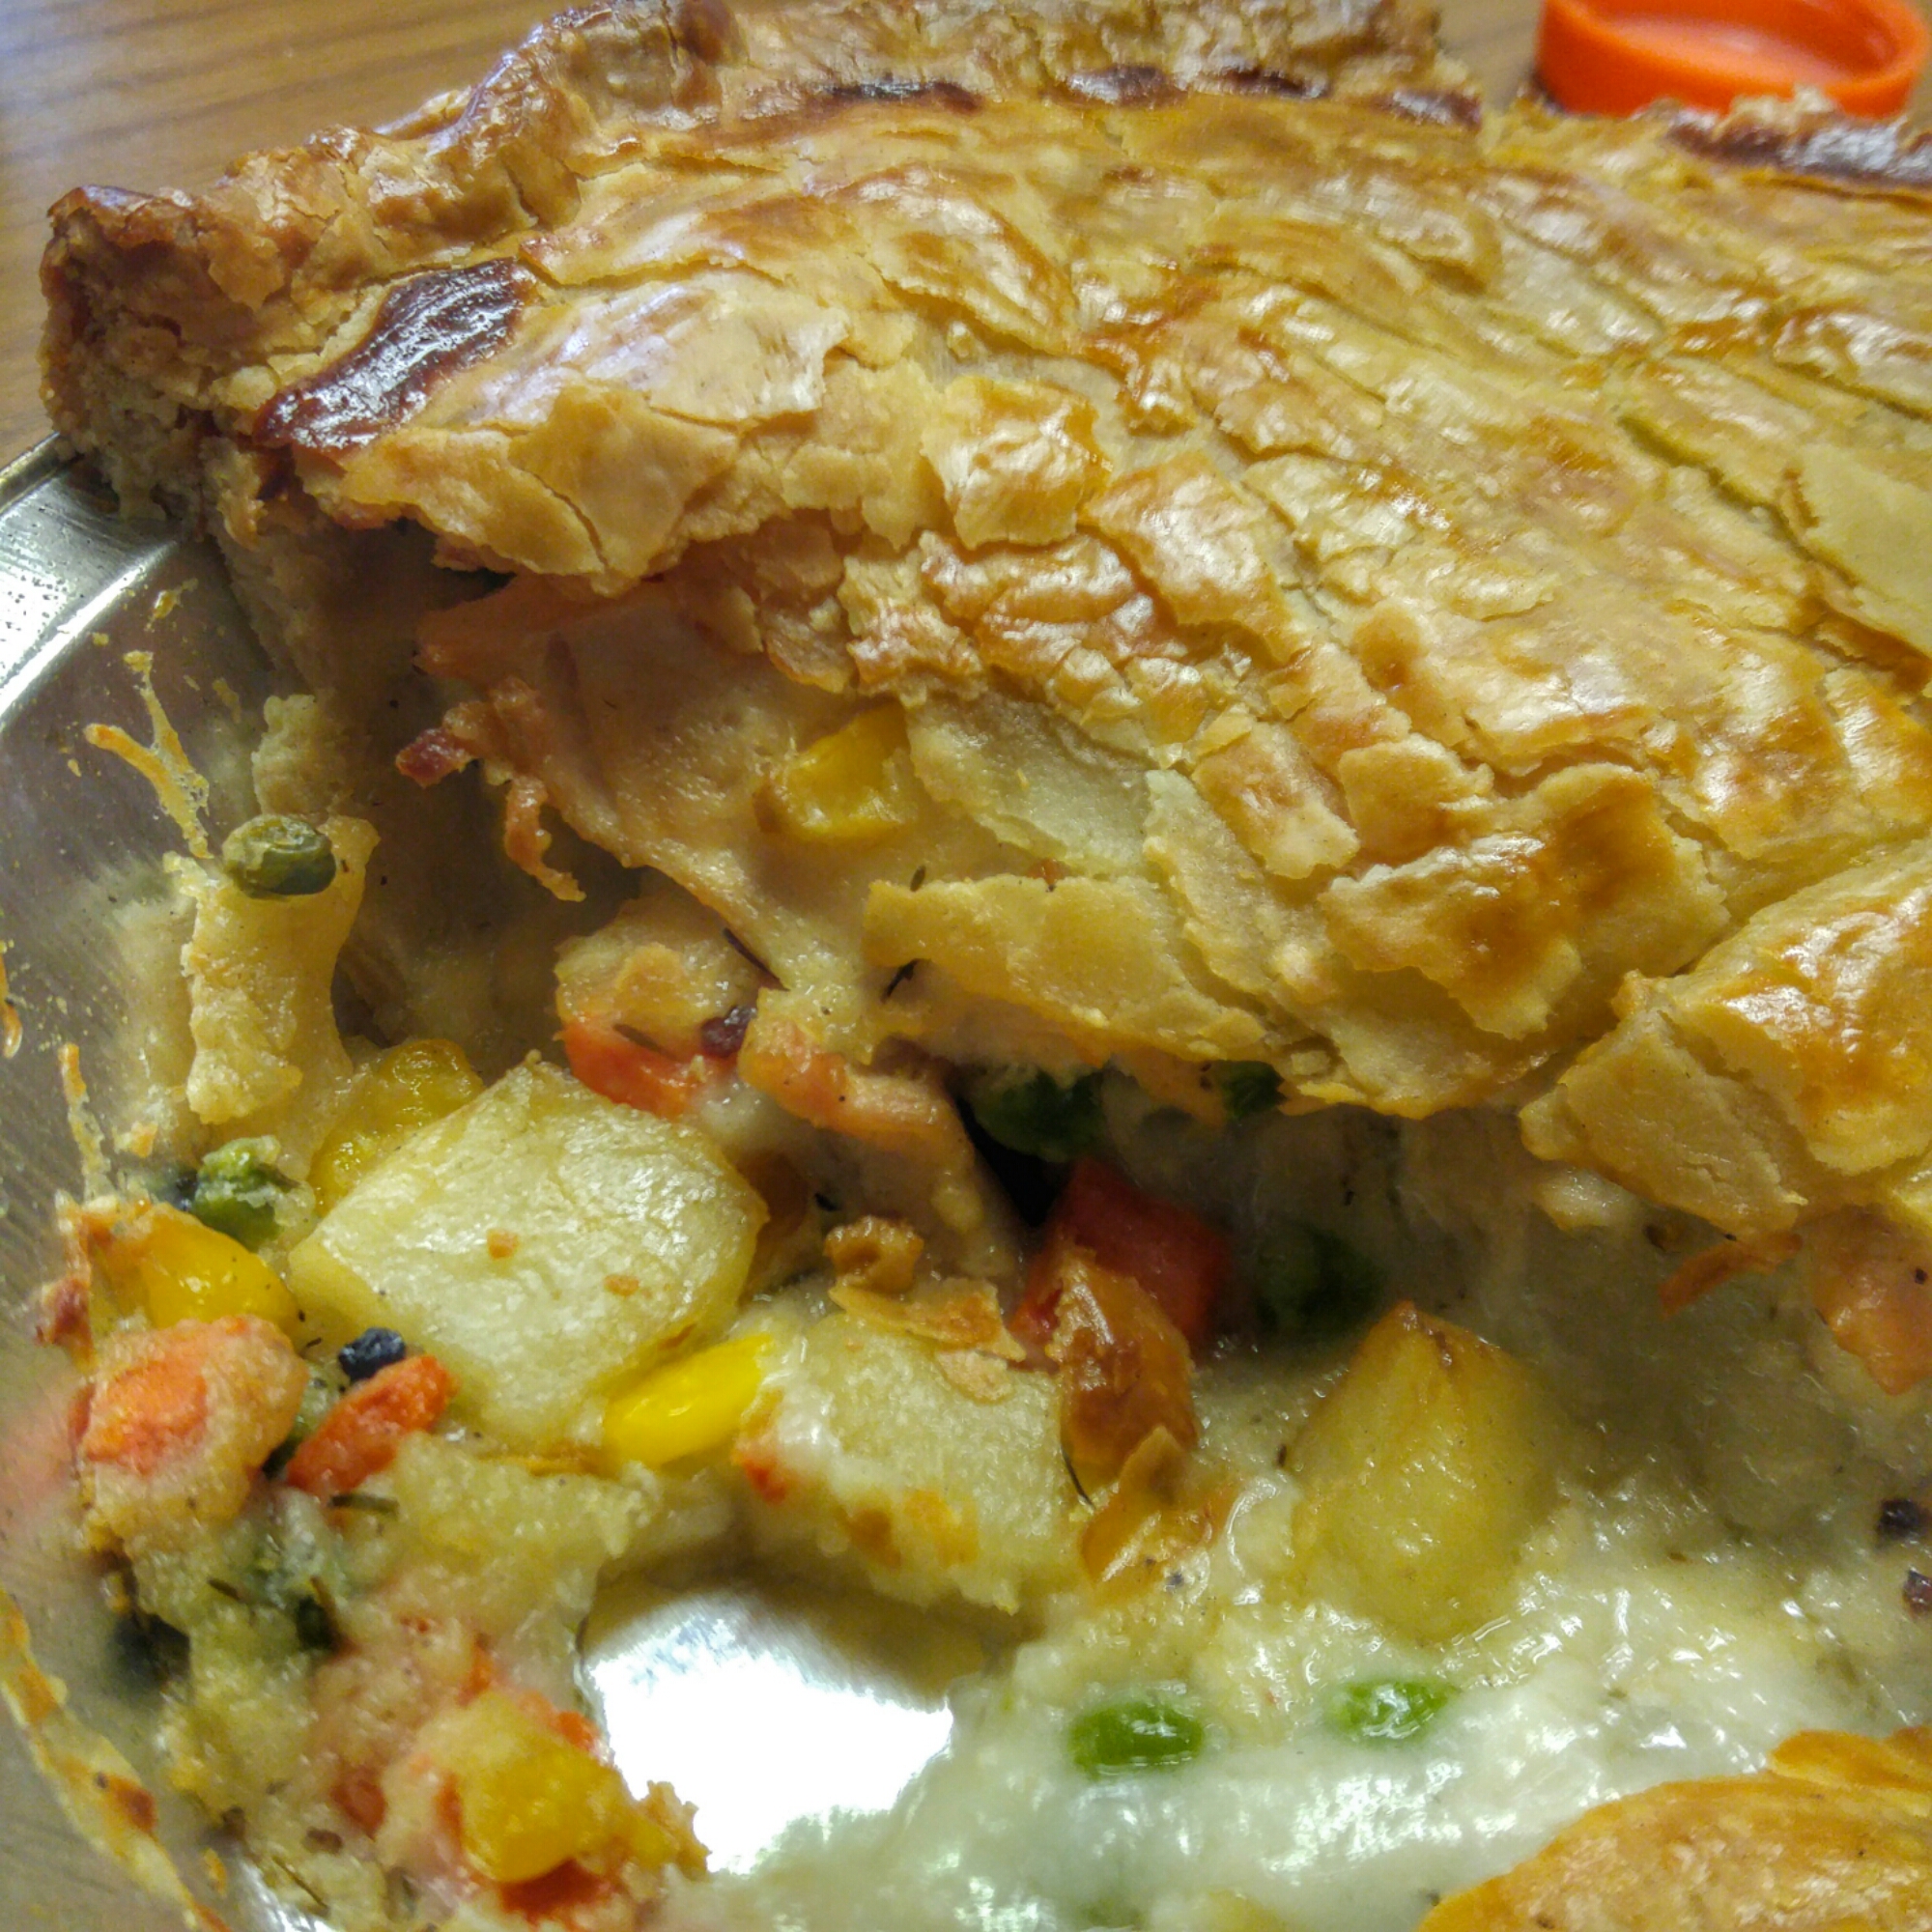
It’s hard to put into words how good Kate’s chicken pot pie is, especially after giving it the smoke for an hour and a half.

10/16/16 The subject:

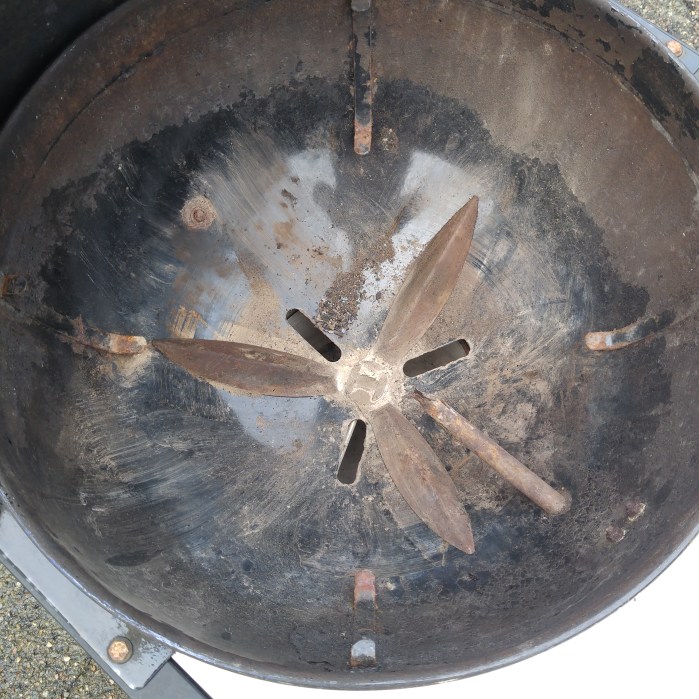
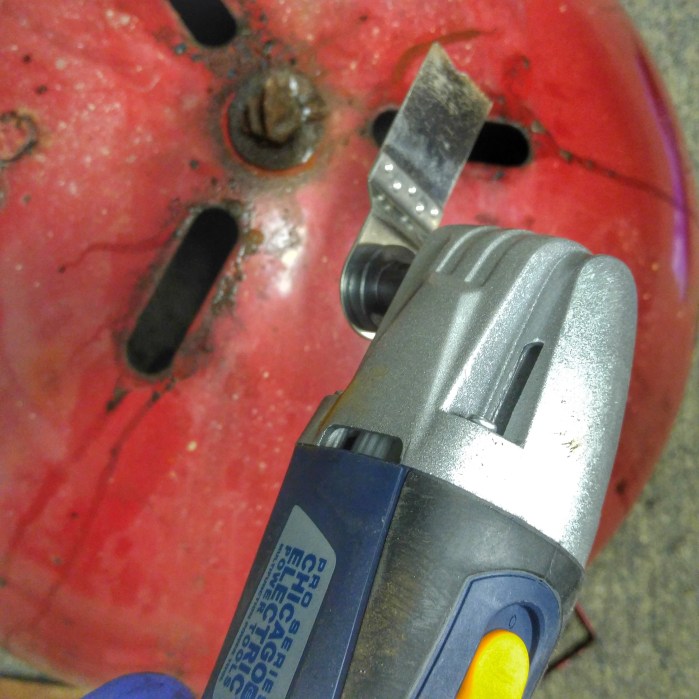
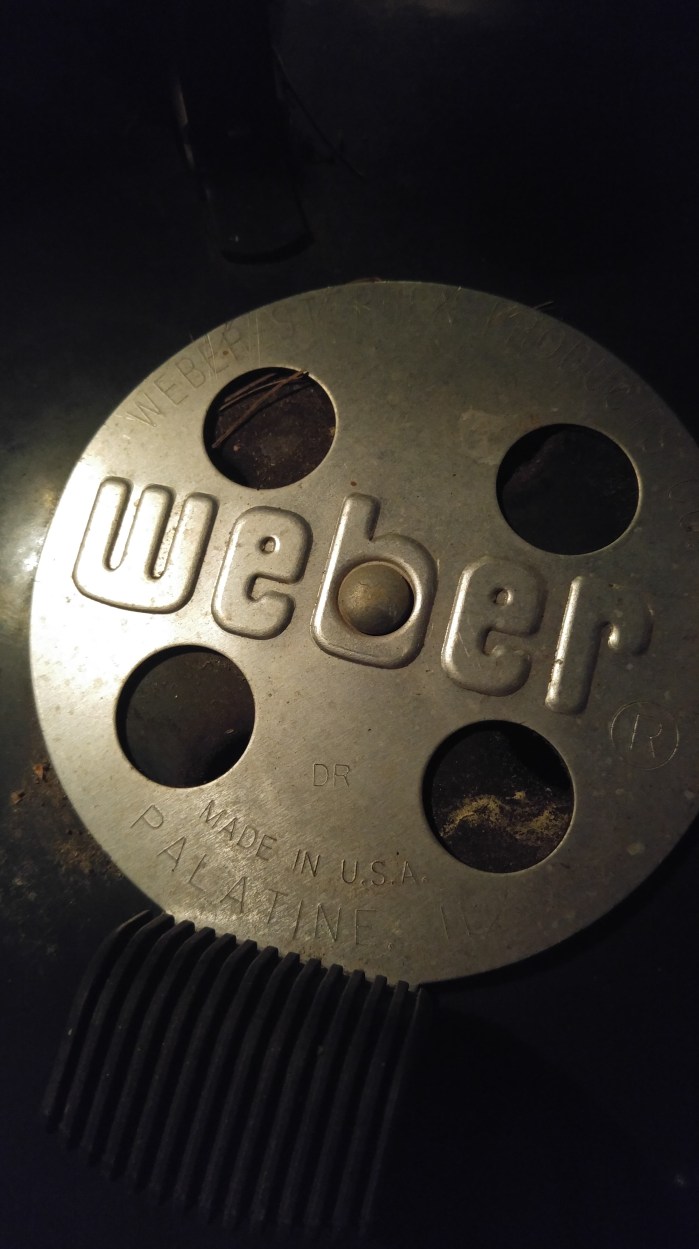
Condition: lots of rust on the legs/triangle. Missing ash sweeps rusted in ash sweep bolt. White paint dots on the faded lid. Usual cruddy bowl. Missing handle. Rusted/oxidized lid vent. Missing ash pan.
Tools:

4AM:
Tackle the bowl with dish soap/water razor scraper/steel wool/sponge/paper towels.

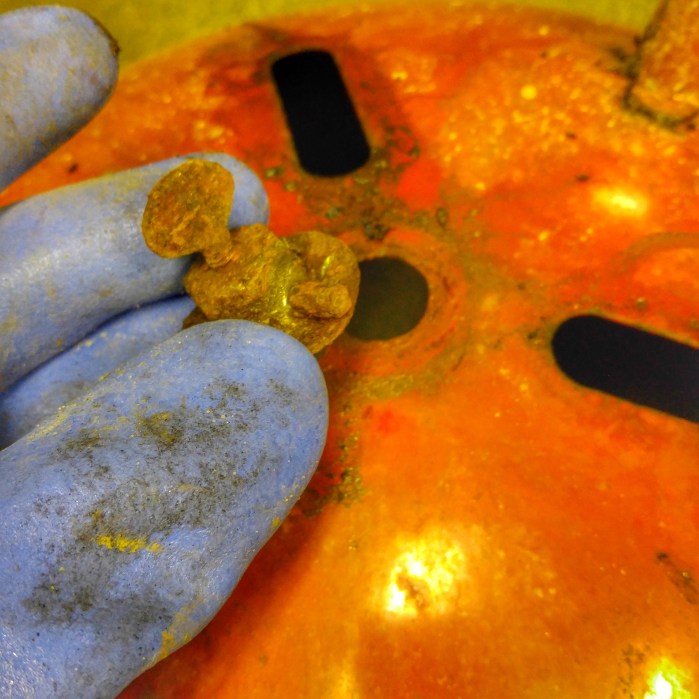
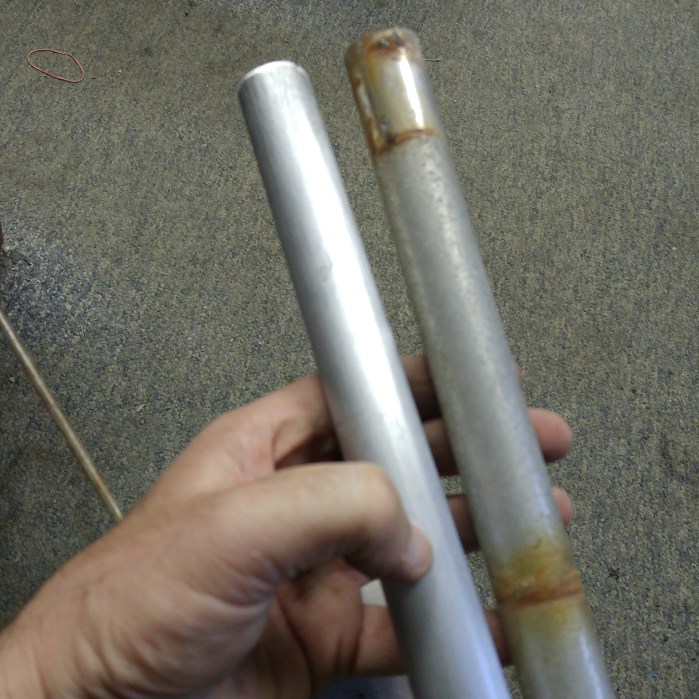
Next, what’s left of the old ash sweep system is rusted in place. Break out the oscillating tool and cut off the bottom nubs that went through and it broke free.
Now it’s time to clean the bottom of the bowl using the razor scraper/steel wool.

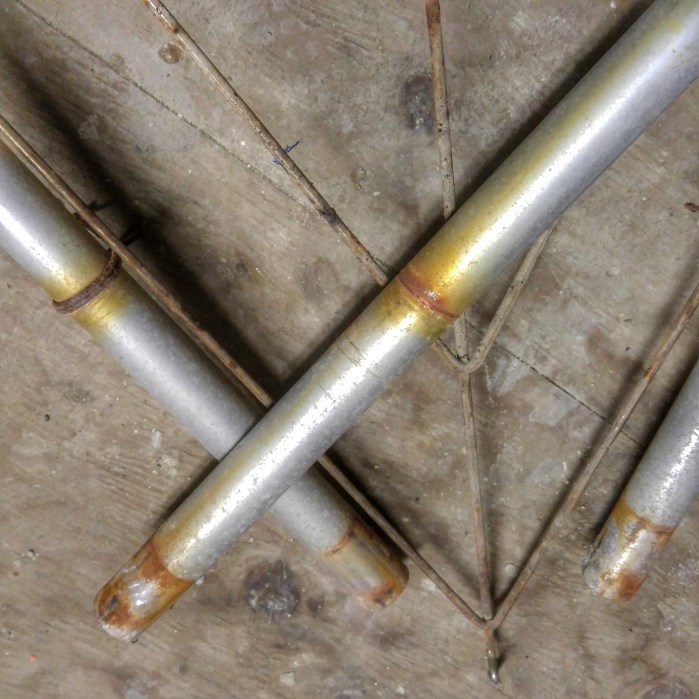
Having the legs removed start sanding them with 150 grit sandpaper using long strokes just as is advised in the Weber Kettle Club restoration guide, and then moving up to 250 and then finishing with steel wool and then polishing.
Legs and triangle before-
A finished leg on the left and an unfinished on the right-
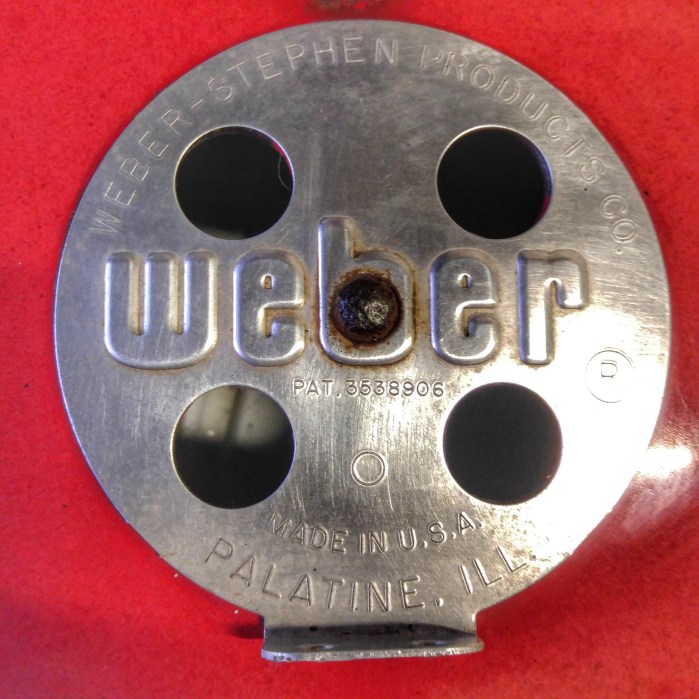
Once the legs were cleaned up and polished it was time to install the new one touch ash sweeps which we conveniently picked up at Fosters Grill Center on Eastern Ave (an authorized Weber Dealer). Check out how nice that bowl cleaned up-

Next to attack the oxidized/rusted lid vent with the steel wool. Before and after-

The new ash pan (also purchased at Fosters is installed and she is ready to rip!
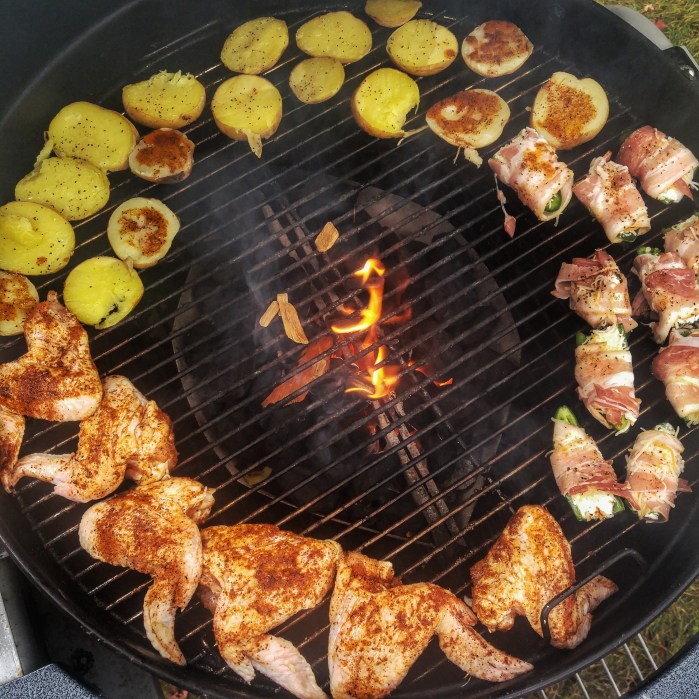
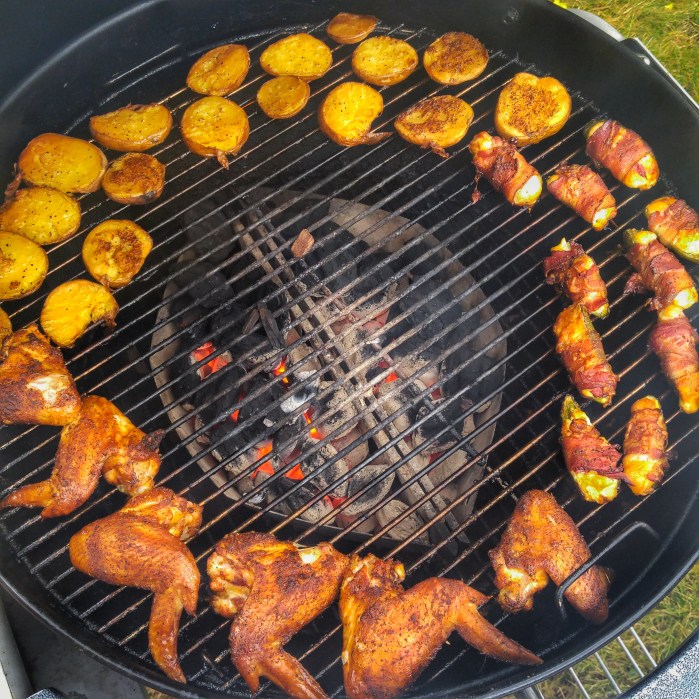
First cook chicken wings!


Before and after, I think she cleaned up nice!


Once again thanks to advice from members at The Weber Kettle Club for their advice and input on this restoration!
Before

After

Before

After James’ Cleaning

Before

After

Before

After

Before

After

Before

After

Much of the blame for the obsessive hobby of finding and cleaning up old Beautiful Weber Grills can be placed squarely on the shoulders of the founders and members of the Weber Kettle Club
Our buddy Anthony Caturano At Tonno took the second SS Performer. Immediately I had a empty pit in my stomach, without a Performer to cook on at the dock. Truth be told I really enjoy the restoration process and needed another project so I searched out another Performer looking for some love.
So this beautiful gem fell into my lap look at the bottom of this post:)
It’s a second generation Weber Performer. Each of the Generations of the Performers have things I like about them.
The classic lines on the first generation Stainless Steel ones, the only performers to use stainless steel. (Here’s the performer Anthony took)
The Black Frame on the second generation.(This is the first Performer I ever acquired)

The Wheels on the third Generation.

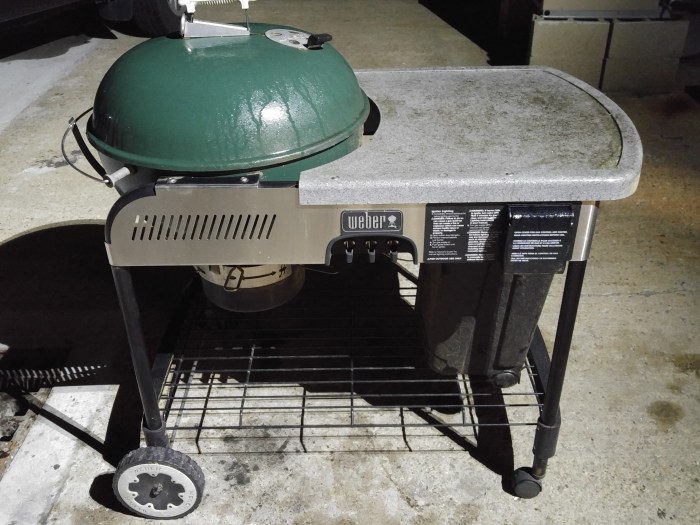
The Black Metal table on the fourth generation. (This is actually my 3rd gen with a 4th gen table.

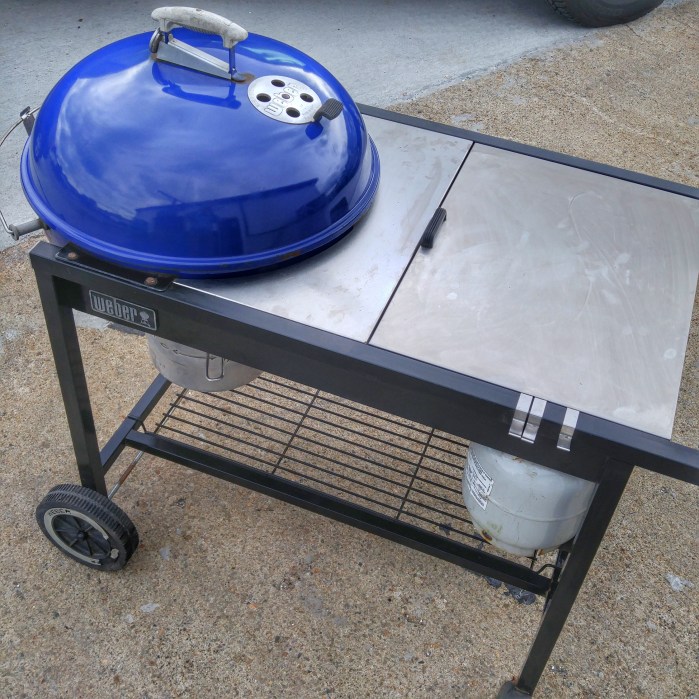
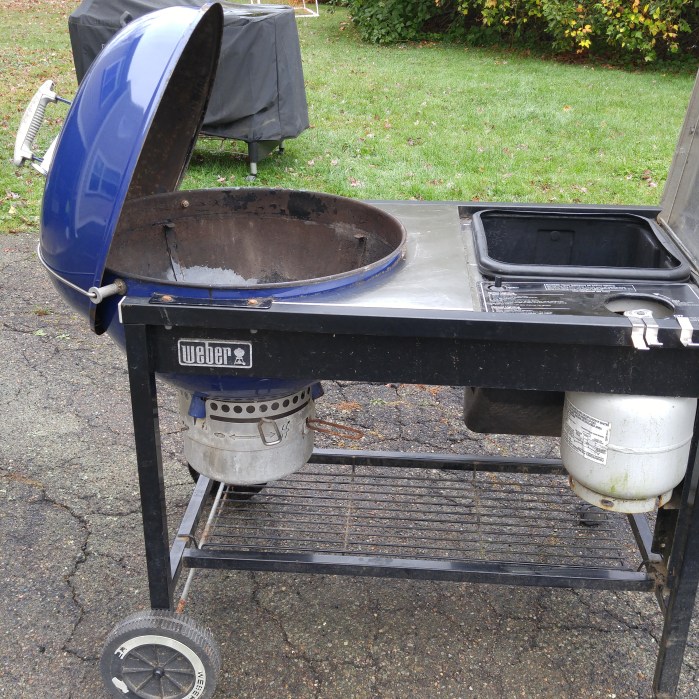
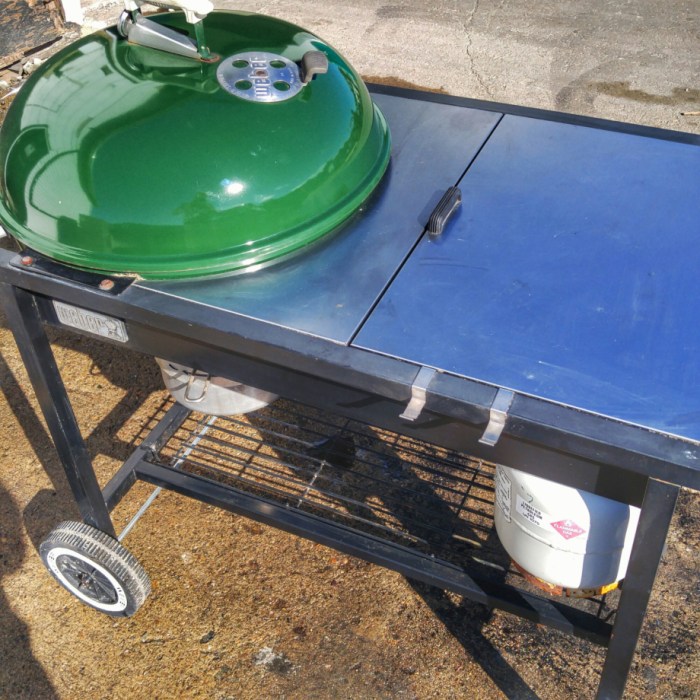
And here is the latest- The DR Code Green, should clean up nicely. When the light comes I’ll test the gas assist to see if it’s working. With or without the gas assist I love the functionality of the attached table and bin on the Performers.
The Before Pictures- DR Code Green Weber Performer

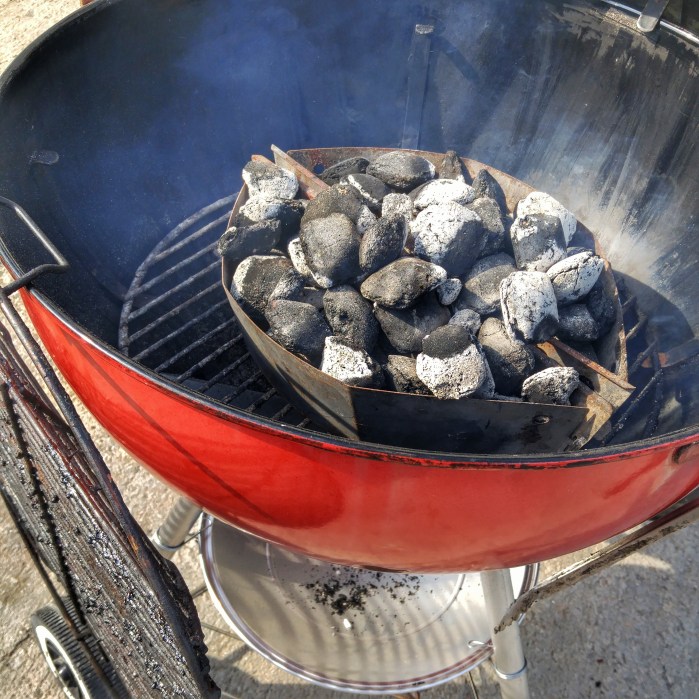
Set Up A Full chimney of blazing coals in the charcoal baskets in the center of the Performer with a handful of cherry wood chips. Opened teh vents wide and let ‘er rip for about 35 minutes.
Wings dusted with Paul Prudhome Blackened rub.
Before-
During-
After-

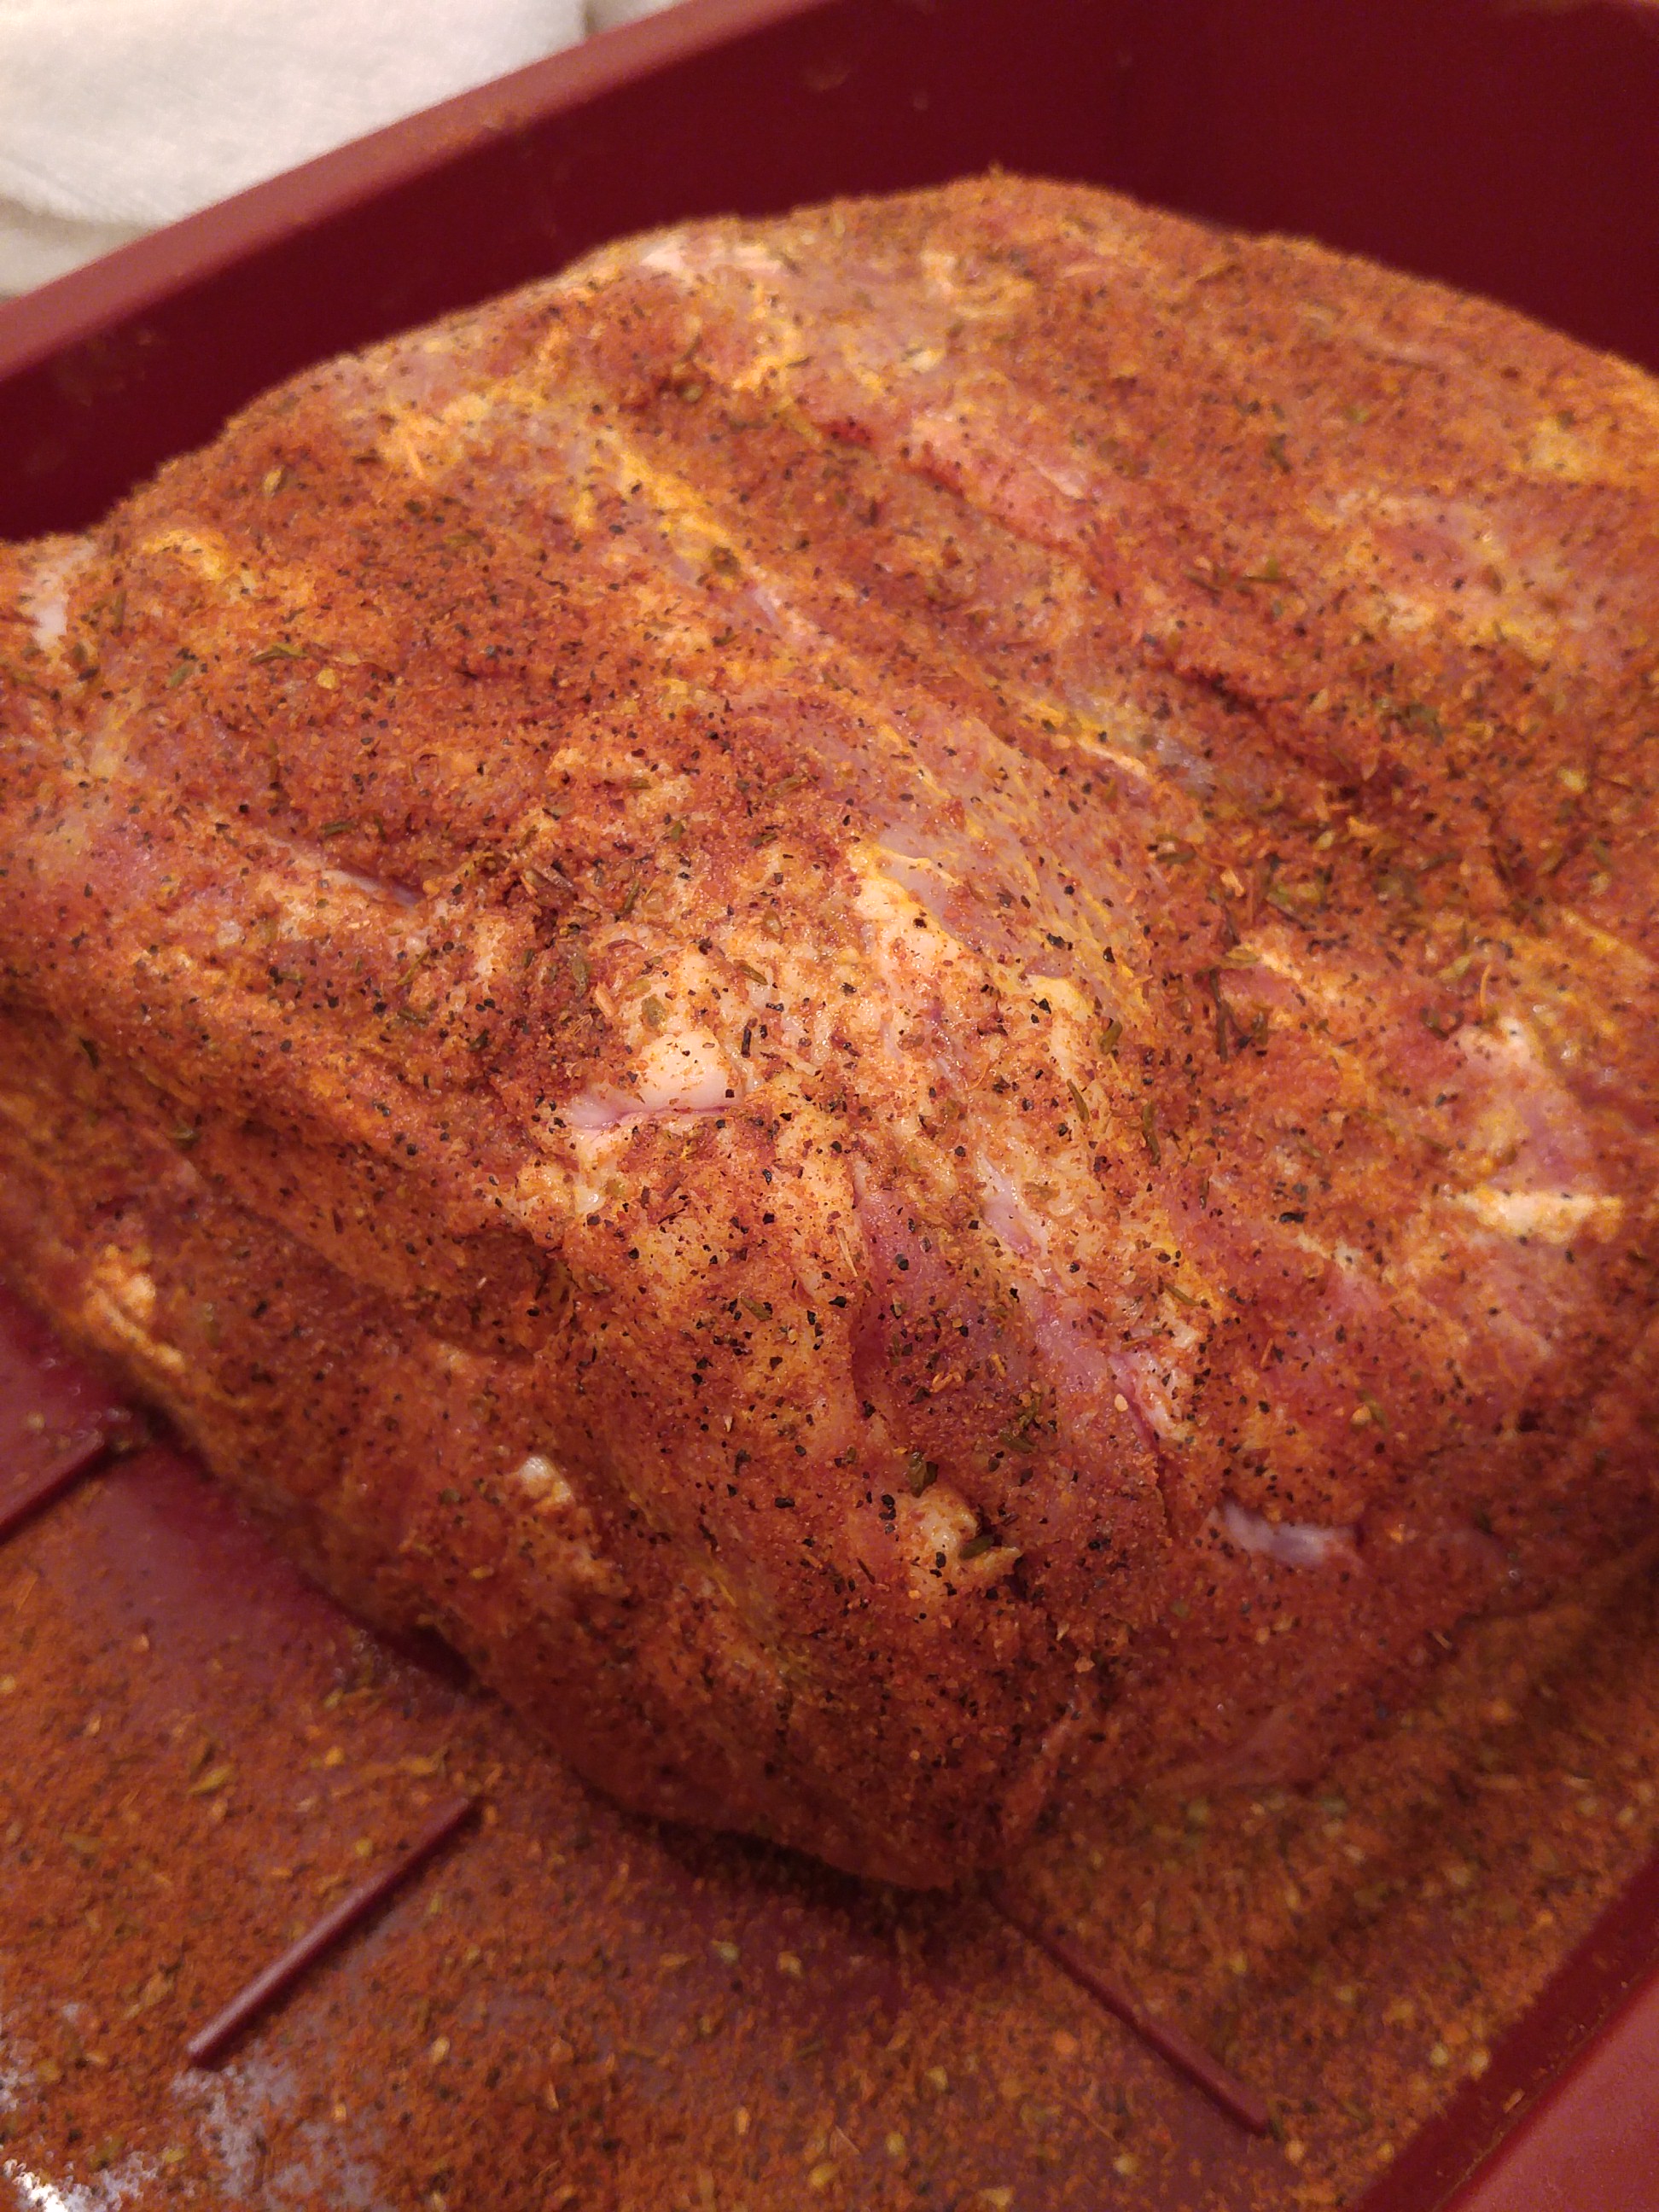
Started the coals on the Performer, set up the smoker using the minion method with Apple wood chunks and cherry chips. Dumped 12 lit coals into the center of the charcoal basket and let smoker climb to 200 before closing all three bottom vents 75% shut and leaving the top vent wide open.
Pork Butt hit the smoker around 8:50PM.
The temps will be monitored by the Maverick 733 remote thermometer. At 9:17PM the Grate temp is 261.
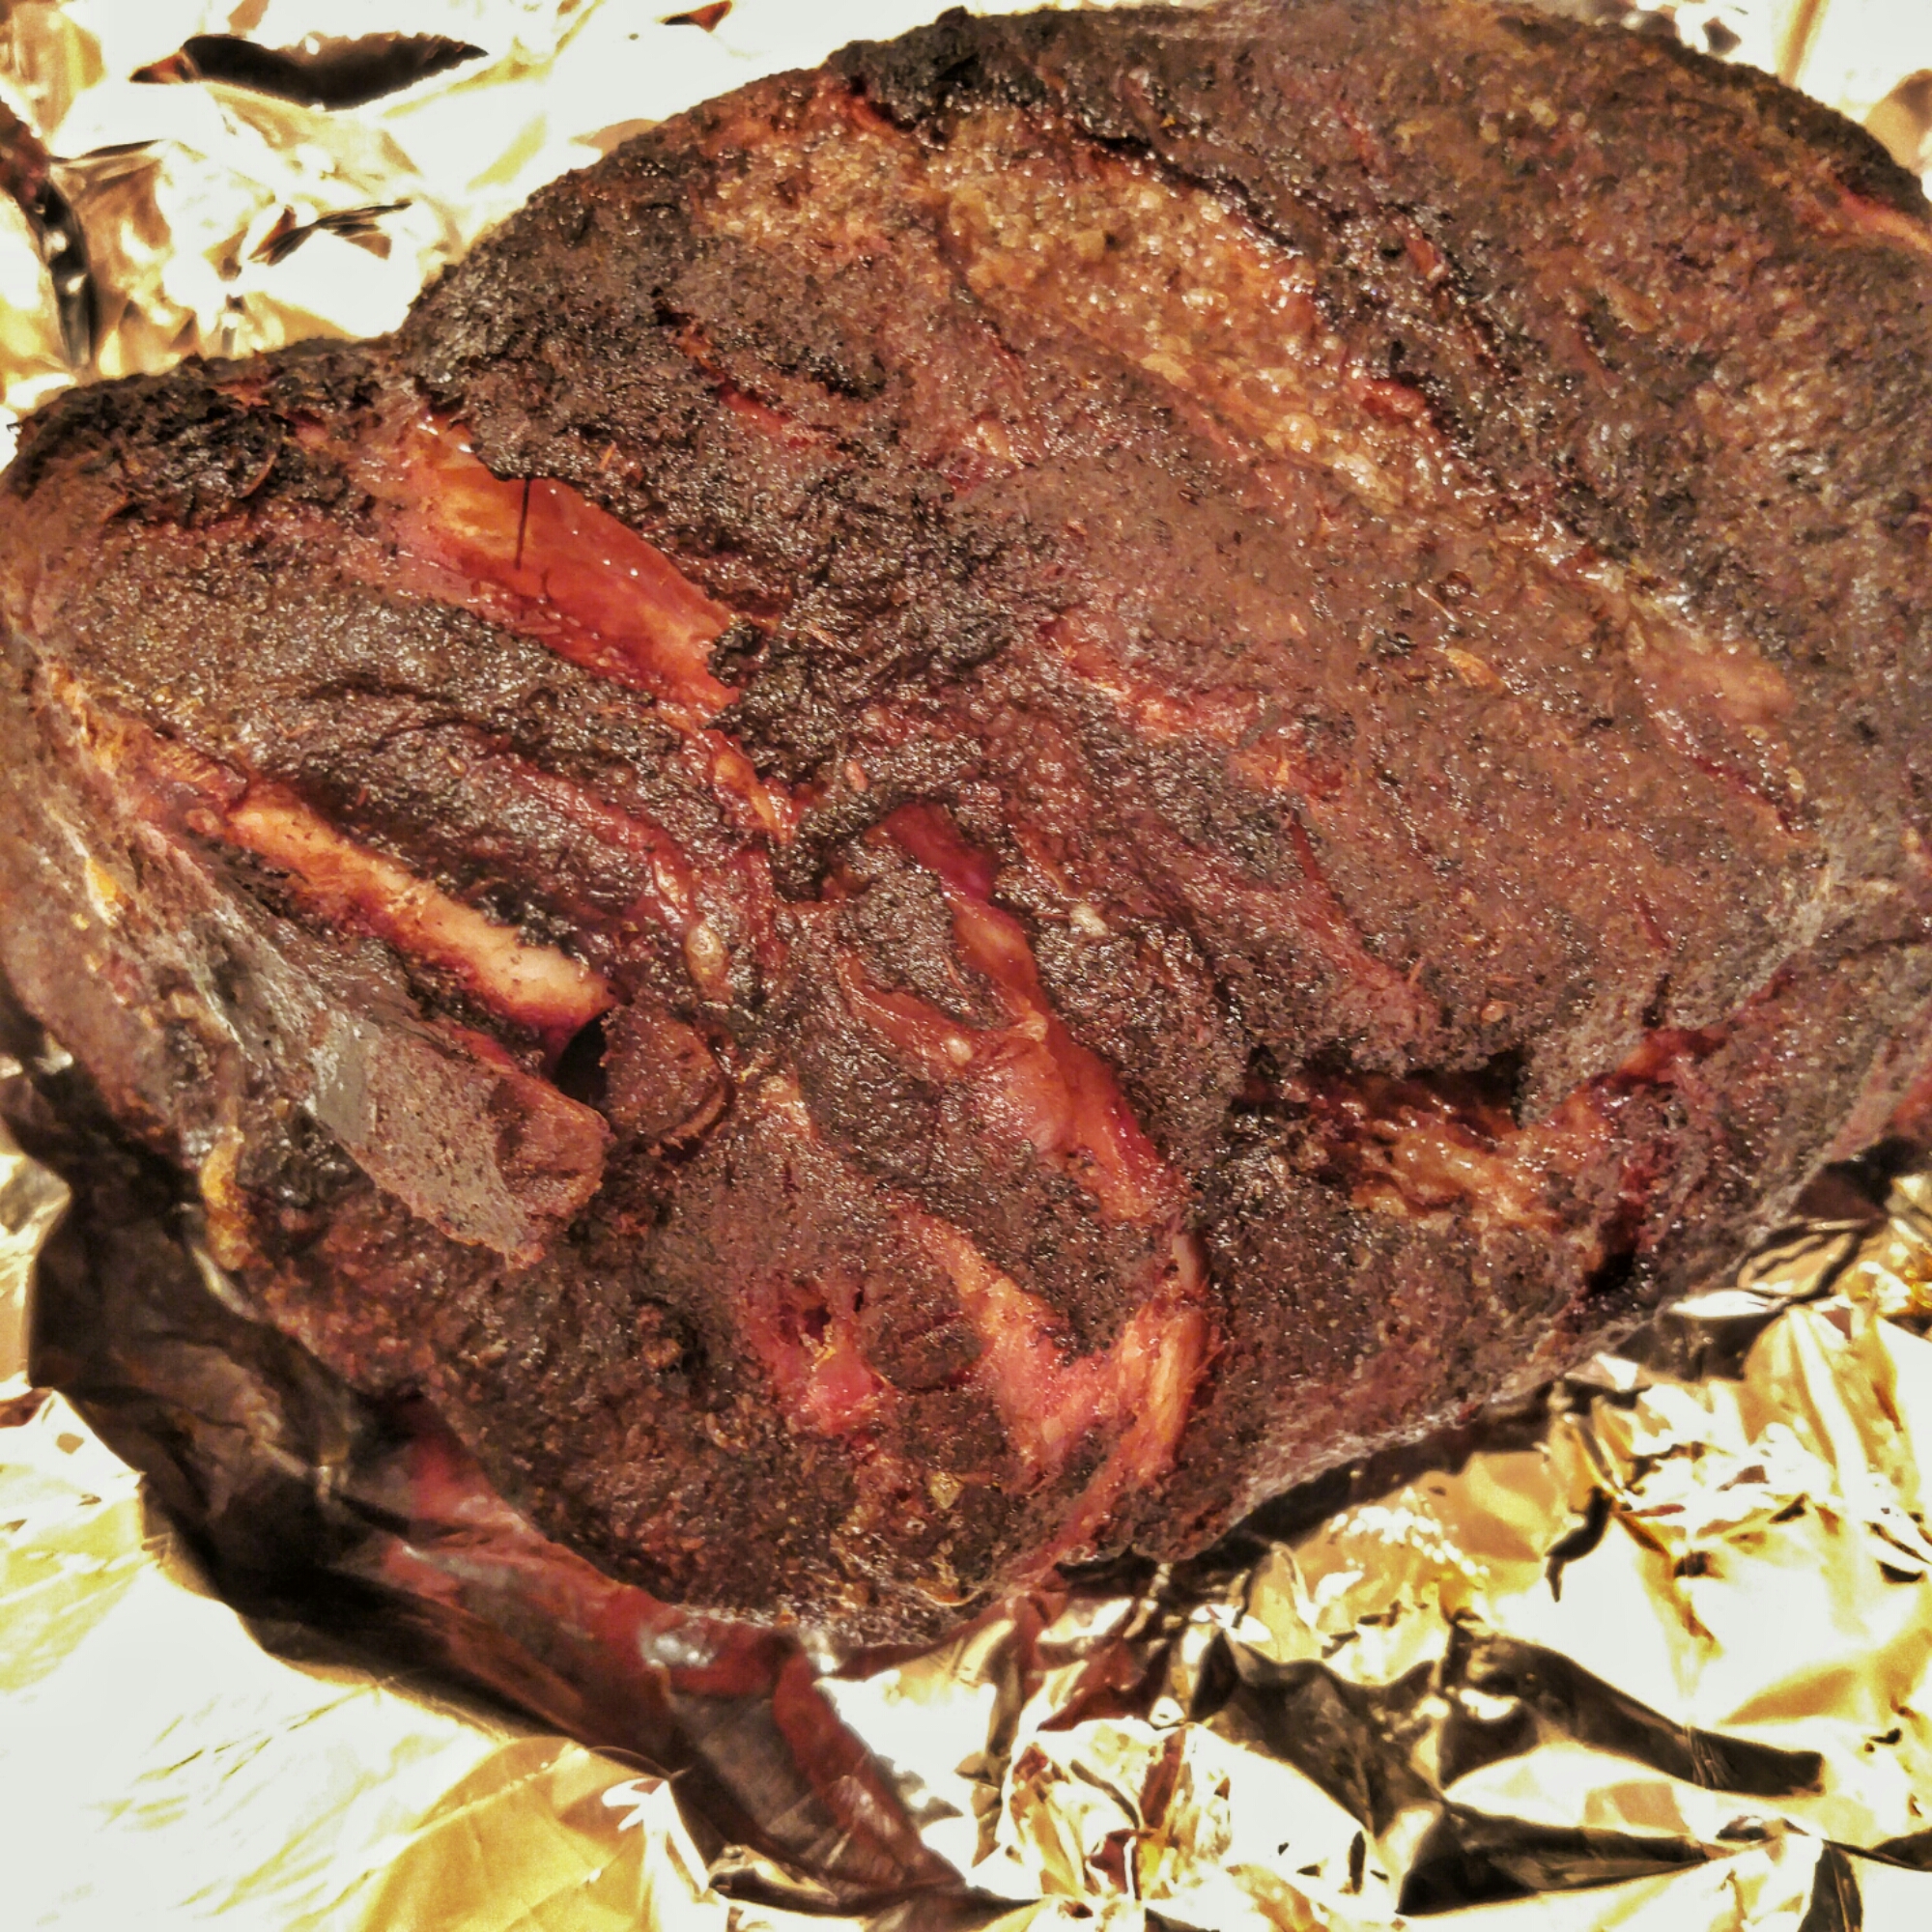
Update 4:00AM-
Woke to check temps on the smoker and she was cruising along at 223 grill grate temp. The butt internal temp at 190 degrees.
4:45AM Pork button internal temp is 196 degrees, she will be taken off the smoker, double wrapped in foil and placed in a cooler til game time when the internal temps hit 200. I haven’t opened the lid on the Weber Smokey Mountain once.
5:23AM after being on the @webergrills Smokey Mountain Smoker since 9PM as the night and the #Porkbutt is ready to rest.


Excited? Me Excited? 😉
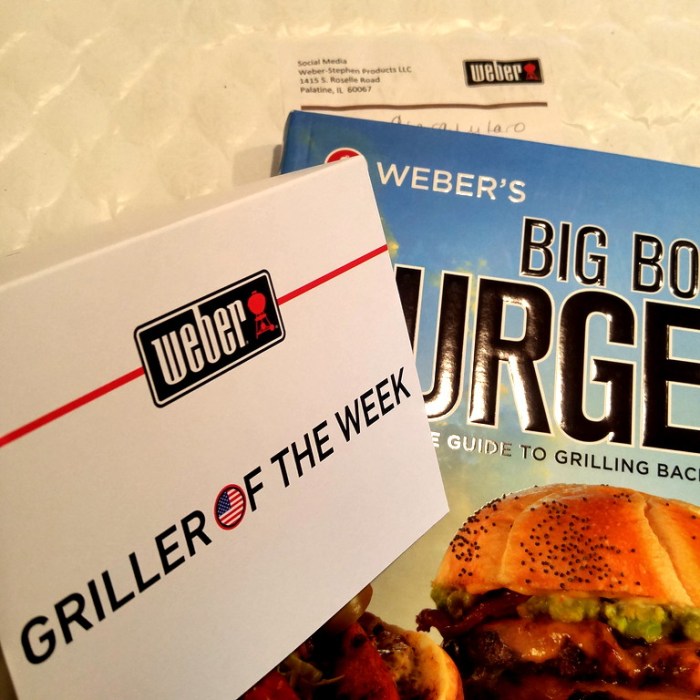
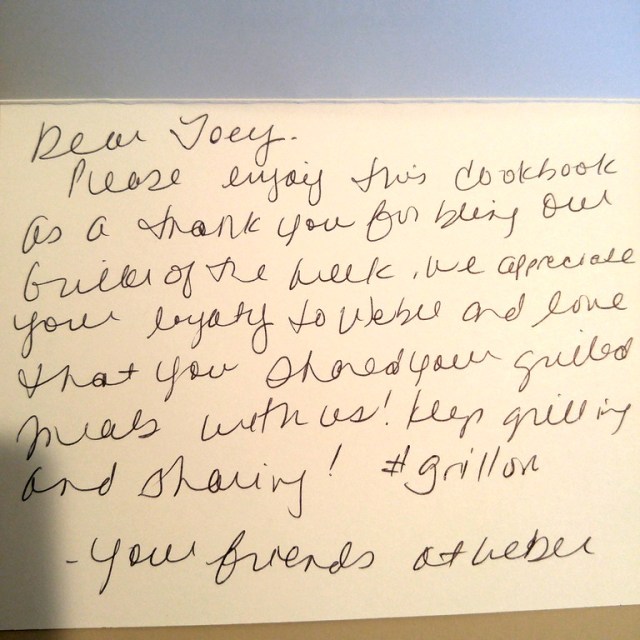
What an honor. With the incredible amount of Weber fanatics all over the world to be named Weber Griller Of The Week, I’m pretty psyched.
Framing that card, damn right I am!
